
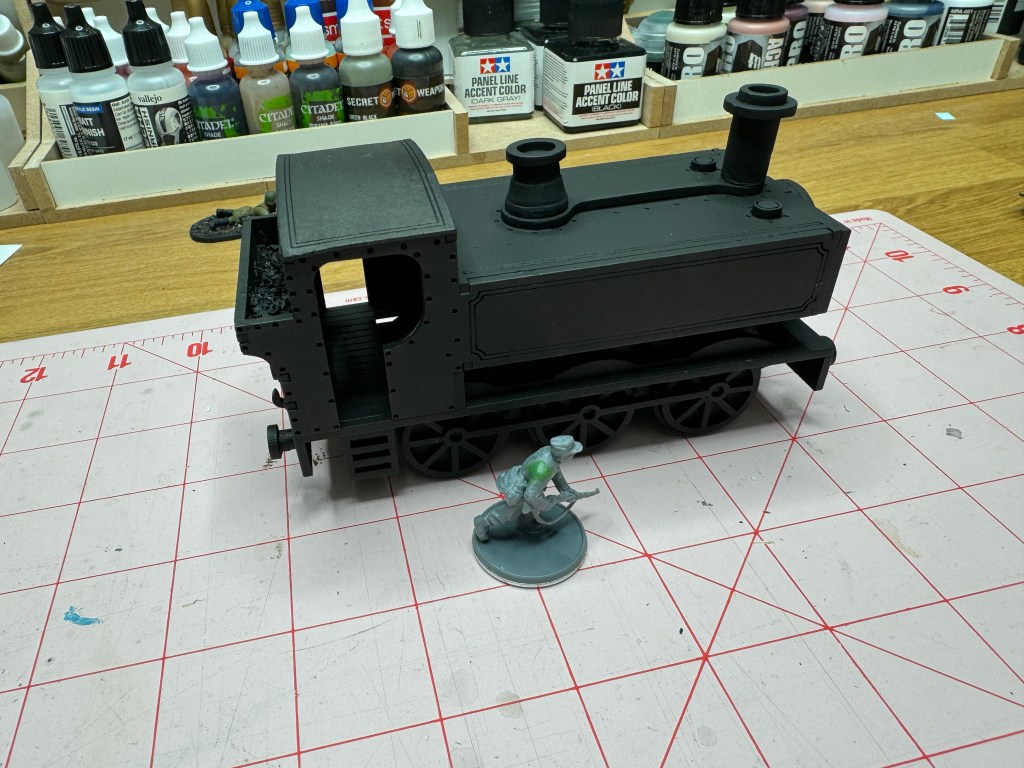
I really like the Sarissa Pannier Engine kit. It’s simple and sturdy just like the engine it portrays. I am not a train expert by any means, but it seems to depict a pretty common style of engine across Europe in the 1930s – 1940s. From my limited Google-fu seems the 0-6-0 wheel arrangement was an English thing or saw use on narrow gauge tracks. The German ones tended to have a set of wheels in front and behind the drive wheels. Presumably the extra non-drive wheels provided some stability. After pondering I decided this little engine would serve my European continental tracks just fine. It is only pulling a short batch of cars after all.
While the kit works well as is there were some things I wanted to do to spritz it up. You can read up on the prelude to this project in Part One of the Old Mule article series.
As usual I put a list of the materials and paints used at the end of the article.

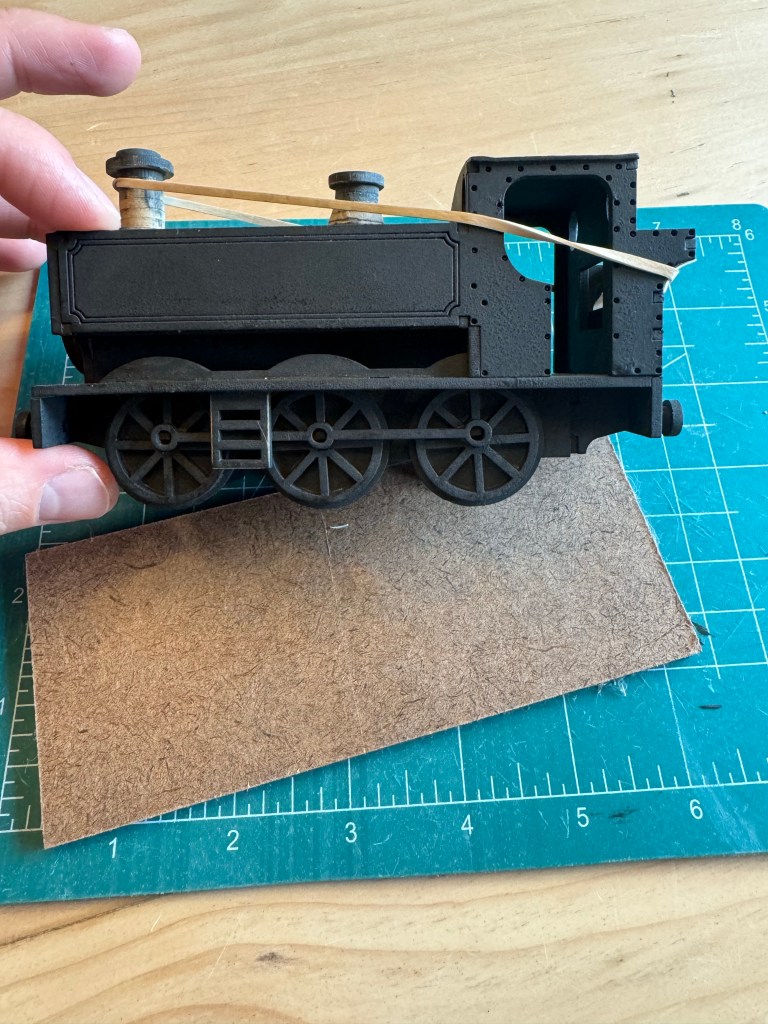
Above is my starting point. The train had been sitting on my shelf for several years primed with Rustoleum black enamel from a rattle can.
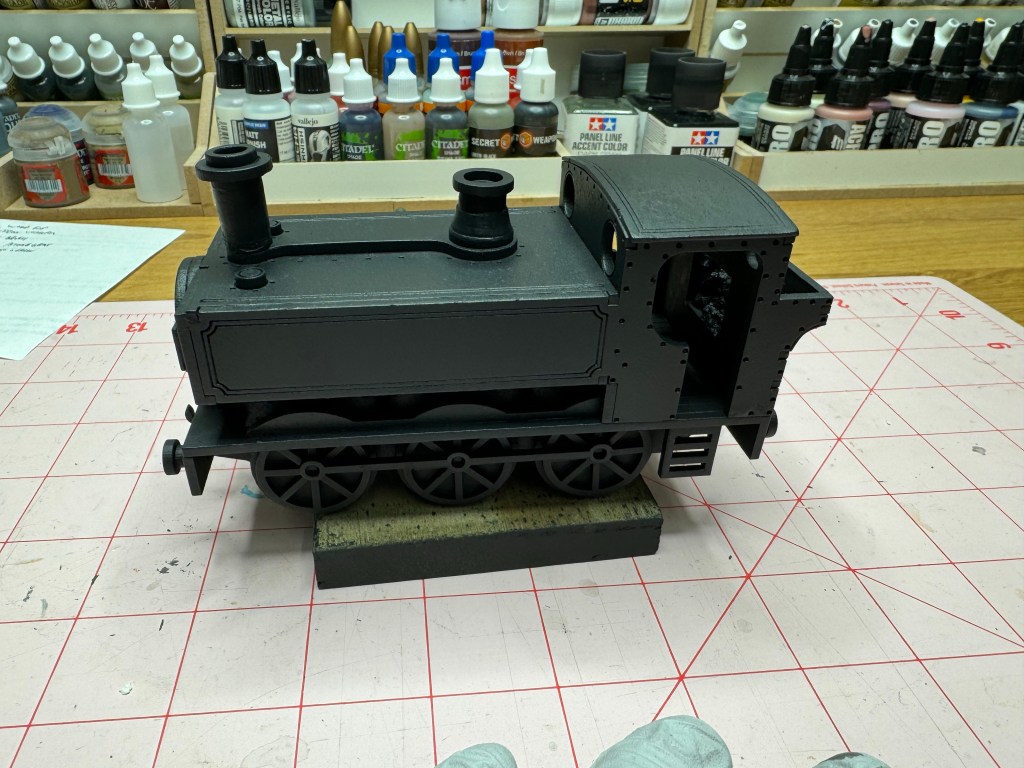
My first upgrade was to add a bottom to the coal bunker at the rear of the cab. Without the bottom it looked a little odd and hurt my suspension of disbelief. We can’t have that can we? I took some thin plastic card and cut and fit it to the bottom. The part needed to be bent so it’s understandable why an MDF kit wouldn’t include it. I used a rubber band to hold it in place while the superglue dried.

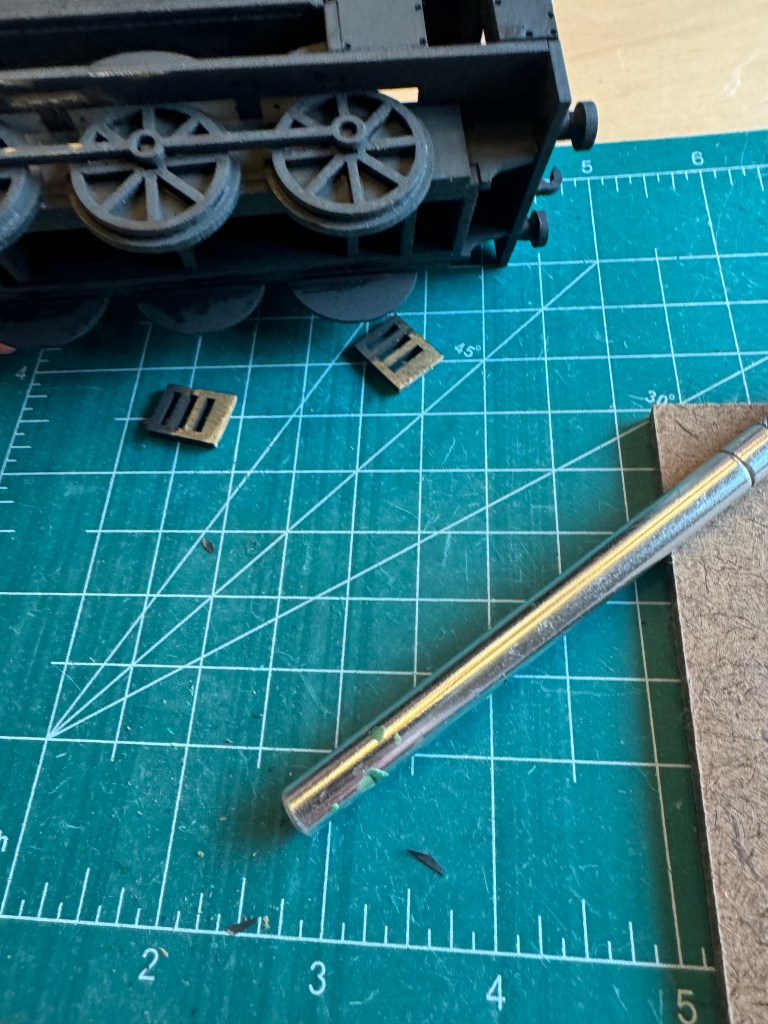
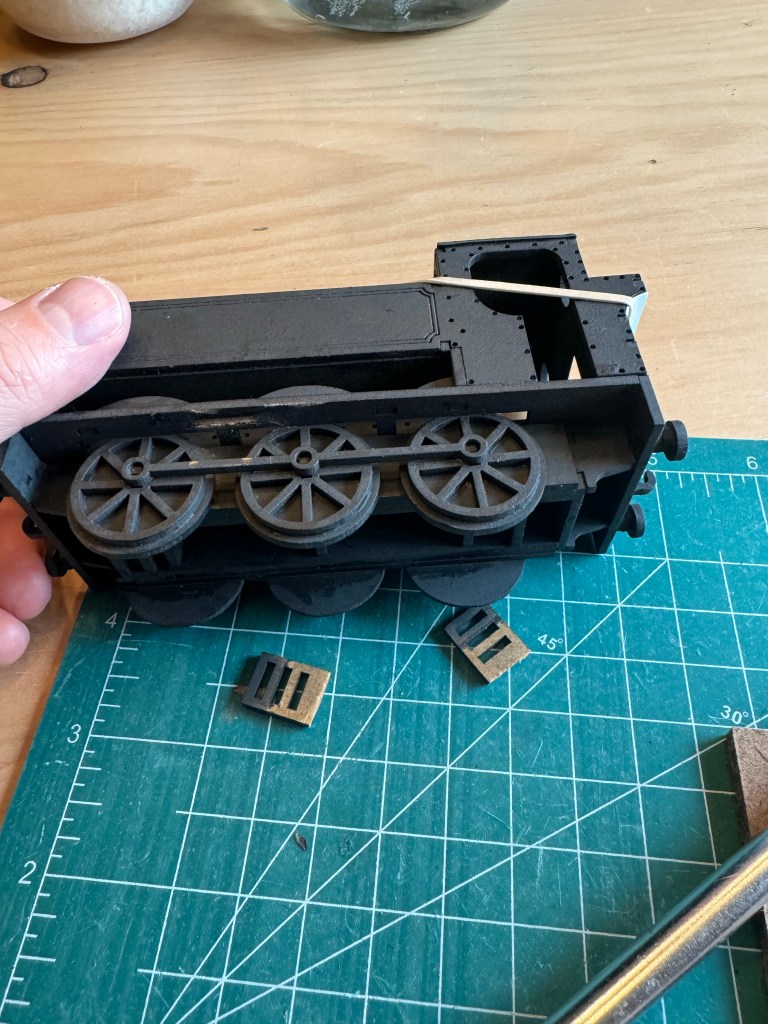
The second change I made was to move the crew ladders from the middle of the water tank to under the doorway on the cab. Again, it just made more sense to me that the crew would have better access to the cab. At first I thought I had made a mistake during the assembly, but the ladder was designed to go under the tank. Nothing a little knife and glue couldn’t fix.
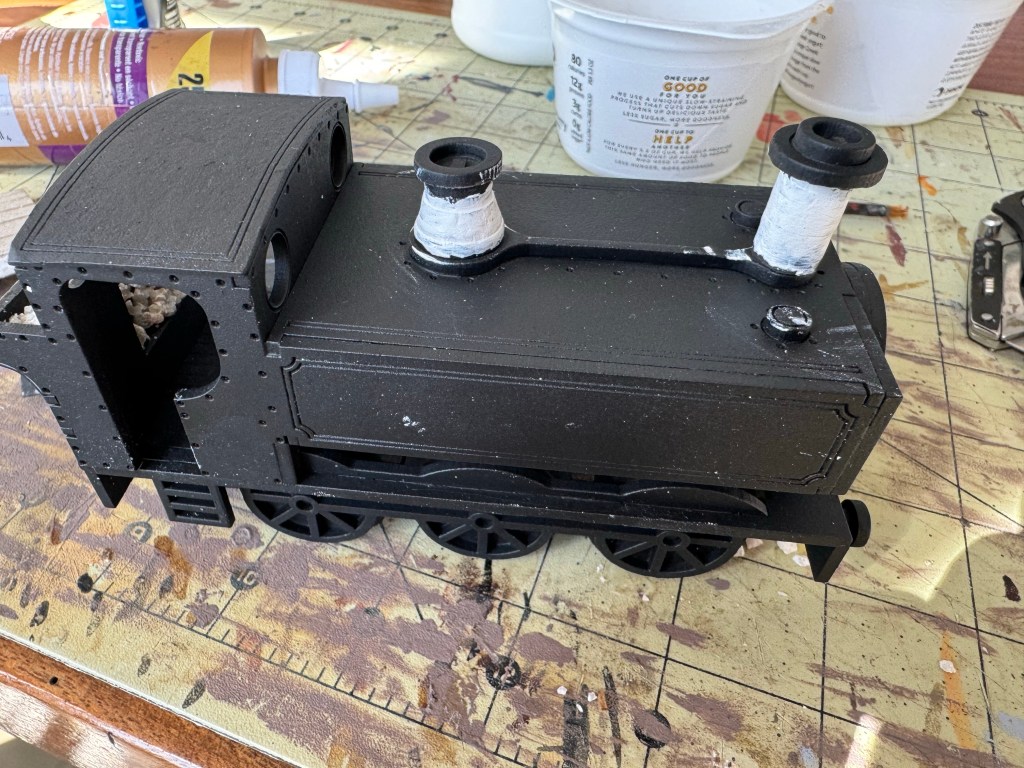
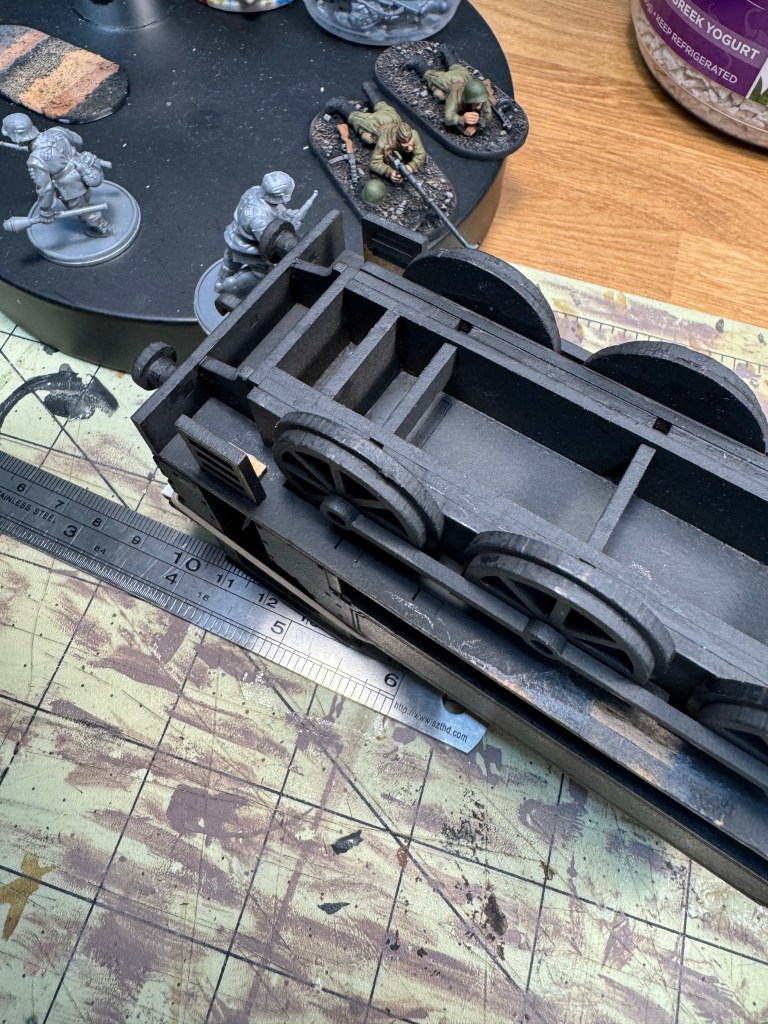
MDF kits are great at a lot of things, but they have limitations. One limitation is cylinder shapes which have to be made out of rings stacked on top of each other. Beveled cylinders end up with a stepped appearance. The train is a terrain piece so I didn’t want to go overboard but I did want to fix the stepping on the smoke stack. I took a Dremel tool and some sandpaper and smoothed the transition from ring to ring then filled the gaps with Tamiya putty. After the putty dried I smoothed it with 220 grit sandpaper.

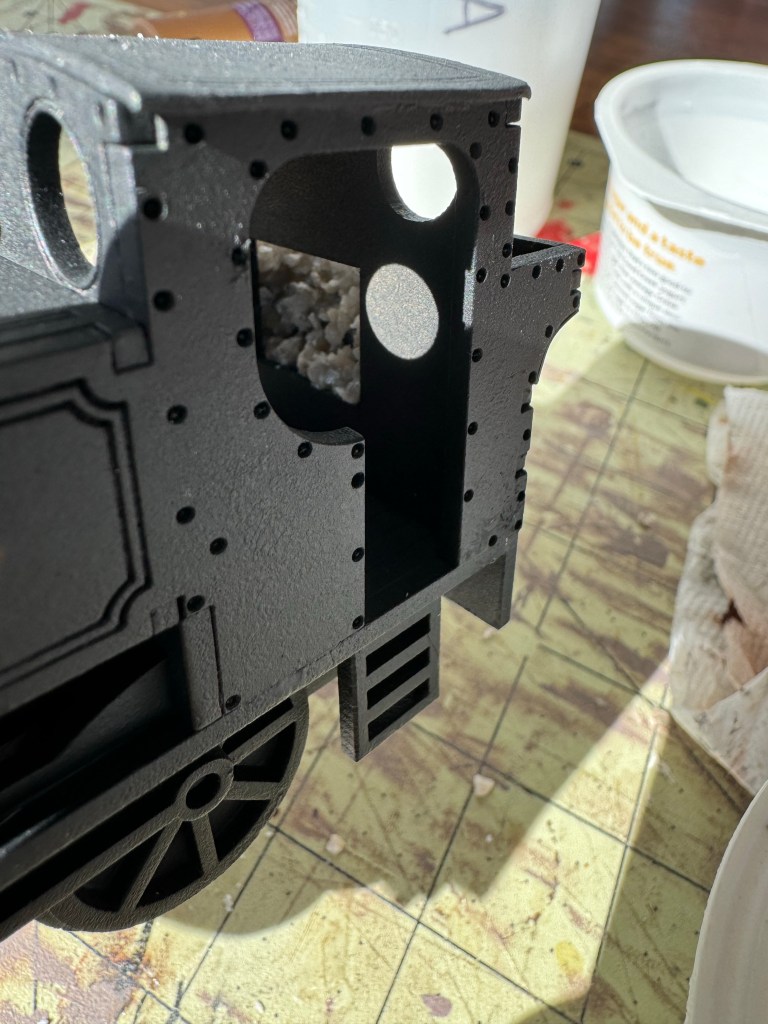


Now that I had a coal bunker I needed coal to fill it up. At this point I had to laugh a bit as I found myself in my driveway crushing aquarium gravel into scale appropriate size chunks with an old hammer. Luckily the stones were pretty soft and I only had to make my neighbors question my behavior for a few minutes. I built up the bottom of the bunker with MDF sprue cut-offs so I would only need enough rocks for a shallow layer on top. I glued the stones in with PVA. Once that was dry I gave the coal a sealing wash of watered down PVA.
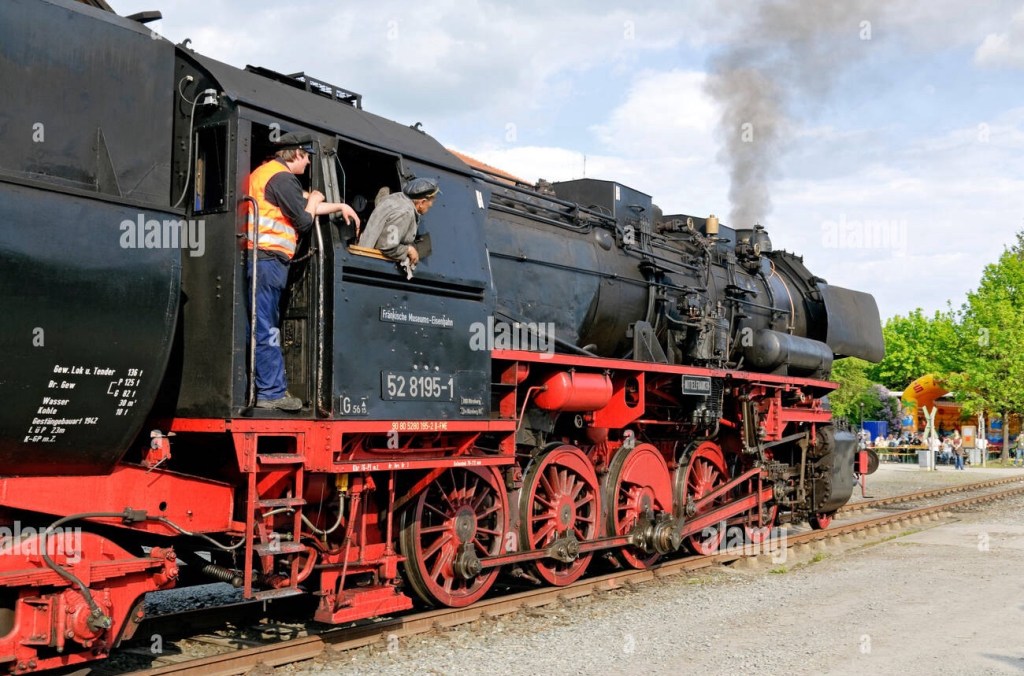
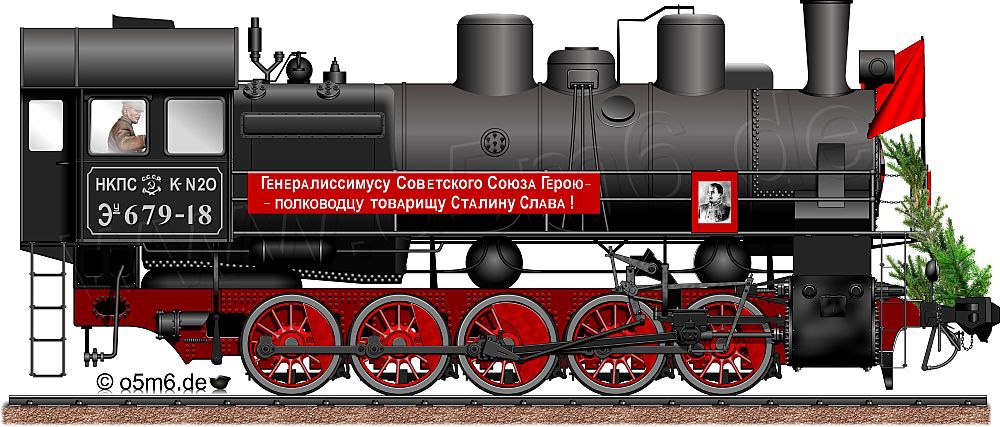
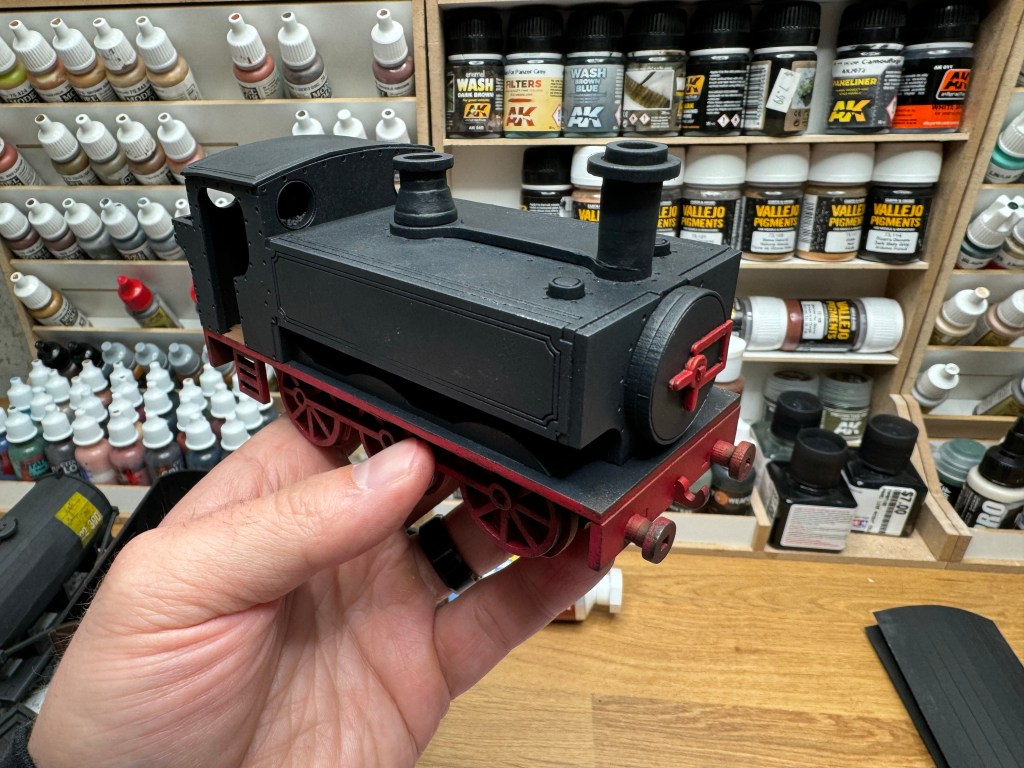
I spent some time on the internet and came up with a paint scheme to emulate. Faded black is a pretty universal color for steam engines. The above engine is a German Kriegslokomotive, or in English, war locomotive. Due to their prolific manufacture and use they served well into the 1990s in some Eastern European countries. I liked the splash of red on the underbody and figured it would give some visual interest to the train. The Soviets also used the red on the underbodies of their engines. My uneducated reasoning is that black oil is easier to spot on red painted metal than black painted metal plus any mechanical defect would be easier to spot. Red and black it is.
Evan suggested some little flags for the engine… maybe later
The next step was to prime the kit again. Enamel primer is super durable but terrible to paint on with acrylic based paint. Acrylic beads up like crazy and dries in drops. So I primed with my trusty Rustoleum Painter’s Touch black rattle can.
Next I threw down a base coat of Vallejo German Gray as my faded black. German Gray is dark but still allows some shading and variations that pure black doesn’t. The undercarriage was painted Vallejo Flat Red. I also painted the front identification placard rim red. The middle of the placard probably would have been white but I kept it gray to match the body.


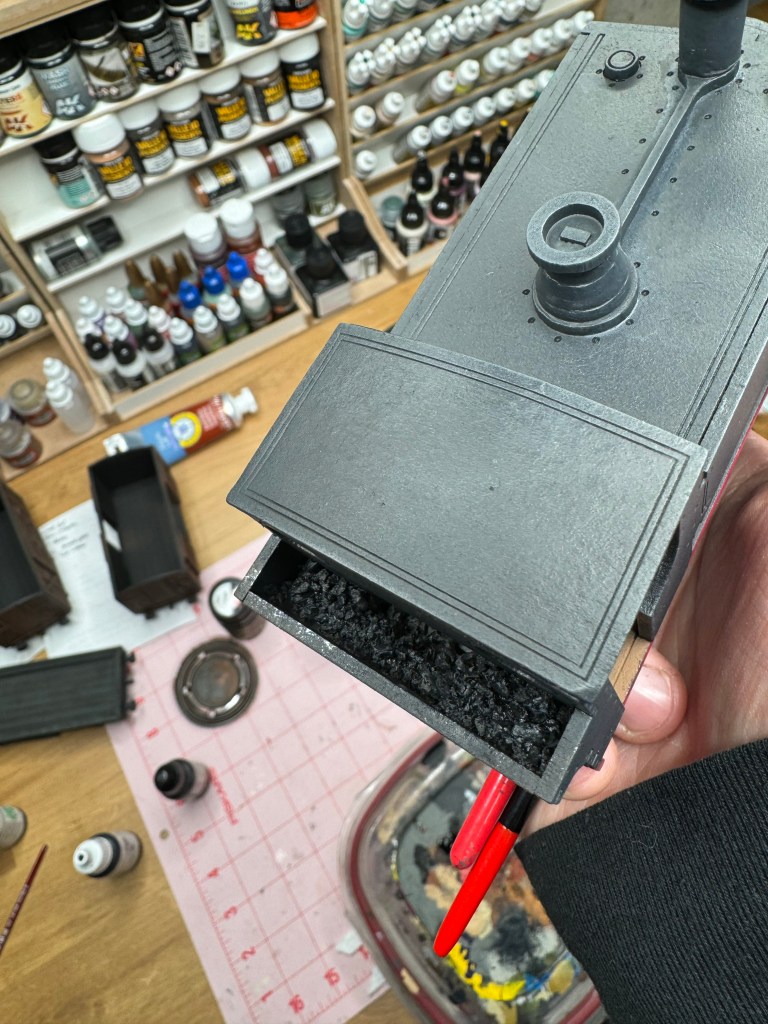
The coal was touched up with Vallejo Flat Black then dry brushed with Vallejo Basalt Gray for a tiny bit of pop. I then used some watered-down black paint to wash and dull the drybrush down.
The wooden cab floor was painted with Vallejo Beige Brown to give a look of worn wood.
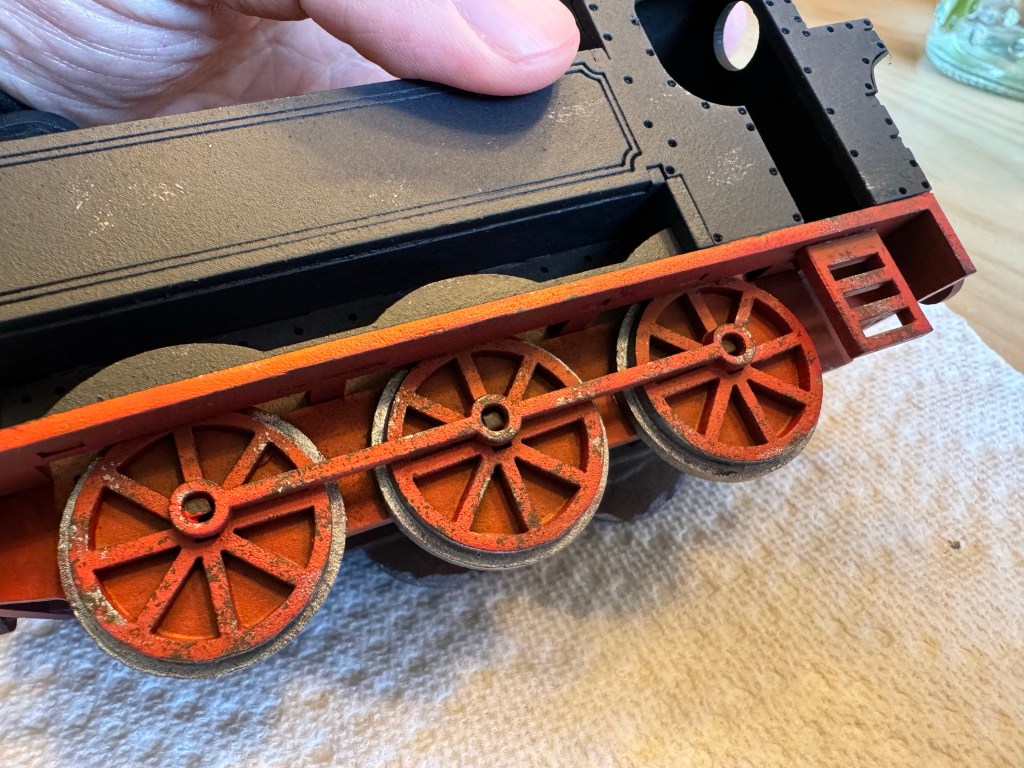
The wheel surfaces were painted with Vallejo Gunmetal. The red paint wouldn’t have stuck to the wheel surfaces which rode on the rails. I added some sponge chipping with Vallejo German Camouflage Black Brown and Gunmetal. I focused on surfaces that would have seen wear like the ladder rungs and undercarriage.


Once the base colors were done the engine was gloss varnished and numbering decals were added to the sides of the cab and front of the boiler. I used number decals from a few Warlord Games and Rubicon kits. As normal AK Interactive Decal Set and Decal Fix were used to make sure the decals came out smooth and matte.

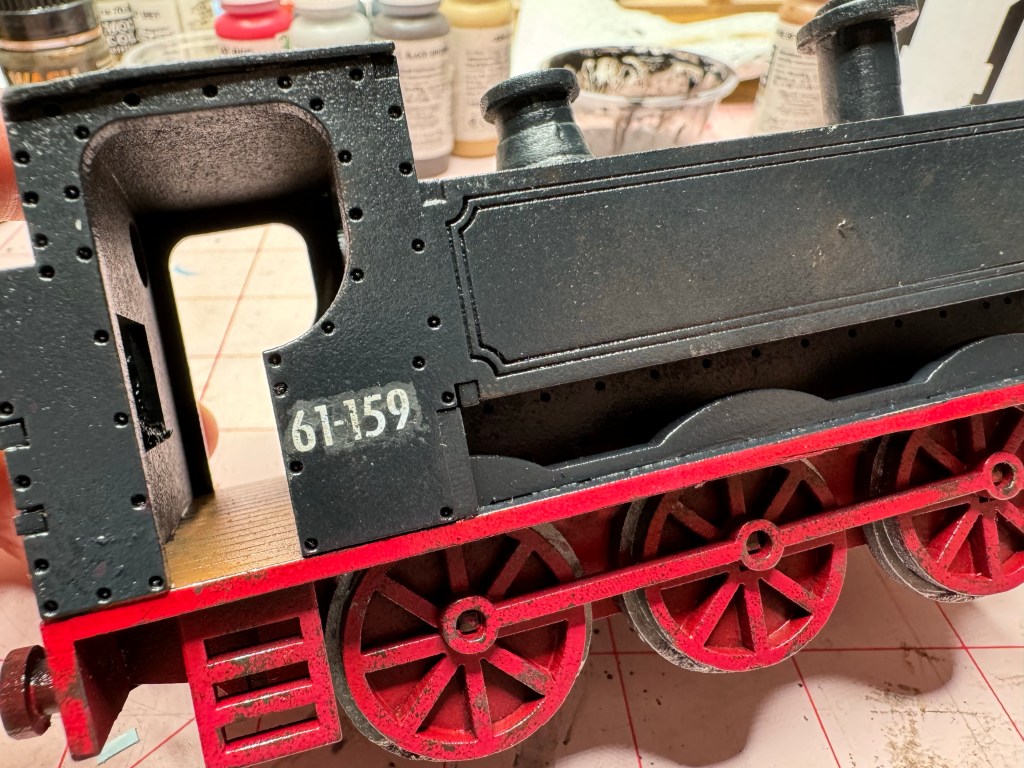
The decals were then sponged with German Gray to simulate chipping. A watered-down wash of Army Painter Strong Tone was applied to dirty the pure white decals down.
I added Gunmetal to the buffer springs on the front and back. The bit of bare metal provided some interest. A targeted dry brush of Vallejo Iraqi Sand and German Gray was applied with a makeup brush. I tried a few different ratios until I found one that gave me the little bit of dust and edge highlight I wanted. It was probably about 4:1 Iraqi Sand to German Gray.
I hit the whole engine with a second gloss varnish to protect the decals from the upcoming oil filter and wash.


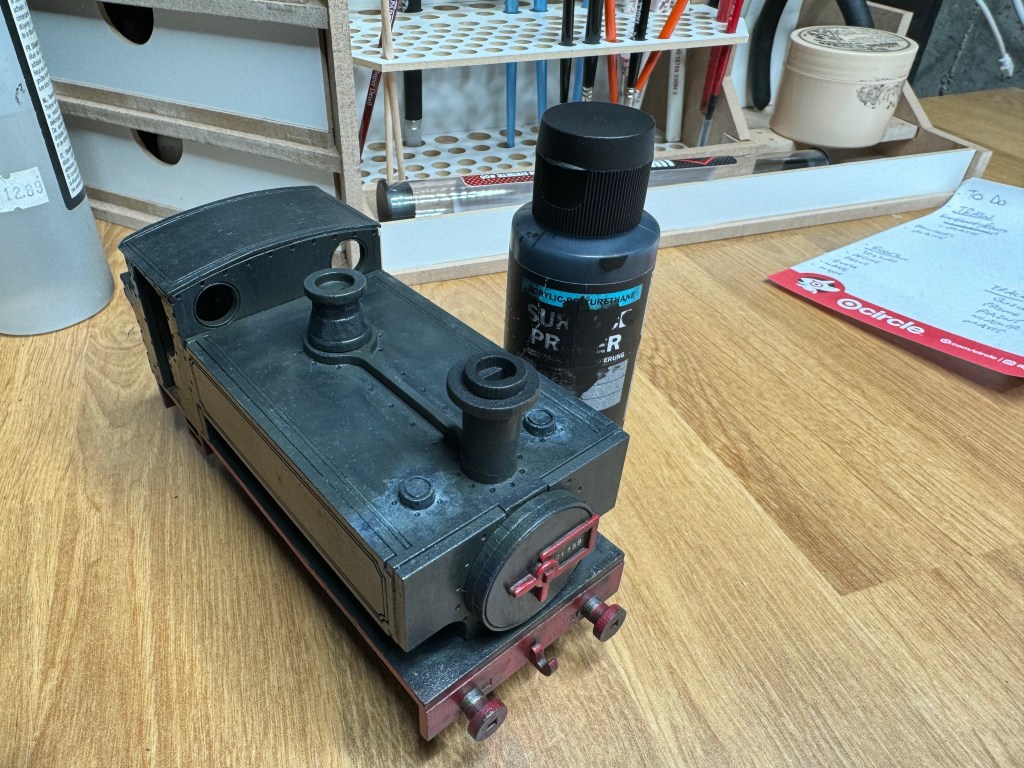
Using an airbrush I applied an all over filter of AK Interactive DAK Wash which provides a nice subtle dirty brown look. I sprayed AK Track Wash on the lower chassis. Track wash is a bit more rusty brown. I finished with some spots of AK Interactive Streaking Grime to add some variations in the tone.
I used odorless mineral spirits and a makeup sponge to reduce the effect of the washes to where I wanted them. Raw Umber oil paint watered down with mineral spirits was used to wash the wooden floor of the cab. Titanium White was used to add water staining near the fill locations for the water tanks. It’s simple but the staining adds a nice contrast to the dark gray body. Finally I touched up some spots with a wash of Ivory Black and mineral spirits. I used Artist’s Loft brand oil paints but any would do really.

The oils were left to dry overnight. In the morning I loaded up some Vallejo Black primer and dirtied up the smokestack of the engine with some soot.
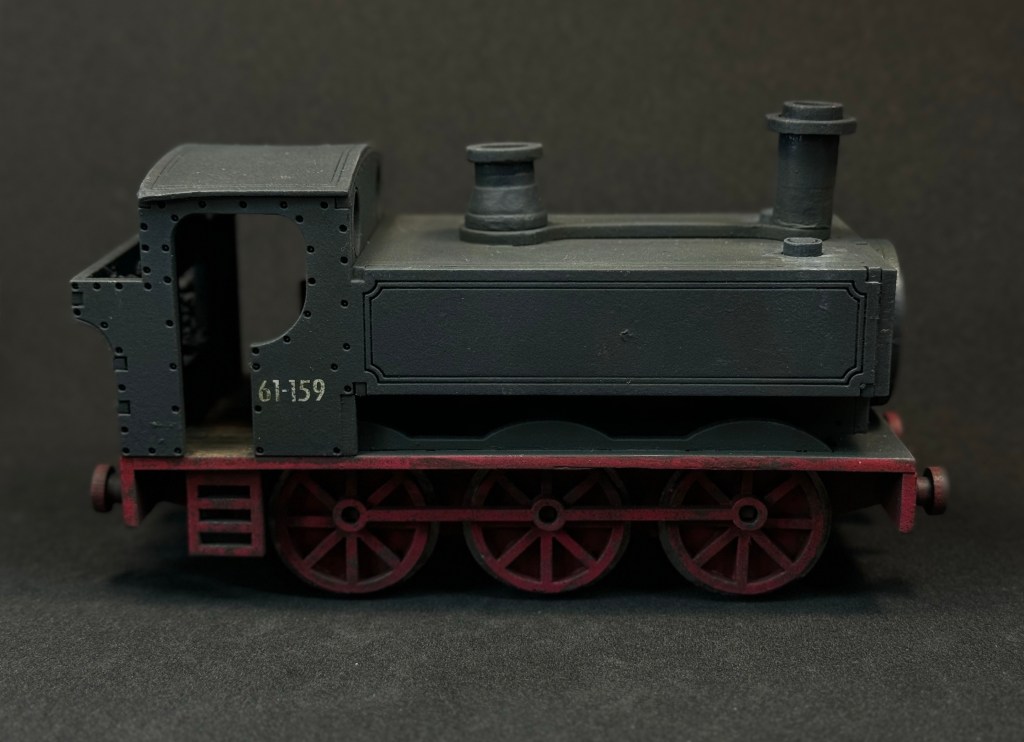
Finally, it was time for the matte varnish for which I used my usual Vallejo Mecha Matte Varnish. Once the varnish dried we were in business. I may add some weathering powders later but at this point the little pannier is ready to push some rolling stock on the Ost Front or maybe in France.


| Paints and Materials Used |
| Tamiya Modeling Putty |
| Rustoleum Painters Touch Black Acrylic Primer Gloss Varnish |
| Vallejo |
| German Gray 70.995 Flat Red 70.957 Flat Black 70.950 Beige Brown 70.875 Basalt Gray 70.869 Gunmetal Gray 70.863 German Camouflage Black Brown 70.822 Iraqi Sand 70.819 Black Air Brush Primer 74.602 Mecha Matte Varnish 27.702 |
| Army Painter Strong Tone |
| AK Interactive Decal Set Decal Fix DAK Oil Wash Oil Track Wash Streaking Grime Oil Wash |
| Artist Loft Oil Paints Raw Umber Titanium White Ivory Black |
| Miscellaneous Thin Plasticard Aquarium Gravel |

Nice. I’d like to have seen you smashing up the coal 🙂
LikeLiked by 2 people
I half contemplated taking a video 😆 If you were watching I’d rope you in to help me though.
LikeLiked by 1 person
Nicely done, Ben! :-) I’m no locomotive expert, but it does look very British to me! Having said that, I really like the red trim you’ve added!
LikeLiked by 1 person
At least I’m not alone in my assessment. Unfortunately, choices for 28mm locomotives are few and far between, especially for ones located in my basement 😁 I am looking at getting this one’s big brother, which looks more like a Kriegslokomotive. Still some slight concessions to being a wargaming piece though. We will see. Soon I’m going to need an engine shed too 😝
LikeLiked by 1 person
You definitely don’t want to look here (https://www.etsy.com/uk/shop/WAWBattlefield?ref=simple-shop-header-name&listing_id=1221296839§ion_id=42337265) for train stuff then! ;-) These items are PLA prints but pretty good I’ve found. The only thing is I think he uses his own idea to scale the railway track (sorry, railroad to you) so his models match his track (I bought HO items but had to reduce the rolling stock chassis width to get the items to sit on proper HO track – otherwise they were in scale).
LikeLike