Making my start into historical minis of course led to going down the Youtube rabbit hole, and resulted in subscriptions to a couple new channels. One of those channels was the Storm of Steel Wargaming channel. Link here.
With the Warlord Curahee set and the Space Wolves Army box both in my pile of potential, I set out to find good, realistic, QUICK basing options. My first contender was Krautcover, but up until very recently, their distribution has been……inconsistent. This meant that my search continued.
Enter Muddy Paws Terrain. I first saw their product when it was reviewed by the Storm of Steel Wargaming Channel.
When I saw how easy the product applied, and the concrete-like characteristics once it cured, I decided I wanted to try them out. I initially ordered 3 colors, and began using them on my Space Wolves Army box. One of the things that I wanted to be able to do is create verticality in my bases via cork, and then place down an adhesive and apply basing products. After some experimentation with which adhesive to use and how to thin/ apply the adhesive, I think the Muddy Paws products are an excellent option.

DISCLAIMER: After purchasing my three original jars of their basing product, I entered into and was selected in a Muddy Paws drawing, which resulted in them sending me the remaining three. After being selected, I offered, without being asked, to do a review of the product. The person I interacted with also provided a free spray bottle after we had discussed recommended application products. The opinions in this article are my own, and this review was not done in exchange for any product or benefit.
(We value transparency at Iron Dice. We only do reviews of stuff we use ourselves and believe in as products. – Ben)
The steps to use the product are very simple:
Step 1. Gather your supplies. You will need your favorite color of Muddy Paws Poly Sand, an adhesive, a disposable brush, and preferably a mister bottle.


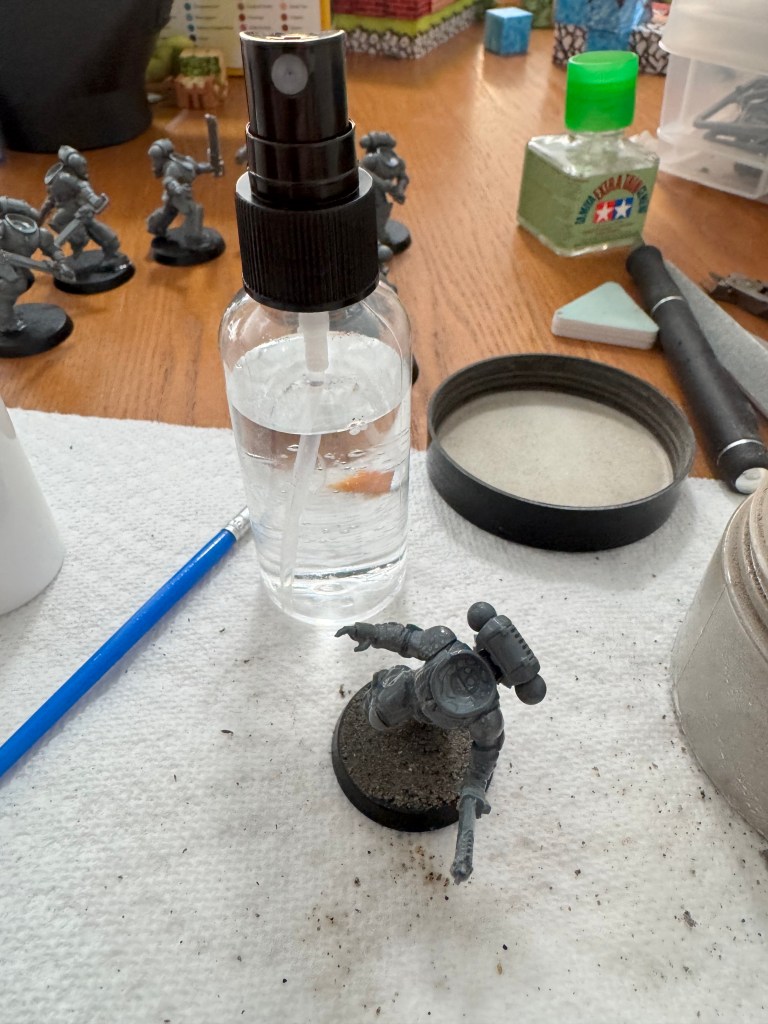
Step 2. Place some adhesive down on the base. My first uses were done with straight Eileens Tacky glue. That is workable, but you will have a much easier time if you water down the glue significantly. My latest application was done with a combination of Eileens, Water, and airbrush flow improver, painted onto the base with a cheap brush.
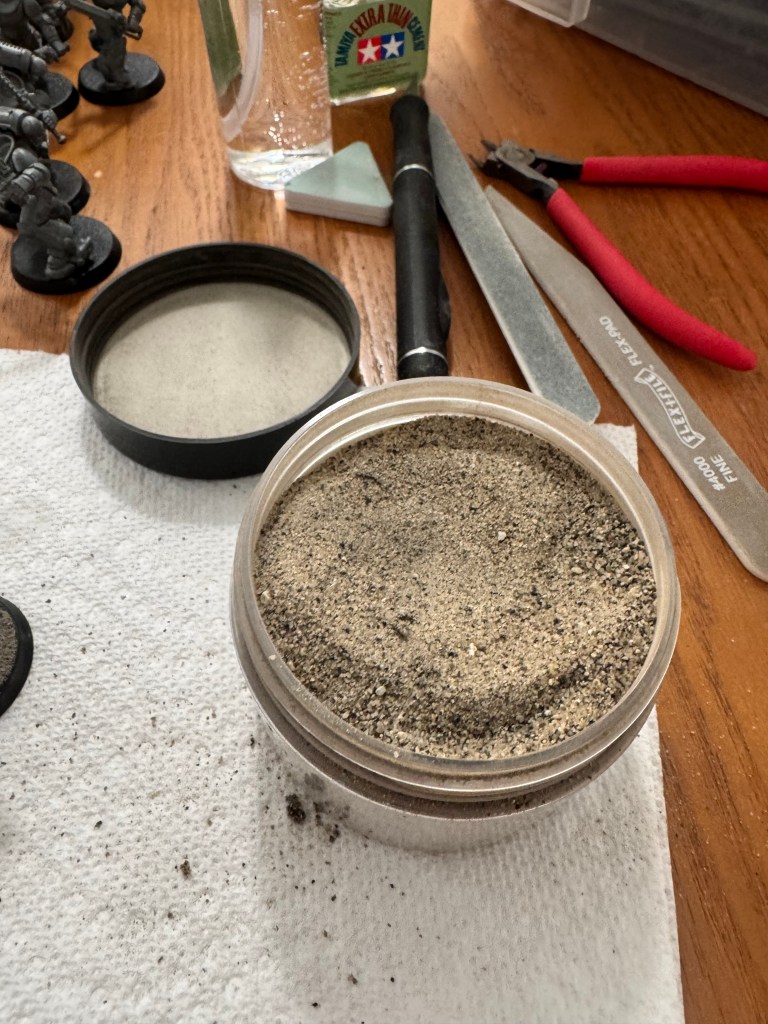
Step 3. Dip the base into the jar of muddy paws. I have seen directions say to sprinkle the product on top of the base, but I have found that that make more of a mess than bringing the base into the pot, getting full coverage, and then tapping off the excess and wiping off the base rim with my finger.

Step 4. Apply water to the product stuck to the base. Like I mentioned above, this stuff is kinda like mini basing concrete. The first time I used it, I literally dipped my brush in my water pot and placed droplets until it was saturated. That worked, but it was kinda messy, and pretty inefficient. I subsequently obtained a mister bottle, and that is how my most recent round was completed.
Step 5. Wait for it to set. Just like concrete, you need to let it set for a while before interacting with it. However, once it is set, the world is your oyster.
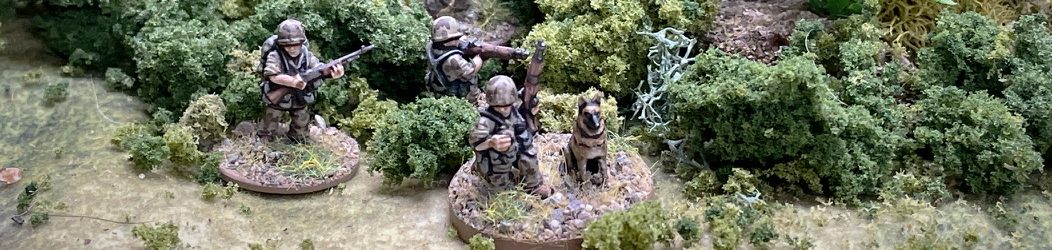
CONCLUSION: This stuff is awesome. I know a lot of people who have been in the hobby for a while have their own, homemade basing mix. I think this is a great, ready-made alternative. The prices are great through their Etsy shop, coupons are available, and the product offers versatility to be used either as a foundation for a base (that can be painted over), or as the final step to apply and use their combination of more realistic or more outlandish colors.


That’s a different approach! 🙂 Looks good!
LikeLike
It’s always a trade off of time versus money-straightforward really. So unless it’s wildly different in price per gramme it looks a neat way to get that random gritty finish.
LikeLike