When it comes to the finishing touches of a model, particularly tanks and armored vehicles, the weathering really helps brings things to life. The stowage lets you tell a story about the vehicle and it’s crew, but the weathering helps show where it is, where it’s been, and what it’s been through. Although the 15mm scale straddles the fence on, “big enough for details, small enough to not matter”, I like to go that extra mile and make myself WANT to look at it up close. Better yet think of it this way, when the small scale sets the expectations low, every additional step that you do, is that much more extra credit!
That being said, even if you skip many of the details in your 15mm model, or give it a quick and simple paint job, dirtying it up will give it some nice contrast and add some lively character.

In this article, I’m going to go over the steps on how I add the dirt and dust to my 15mm armored fighting vehicles for WWII France. However these techniques are fairly strait forward, and can be easily adjusted to suite many different theaters of war. Though I will discuss the products I will be using as I go, I will give a complete list of them at the end, as well as links where you can find them (in the USA).
The first step is prepping the model with a gloss or satin varnish. I used VMS Gloss Varnish HD, however any decent gloss/satin will do. This is going to not only protect your paint job, but also give the model an ideal surface to work with the weathering products on. Note: Make sure you’re using acrylic varnish, as an enamel varnish will react to the thinners in the products we’re about to use.
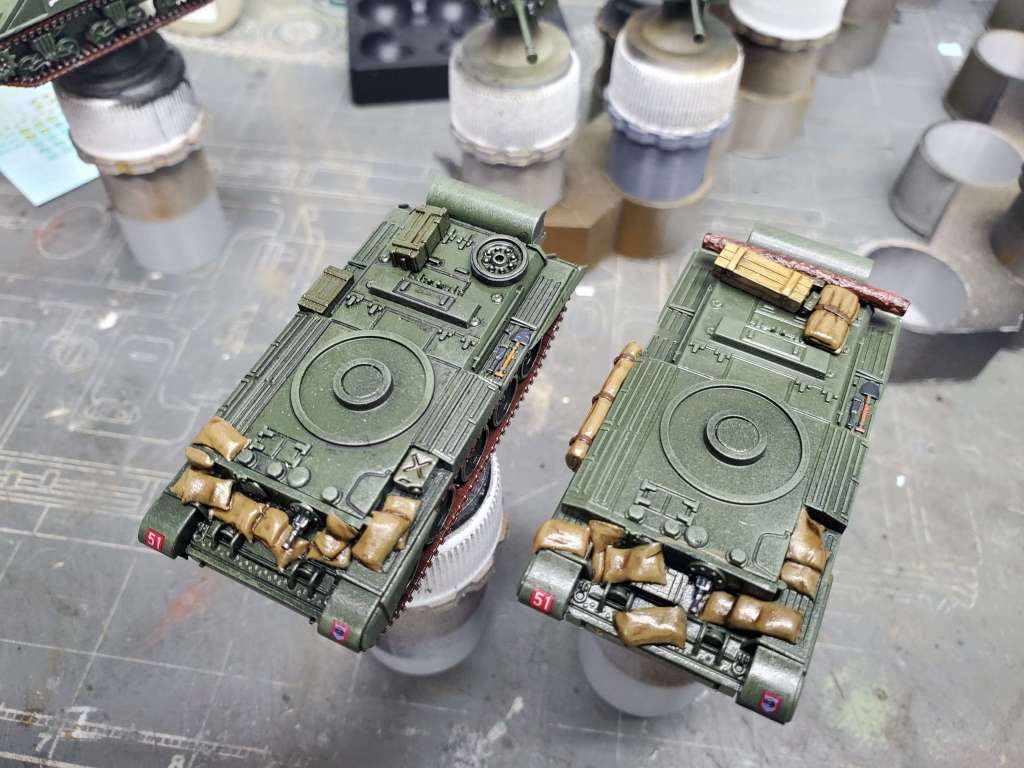
The tanks that I am working on were already varnished after the initial acrylic paint job was completed. After which I applied decals, and then did a pin wash. I did a second coat of gloss varnish in order to protect the pin wash from being reactivated as I apply the “mud”. As mentioned previously you can use a satin varnish as well, I just prefer to use gloss because of its added protection, as these models are for use in games.
One thing to keep in mind, as you apply the dirt effects to the model, they will be very matte, vs your protective gloss/satin coat, and may stand out as looking “not right”. Don’t worry, it all ties together in the end once you give it that final coat of matte varnish.
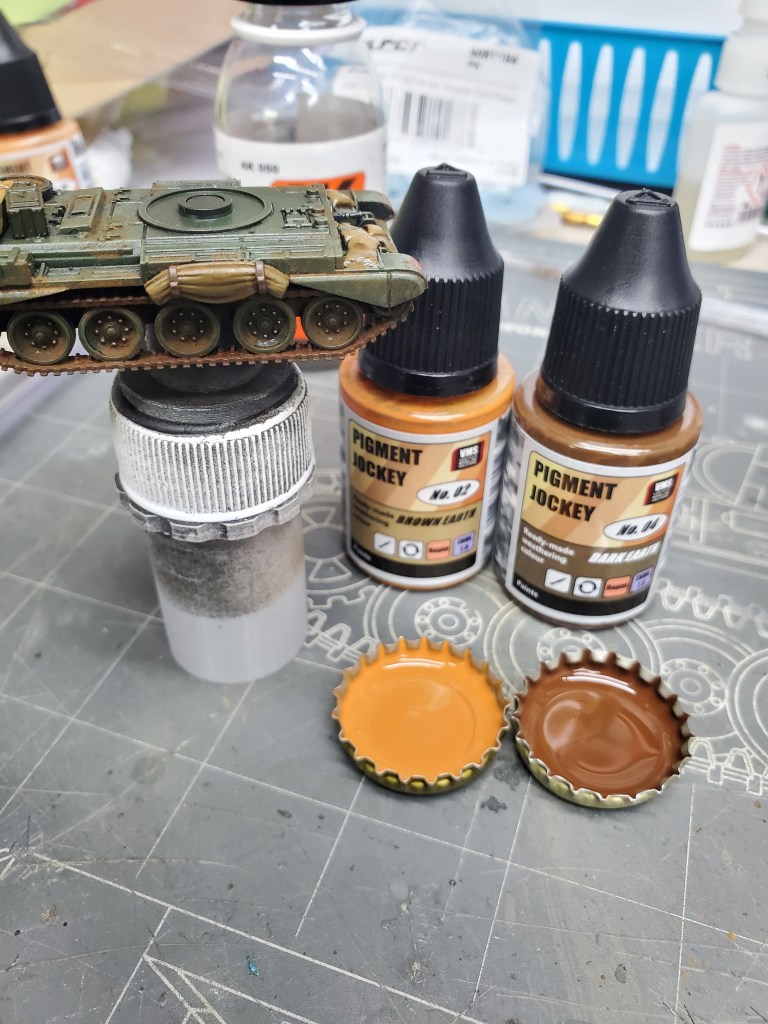
I will be adding the dirt and dust effects in two distinct phases. First using a pigment powder, mixed with an Alkyd Binder, and then second, using two colors of Pigment Jockey to add color variation. I’ve picked out these colors for my units in France (Normandy), but they will be suited to playing most anywhere in the European Theater. The Pigment powder I picked out is appropriately ‘Europe Dust”, from Abteilung 502, which has a nice collection of pigments specific to wargaming.
For the VMS Pigment Jockey, I picked out Brown Earth and Dark Earth. These will help add some verity to the colors, because when you’re tearing up the country side with armored vehicles, you encounter everything from rich soil to thick clay, and this leaves a chaotic mess covering the tracks and road wheels.

I start by using a craft stick to bring out a portion of the pigment powder. Depending on the size of the vehicle, you’ll use more or less of it for coverage, but a good rule of thumb is that you want a clump of powder about the size of a pea for every vehicle you’re working on. Then I start mixing in the Alkyd Binder to my desired consistency. For this project, I’m mixing it to be nice and thin, about the consistency of milk. However if you want some real caked on mud, you can mix it much thicker to get that effect.
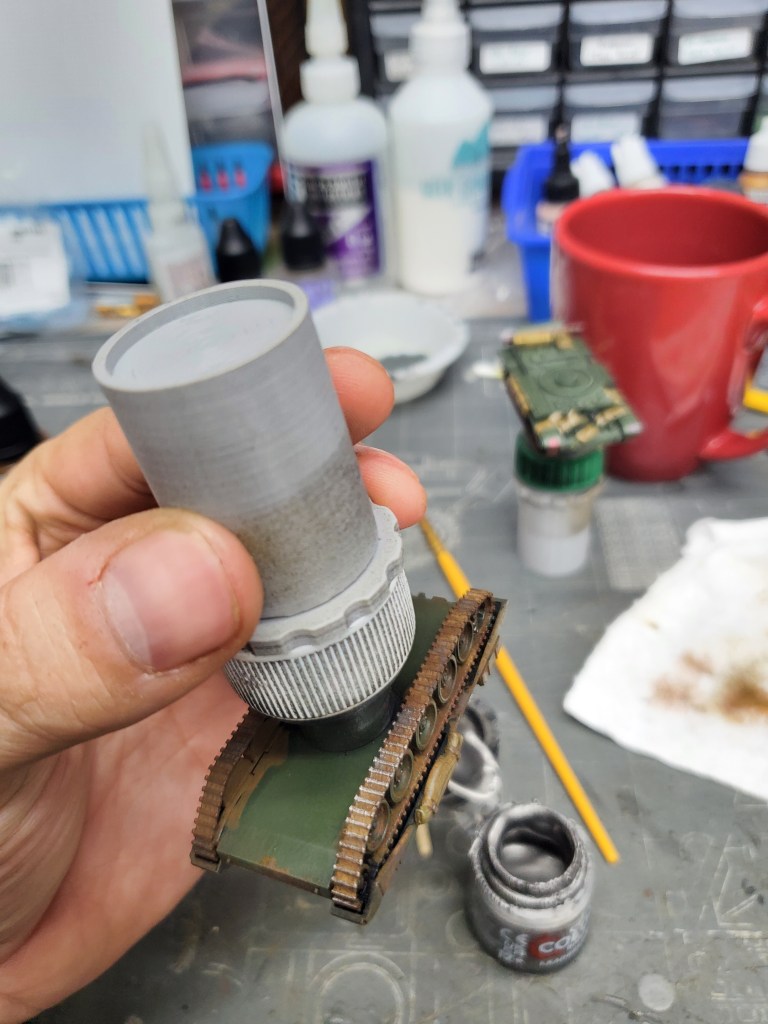
I like to use bottlecaps to mix mine up, as it makes clean up at the end easy!

Here comes the fun part, we start slathering on the mud! Now I know when I first started using techniques like this, I was very apprehensive about this part. I just did all this work to paint a model, I really like how it looks, and now I might ruin it if I screw this up…
That’s the benefit of using products like this however. Because they react and are easy to remove using white spirits, and because you sealed in the acrylic paint job with varnish, you can just remove the pigments if you don’t like it. If you put all this muck on and decide you hate it, or want to retry it, take out a soft brush, a microfiber cloth and a bottle of white spirit, and just wipe it all off the model. Once you realize that you have that safety net, a lot of the apprehension will evaporate, or at least it did for me…
So, getting down to business! I go about painting this mixture onto the vehicle generously. I want to get it all over the tracks, wheels, lower hull and some places up onto the deck. I also give a few splotches onto the top of the turret, as the dust will settle up there as well. Don’t worry about putting on too much, because we’re going to be taking a lot of it back off! If you find yourself worrying that you overdid it, just make sure you hit that place more in the next step.

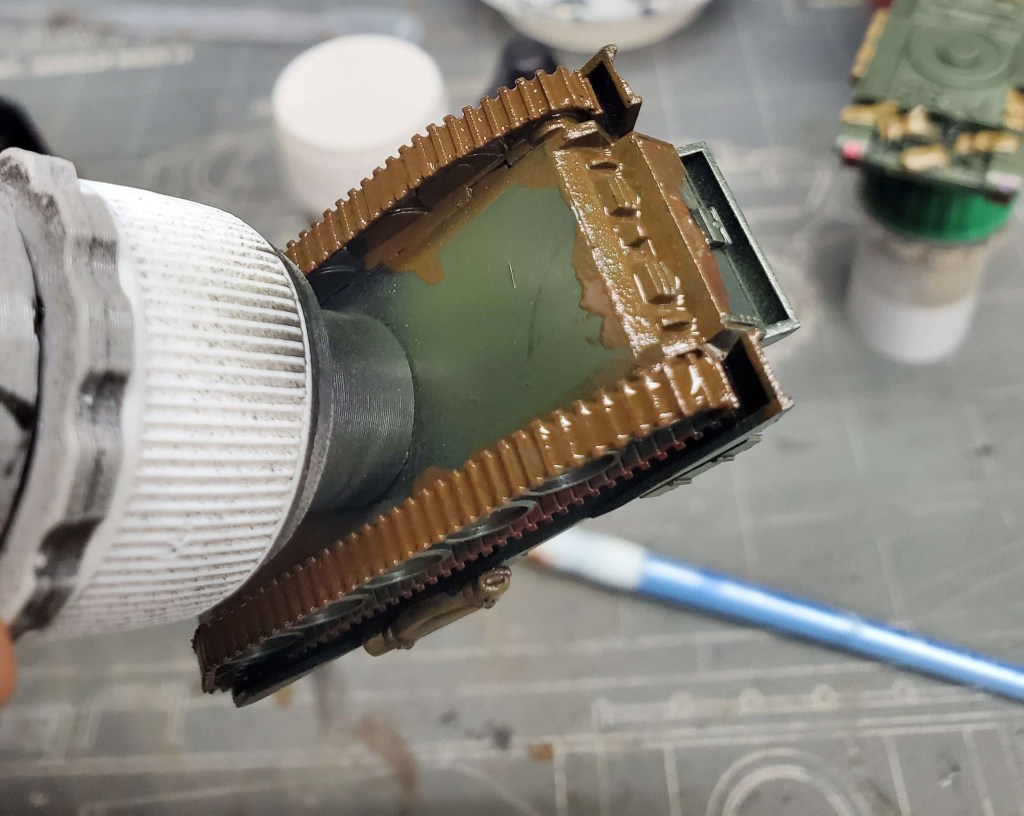
After it dries its going to look like a uniform coat of dirt encrusting everywhere you painted it. This might be exactly what you want in some areas, but for most of it you’re going to want to work some of it away, or at the very least blend the edges. We’re also going to be adding more later on.

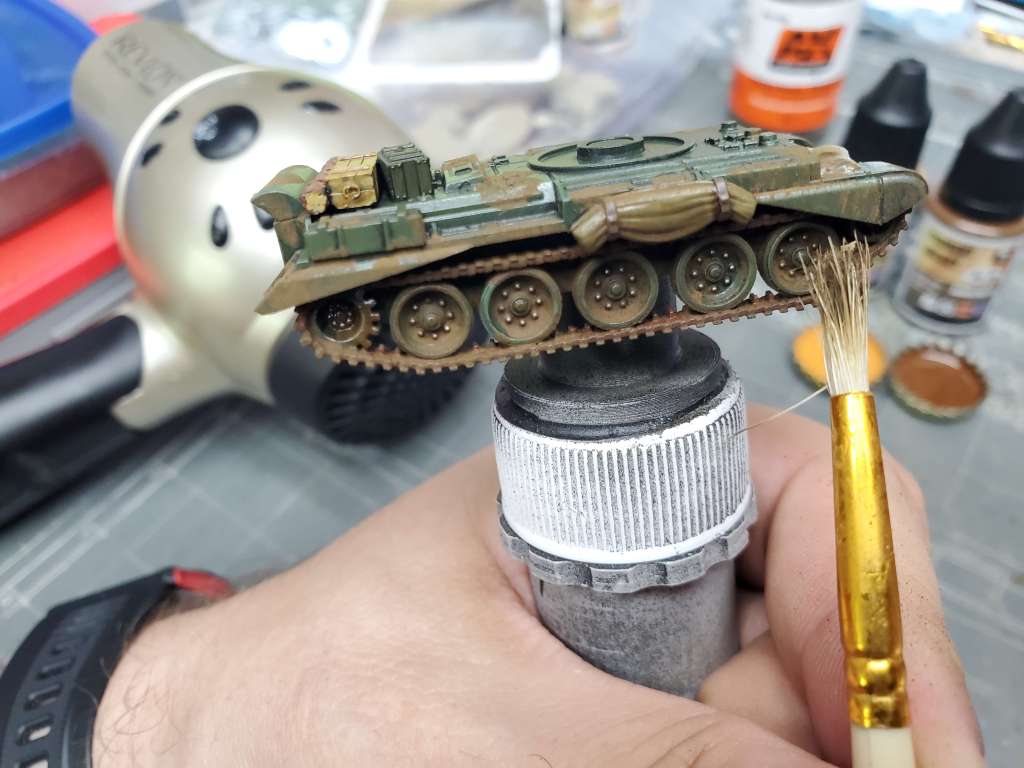
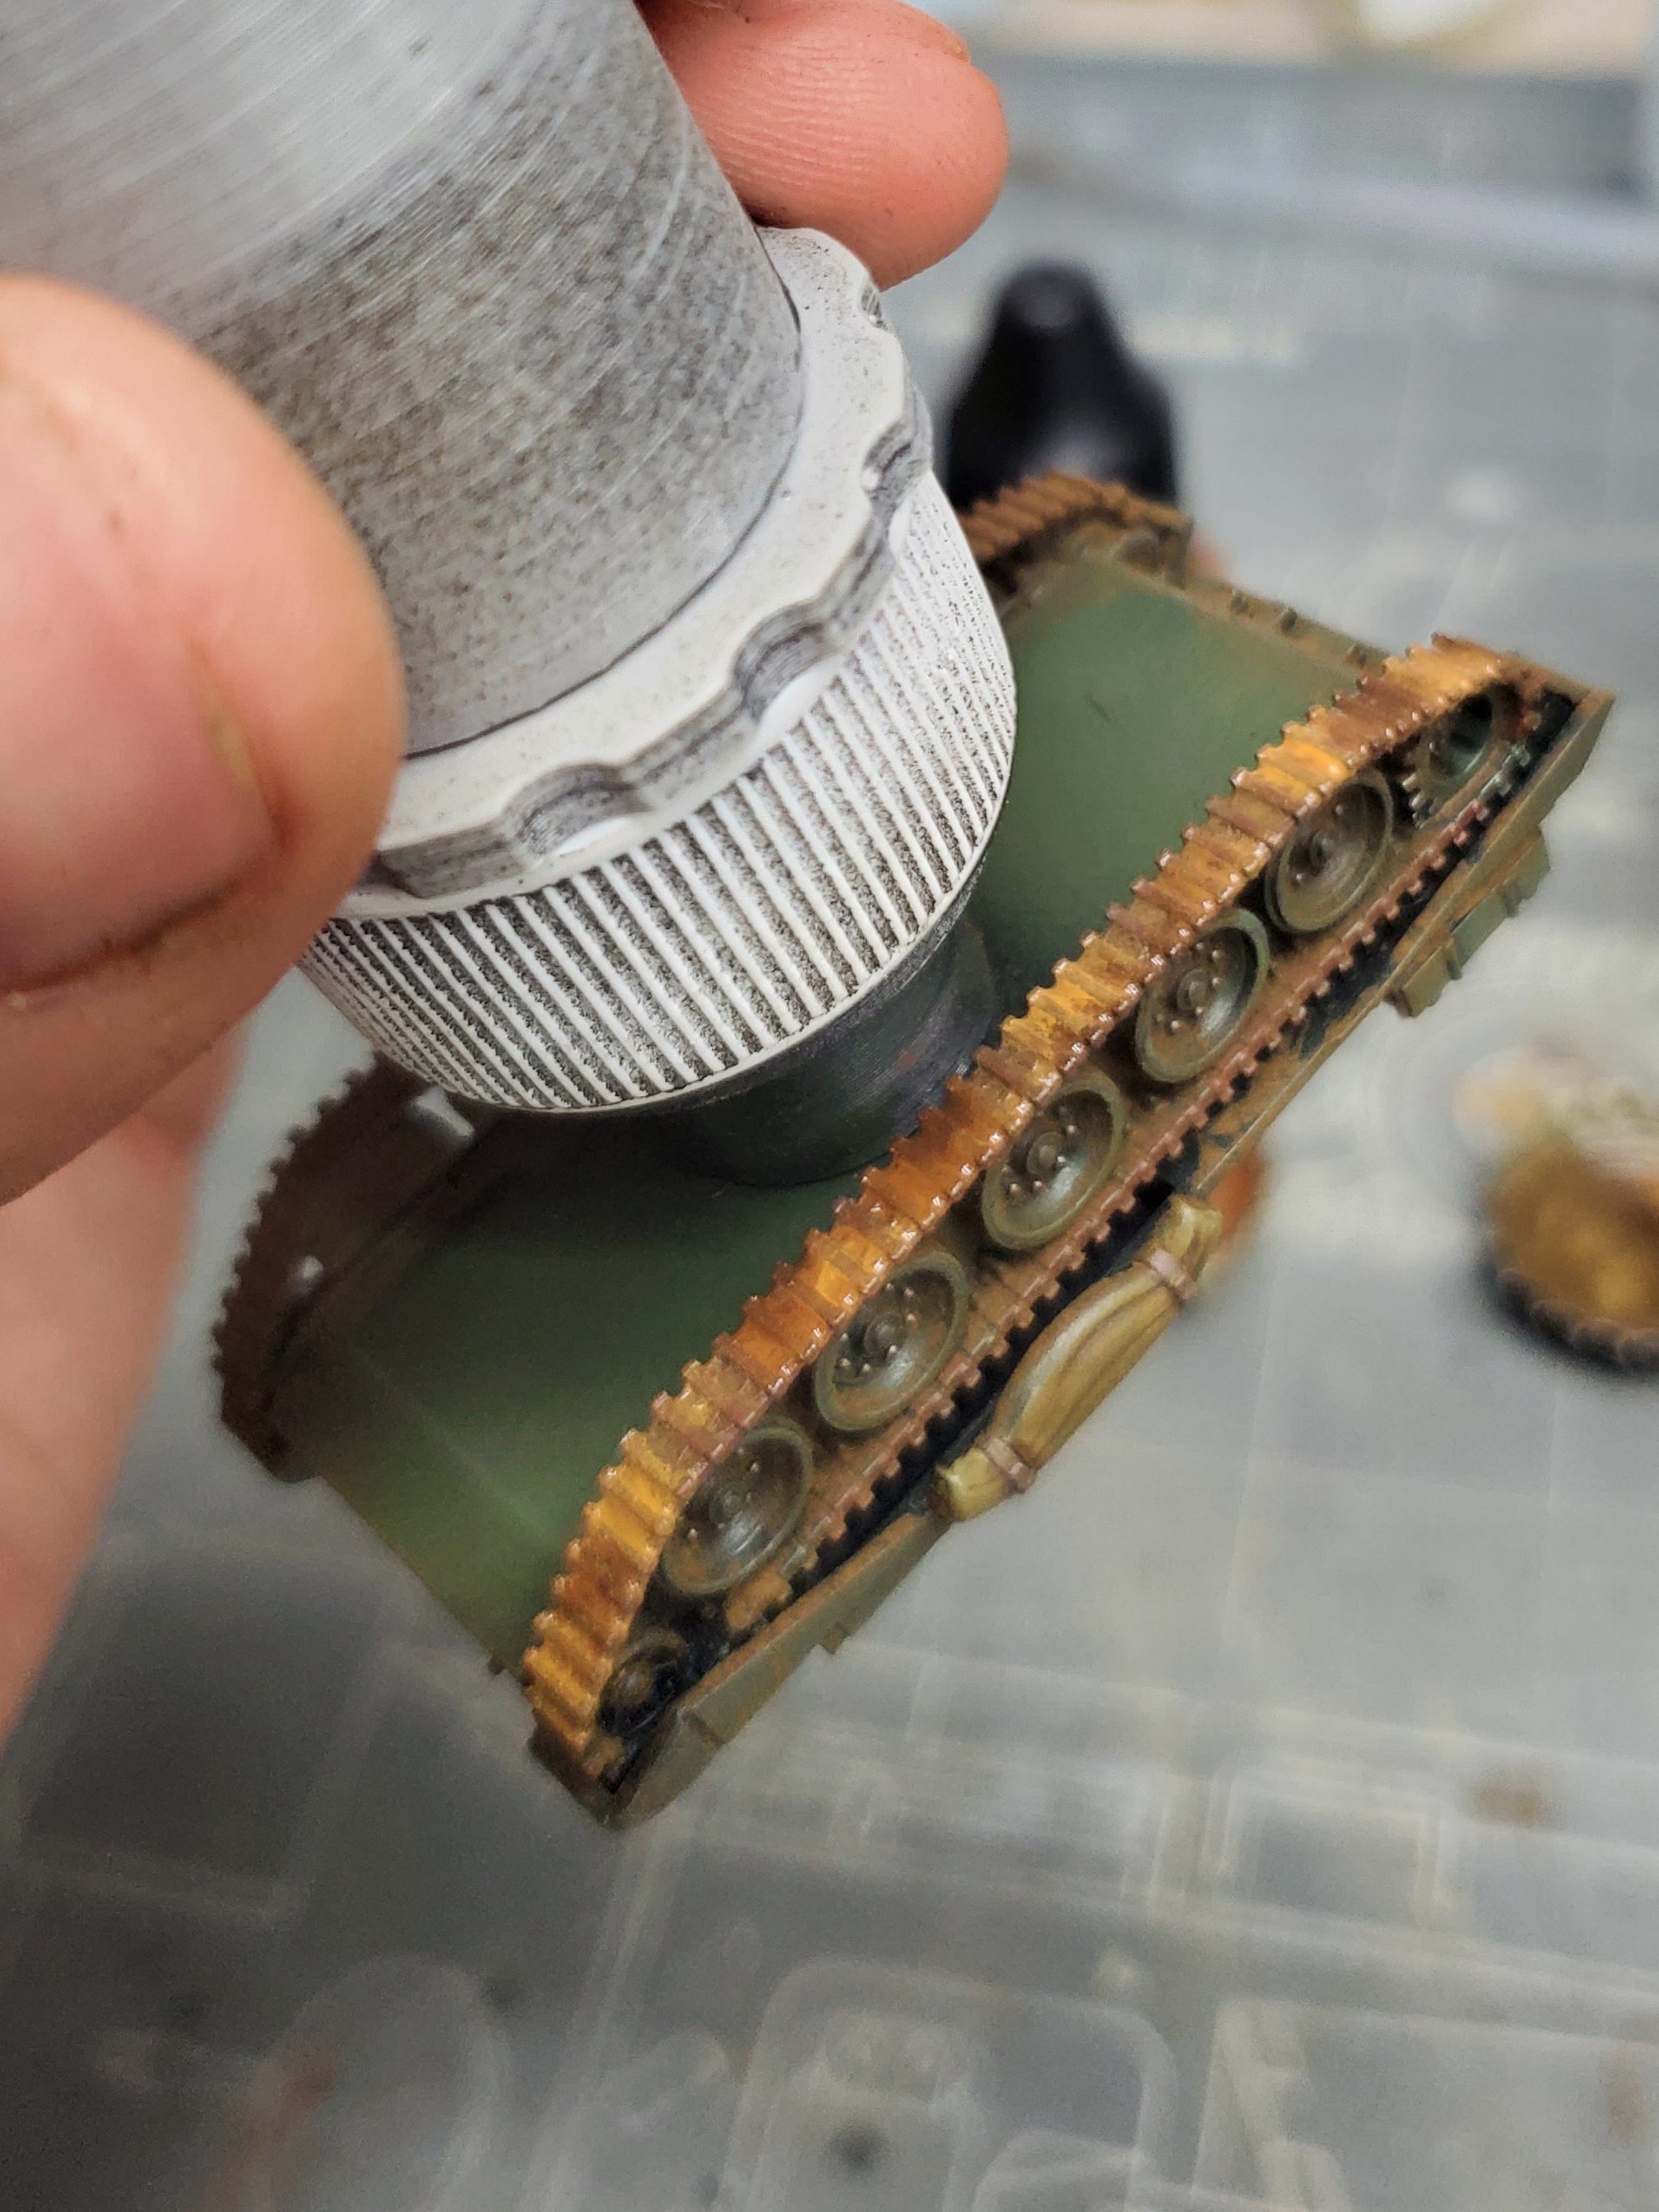
Now that the pigment has dried, we’re ready to begin blending and thinning it, to leave a dusty effect, with build up in the nooks and cranny’s. Personally I used a hairdryer to hasten the drying of these models, so that I could keep working. You don’t need to, you can just leave them to dry for an hour or two, but I’m not aware of any benefit to not just using a hairdryer. You’ll want to use a stiff “hog hair” brush, that will work to begin to remove the pigment powder. It wont take much to remove it on the flat areas, so go easy so that you don’t remove more than you wanted too fast. Work in more of a stippling motion, rather than a typical brushing. I remove most of the dust from larger flat areas, as they would self clean easily, however I do still want them to look dusty. I leave much of the pigment in the wheel wells and within the cracks and creases of the treads and drive sprocket.
The next step is going to be going in with VMS Pigment Jockey colors, which will add some needed color modulation to the effect. Its going to tie the weathering together, and help bind the existing pigment powder down even better.
I use bottle caps again, so that I can dispose of them after, rather than needing to clean up a pallet. An important note about using Pigment Jockey, they bind to the model rather well on their own, and because I want to be able to use my stiff brush to stipple them for the blending, I will be adding a few drops of white spirit to the mix. If you don’t add that, they will be much more resistant to blending with the stiff brush (which normally is a good thing). If you do find you’re having a hard time blending with the brush, you can dip it into a bottle of white spirits, and dab most of it off. That little bit on the brush will get things moving for you. But that being said, with just those few drops added to the mix before hand, I had no issues when blending.
So now I start adding the two colors onto the model, in random blotches. I want the colors to flow over parts of the exiting pigment powder, mixing into it to some degree, and with each other.
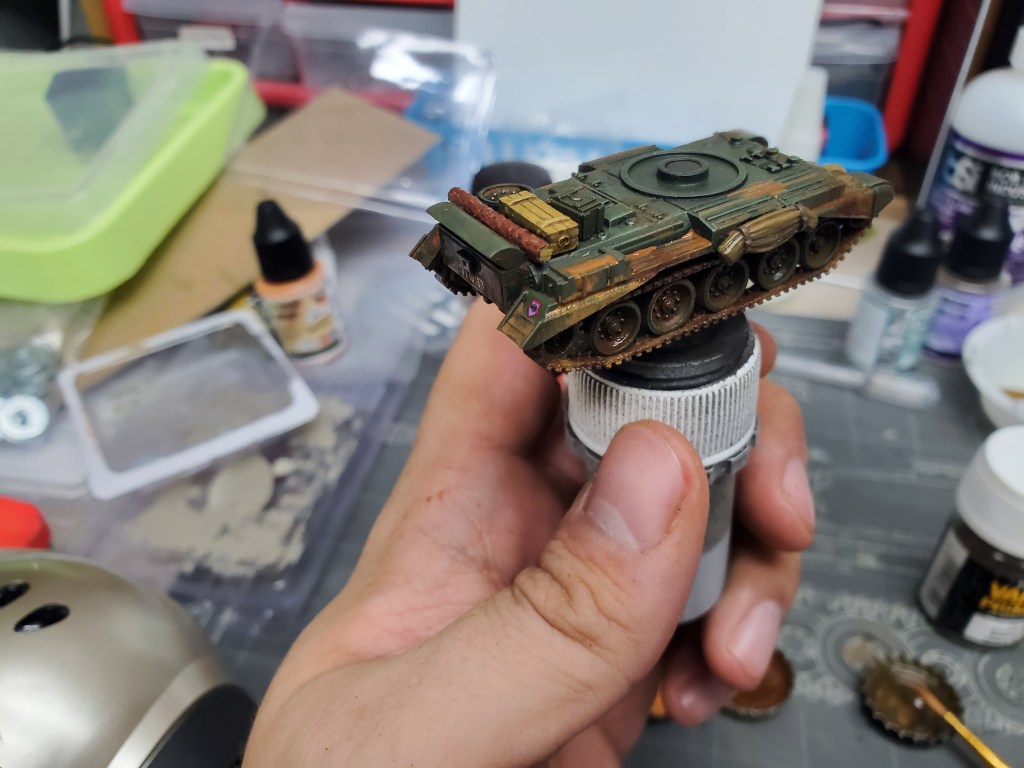

I also add some of this to the turret, but naturally neglected to get any pics! I add less to the turret, focusing on a few areas on the lower side, and one or two splotches on the top deck.
Once again, I use a hair dryer to speed up the drying process. As soon as the Pigment Jockey looks try, I start to work it with the stiff brush. I want most of what I applied to remain this time, so most of my stippling is to blend any hard edges, and to break up any heavy areas..


And that’s the the long and short of it! If you’ve added too much, take more off, if you took too much off, put some more on. It’s dirt after all, so there is nothing perfect about it, and the products we’re using are very forgiving in the ability to remove and add to it!
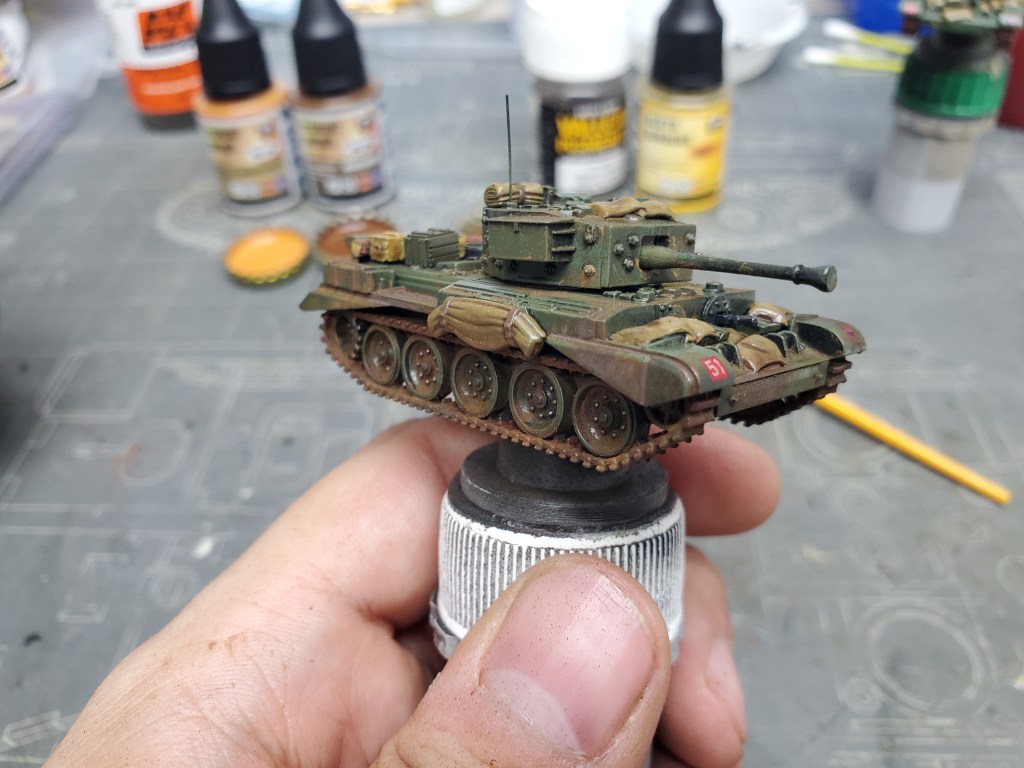
The final step I do before giving the model a final coat of matte varnish, is to touch up the tanks tracks. When a tank moves around, the point of contact on the ground tends to clean and polish itself by friction. If the tank isn’t actively driving through mud or wet soil, and especially if its been on gravel or paved roads, the bottoms of the tracks will look surprisingly clean, even while the insides are filthy. Metal tracks like these, will often show a fresh “polished” metal exposed on the outermost edges of the track. For this I will drybrush it with a steel or silver paint. For rubber tracks, like those of a Sherman, I will actually take a q-tip with some white spirit and wipe away the “dirt” from the edges that have been friction cleaned against the ground. I do the same for tires on wheeled vehicles, cleaning off the edges that ride on the road, and leave all the dirt in the cracks and tread. It’s defiantly an extra step that you can feel free to skip, but I like the last little bit of contrast that it adds.

Finally I give my tanks a coat of VMS Matt Varnish HD, to knock down all those glossy finishes and unify the entire model. I personally love having the most matte finish possible (excepting things like glass and whatnot) on a finished model, and the Matt Varnish HD from VMS is absolutely my favorite on the market. It airbrushes on like a champ, and you can just drench the model and it will still dry perfectly matte!

Well there you have it, now that these bad boys are done, they look the part to finally get on the table!
This technique for adding dirt and dust effects is highly versatile, and you can add or remove products and colors as your needs should dictate.
If you’re in North Afrika, all you’d need to do is swap out for light sand colors, and do more dust on the top of the turret!
If it’s winter, focus on dark browns for the mud, and you can even use the “Wet Effects” pigment binder (as opposed to the Matt effect that I used here), to give that wet mud in the tracks look.
Remember with a little white sprit you can remove things that you don’t like, or want to thin out, so experiment! Don’t be afraid to throw hobby at the wall and see what sticks!

Materials List
-> VMS Alkyd Expert Binders – Matt Effects – Link
-> VMS Pigment Jockey – Link
-> Abteilung 502 Pigment Powders – Link
-> AK Interactive White Spirit 100ml – Link
-> VMS Matt Varnish HD XXL – Link

A handy run-through the process and some very nice results! 🙂 I reckon you just mix everything up on bottle tops to justify having a beer or two during the process (nothing wrong with that)! 😉
LikeLiked by 1 person
Ha! I consider it contributing to my hobby supplies 😉
I’ll have to pick up some German beer when I start on my Panzers… You may be onto something here John!
LikeLiked by 1 person