Continued from Chapter 7
Preface
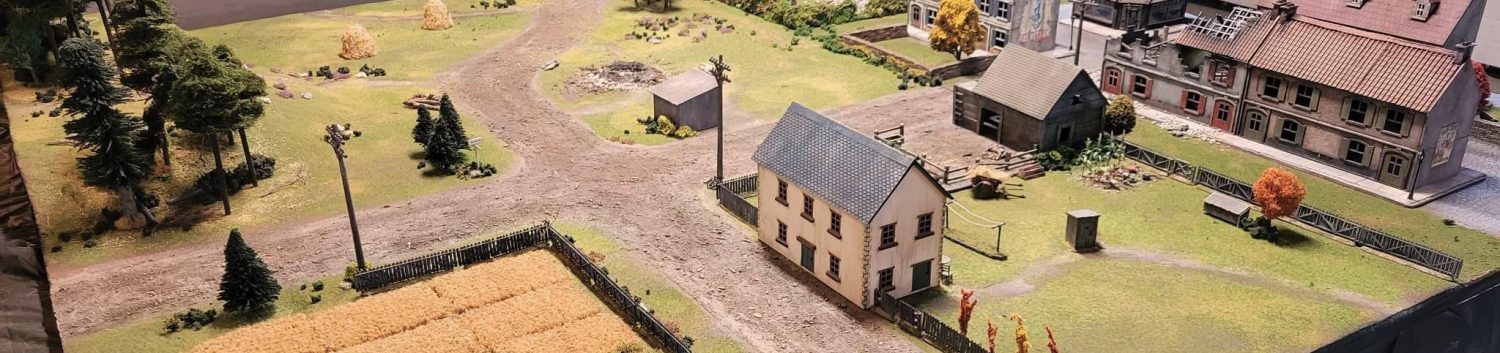
Welcome back to another installment of my first Bag the Hun campaign. If this is the first time you’re reading about it, I recommend going back and catching up here if you want the full story. In this article I’ll be conducting a small scenario meant to exemplify a small part of the action which took place on August 24th, 1942 in is known as the Battle of the Eastern Solomons. On that date, at roughly 1600 hours, the US ships’ radar detected an attacking wave of Japanese aircraft. Due to a host of problems the US carrier fighters were only able to get to a few of the Aichi D3A1 ‘Val’ dive bombers before they attacked the USS Enterprise and USS Saratoga. In actuality the Enterprise was left heavily damaged and was forced to return to Pearl Harbor for repairs. Today I’ll continue inserting the fictional USS Lake Erie carrier into the action to find out if she will fare better than the real Enterprise did. After the action I’ll briefly go over the post game book keeping for the Squadron Forward supplement.
Order of Battle
VF-2
Flight One
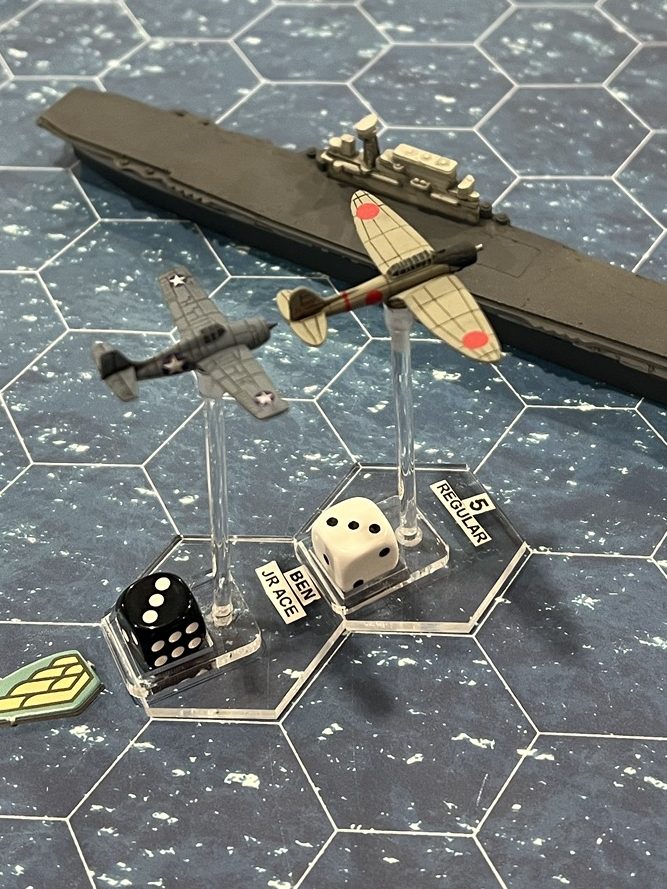
Lt. Evan Richards / Junior Ace / F4F-4 Wildcat
Ens. James Jackson / Regular / F4F-4 Wildcat
Ens. Mike Charge / Regular / F4F-4 Wildcat
Ens. Christopher Hill / Rookie / F4F-4 Wildcat
Flight Two
Lt. Ben Wilson / Junior Ace / F4F-4 Wildcat
Ens. Anthony Stewart / Regular / F4F-4 Wildcat
Lt. Dan Fletcher / Junior Ace / F4F-4 Wildcat
Ens. Dick “Bastard” Blanchard / Veteran / F4F-4 Wildcat
IJNAS Fighters
First Fighter Shotai
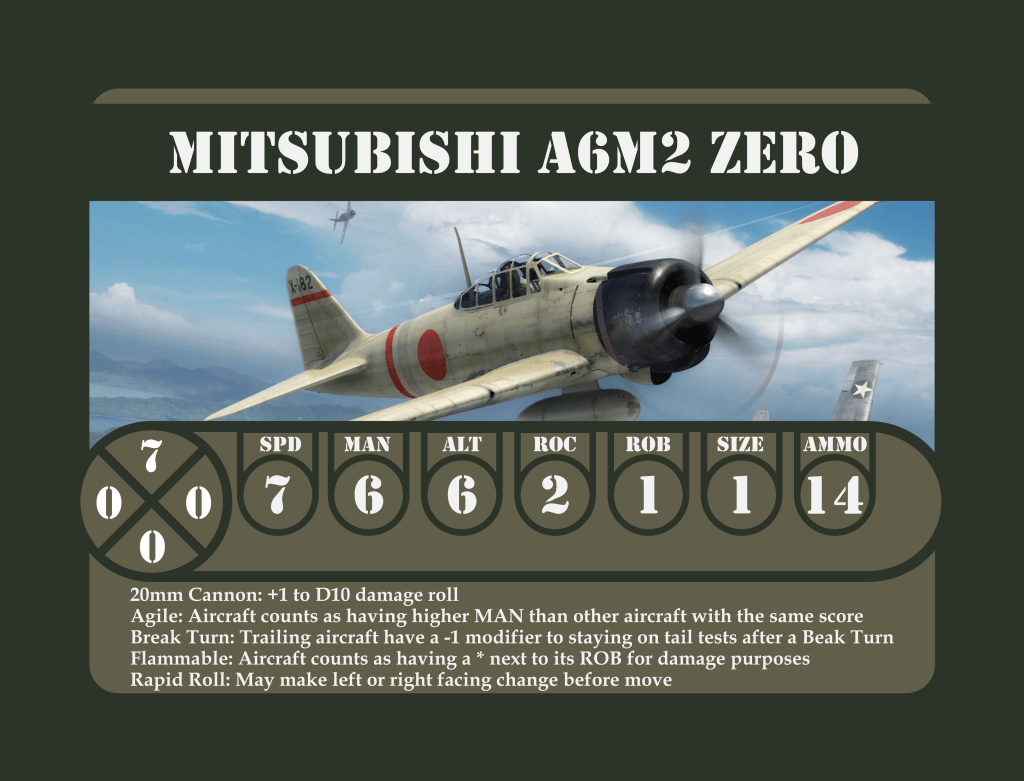
Zero One / Top Ace / A6M2 Zero
Zero Two / Veteran / A6M2 Zero
Zero Three / Regular / A6M2 Zero
Second Fighter Shotai
Zero Four / Junior Ace / A6M2 Zero
Zero Five / Veteran/ A6M2 Zero
Zero Six / Regular / A6M2 Zero
IJNAS Bombers
First Bomber Shotai
Val One- Izumi Kosaku / Top Ace / D3A1 ‘Val’
Val Two / Veteran / D3A1 ‘Val’
Val Three / Regular / D3A1 ‘Val’
Second Bomber Shotai
Val Four / Veteran / D3A1 ‘Val’
Val Five / Veteran / D3A1 ‘Val’
Val Six / Regular / D3A1 ‘Val’


TURNS 1-3
The pilots of VF-2 vibrate in their seats as their engines roar, pulling the stubby F4F Wildcats ever higher. They are climbing to intercept inbound attackers, prepping themselves for another fight after the bloody battle weeks earlier. Dan Fletcher is in a particularly black mood. His flight of friends lost two of their number to the opposition during the fight over Guadalcanal. Dan is out for revenge, as is his wingman Dick “Bastard” Blanchard. Dan is flying in the number three position in Ben Wilson’s flight. With the losses last time VF-2 is only able to put eight planes into the fight today.
Behind and below Ben’s flight Evan Richards is leading a flight of four also climbing to altitude. Evan’s wingman is new replacement pilot James Jackson. His number three is Mike Charge, with a fresh faced pilot named Christopher Hill as his wingman. Though confident in his squadron, Evan Richards is secretly hoping for a less devastating encounter today. Unfortunately so far there are no easy days against the pilots of the Japanese Navy.
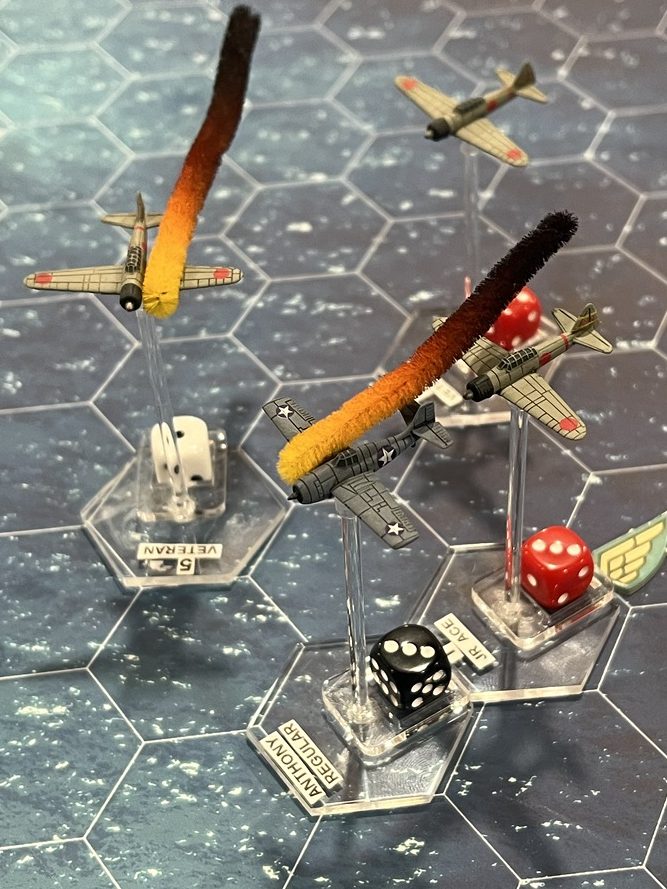
Dan is first to see the enemy, spotting three Zeros ahead . He calls to Ben on the radio and Ben replies that he sees a different set of three zeros at his own 11 o’clock. They decide to break into pairs to tangle with the fighters so the other flight of VF-2 can get through to the bombers. Dan and Bastard bank towards the Zeros passing over them. Dan rolls onto his back and pulls through a split-s to find himself cleanly behind the lead Zero. He wastes no time in opening up with his guns and is quickly rewarded by a bright flash as the Zero explodes in midair. The wingmen of the destroyed Zero immediately pull up and away to the left after seeing their leader destroyed. Dan follows and settles in behind one of the two Zeros. He stays with them through several crushingly tight turns. Suddenly another Wildcat flashes by hitting the Zero ahead of him, Dan takes the chance to add his own guns to the attack. The Zero disintegrates seconds later as a wing is ripped off from the damage. Dan only now notices that Bastard is gone from his wing, having been the Wildcat that attacked from a different direction.
Ben and Anthony dive into the attack, quickly mixing it up with a skilled group of three Zeros. All too soon Ben feels the impacts and sees a spray of oil as his engine begins running hot. Ben deftly evades out of the fight nursing his engine before he realizes Anthony isn’t with him. While Ben limps away Anthony finds himself in trouble. A Zero is hot on his tail and won’t be shaken off. Anthony pitches over into a hard dive, hoping to speed away from the Zero and its wingman. As he comes out of the dive he feels impacts on his Wildcat. He tries to evade more but the sound of bullets hitting his plane continue and Anthony begins to smell fuel in his cockpit…
Mike Charge is startled when his wingman calls a Zero sliding in behind Charge’s F4F. He saw Dan and Ben’s flight dive into action ahead but has no idea where this lone Zero has appeared from. He begins evading while Hill, his wingman, tries to get behind the Zero.
Christopher Hill wipes sweat from his forehead as he roughly handles his Wildcat behind the Zero ahead of him. Hill never thought he’d find himself in such a position this soon into his first mission. He tries to lineup a shot and begins firing wildly. He doesn’t seem to land any hits, and hears the sound of firing change, realizing some of his guns have jammed.


Turn one saw the forces just move and close with each other, it wasn’t until turn two that the action began to heat up. Ben and Dan’s flight split into two pairs in the first turn, this worked to Dan’s advantage as he was able to take advantage of an early Junior Ace card to pull around behind the lead Zero, a top ace. Dan didn’t pass his Getting on the Tail test but luck was on his side anyways. Nearly the next card pulled was his Fire card and he was able to fill the ace with a Long Burst of fire. Dan bagged a good six hits on the Zero, combined with a 10 on the damage roll, made the Zero explode. Quite the opening move for Dan. The remaining Zeros try to break away but Dan stays right with them. Bastard breaks off of Dan’s wing to come around for his own attack on the pair of enemies. The end result is Bastard executing an Overhead Attack, damaging the Zero. Dan followed it with a burst of his own, claiming his second kill of the day.
Across the table Ben and Anthony went head to head with a group of Zeros. After a turn and change of maneuvering a Zero managed to get a shot on Ben and send him home with Engine Damage. The Zeros got a solid set of move cards and were able to immediately swing around on Anthony’s tail (Though they lost the #6 ‘Regular’ Zero in the process. He’ll come back later though). Anthony takes some hits and tries a Hard Dive maneuver to get away. The Hard Dive trades three altitude for an additional three speed as you spend your whole speed budget to move straight ahead. It counts as a tricky maneuver but unfortunately for Anthony the Zero Junior Ace stayed with him easily. Another round of hits on Anthony left him with even more damage, leaving him only able to perform easy maneuvers and a Fuel Line Damage which gives the Zeros a whopping +3 on future damage rolls.
Evan’s flight was late to the show being further back. They split into two pairs to go chasing after the Vals. Evan and Jackson are able to get set up near some Vals but Charge and Hill quickly find themselves in trouble as a lone Zero (I told you he’d be back) appears on Charge’s tail. Hill manages to break off and get behind the Zero but doesn’t land any hits and gets a Gun Jam for his trouble. Being a Sprog/Rookie isn’t a fun time.
TURNS 4-5
Evan Richards is flying with a new wingman today, James Jackson. Together they soar by several dogfights closing rapidly with a formation of Aichi D3A1 dive bombers. Evan leads the pair in a pass on the formation, scoring a quick kill as one of the bombers lazily rolls over and dives for the sea, the pilot apparently dead or incapacitated. Immediately Evan and Jackson climb again to come around for another round on the slow moving targets. They aren’t alone in hunting this particular prey, as Dan soon screams out of the sky to get behind another Val. Despite its defensive fire Dan quickly dispatches the bomber, turning away from the cloud of debris and spotting a new opportunity in the process…
On the fringes of the fight a trio of Vals has snuck by the US fighter screen and is now approaching the USS Lake Erie. Also approaching the carrier is a lone Wildcat trailing smoke from its engine. Ben fights his damaged plane all the way to the deck. The engine gives out just a hair too soon and the resultant hard landing breaks the main landing gear free and manages to foul the flight deck. Ben is unharmed though as he hops from the plane and immediately requests their reserve plane so he can get back in the fight. His damaged Wildcat is pushed over the side to clear the deck as the ship begins defensive maneuvers. The three Vals begin their steep diving attacks on the ship, but the result is only a single near miss resulting in a large spray of water.
Anthony decides maybe it’s time to get out of the plane as the fuel smell gets stronger and he begins to lose control of his fighter from the continuous damage. He unstraps his belts and reaches for the canopy when there is a deafening roar. Moments later Anthony finds himself in freefall, catapulted free from the explosion of his Wildcat. His parachute opens easily and he hangs in the harness watching the battles rage nearby.
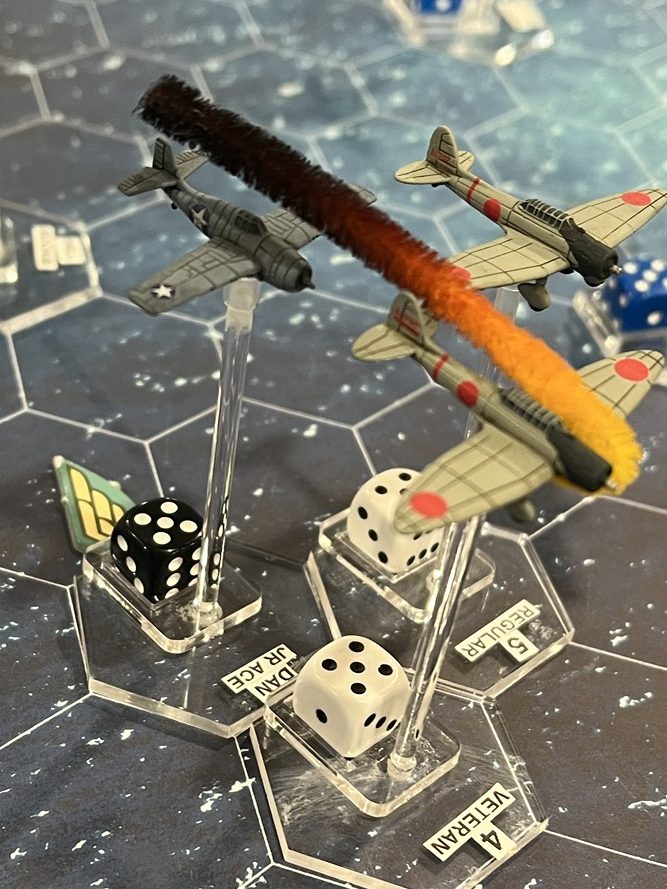
Bastard grunts, pulling hard on his stick and trying to get this Zero off his tail. The skilled opponent had jumped on him almost as soon as he had seen it dispatch another Wildcat in a fireball. Bastard knows he’s taking hits from his attacker and makes a radio call “Can someone get this guy off my tail!”. “Sure thing” comes the measured response from Dan, who at that moment is casually sliding in behind Bastards attacker.
Christopher Hill is still struggling to get behind the Zero attacking his wingman Mike Charge. He can see the Zero firing and scoring hits. Suddenly, Charge’s Wildcat stops evading and slowly begins a slow left descent. It picks up speed and the Zero peels off. Hill tries to raise Charge on the radio but the pilot never responds. Slowly the Wildcat coasts ever downwards before impacting the water below.


These turns provided a quick avalanche of action. It started off strong for the US pilots as they scored some quick victories. Dan really went on a tear, racking himself his third kill and easily setting himself up for another opportunity. Ben was knocked out of the fight really quickly, but anything can happen in Bag the Hun even if you’re an ace. When rolling on the optional carrier landing and return to base tables in the Bag the Hun and Squadron Forward books for Ben’s mid battle landing I got the following results: Ben was fine, his plane was not, and it fouled the flight deck of the carrier for one turn (being turn 5). Seeing as VF-2 had one extra Wildcat on my record sheet I figured it was “Probable” that Ben would return to the fight in the reserve plane. A quick dice roll decided the outcome, and Ben found a new plane.
The early success turned around in the later half of turn four and all of turn five. Anthony was lucky to survive the explosion (that needing a roll of 6 on a D6), and Charge was less lucky. Mechanically speaking Charge got the Pilot Hit damage result rolled against him, followed by a roll of 2 on the Pilot Hit table. Anything less than a 5 is a Pilot Killed result. So long Charge, another original member of the squadron gone.
TURNS 6-9
Dan lays into the Zero ahead of him, moments later it is spouting flame. The wounded Zero breaks away from Bastard and dives away. Dan is about to follow it when he sees tracers flash past his own plane. Dan wrenches his Wildcat up and around, turning the tables on his attacker. Quickly the hunted becomes the hunter as Dan slides in behind the Zero. A quick burst at the Japanese fighter sees it spiral out of control into the ocean below. Dan checks his ammo and sees he’s all but exhausted it. He lazily peels off and rejoins with Bastard to follow him back to the ship.
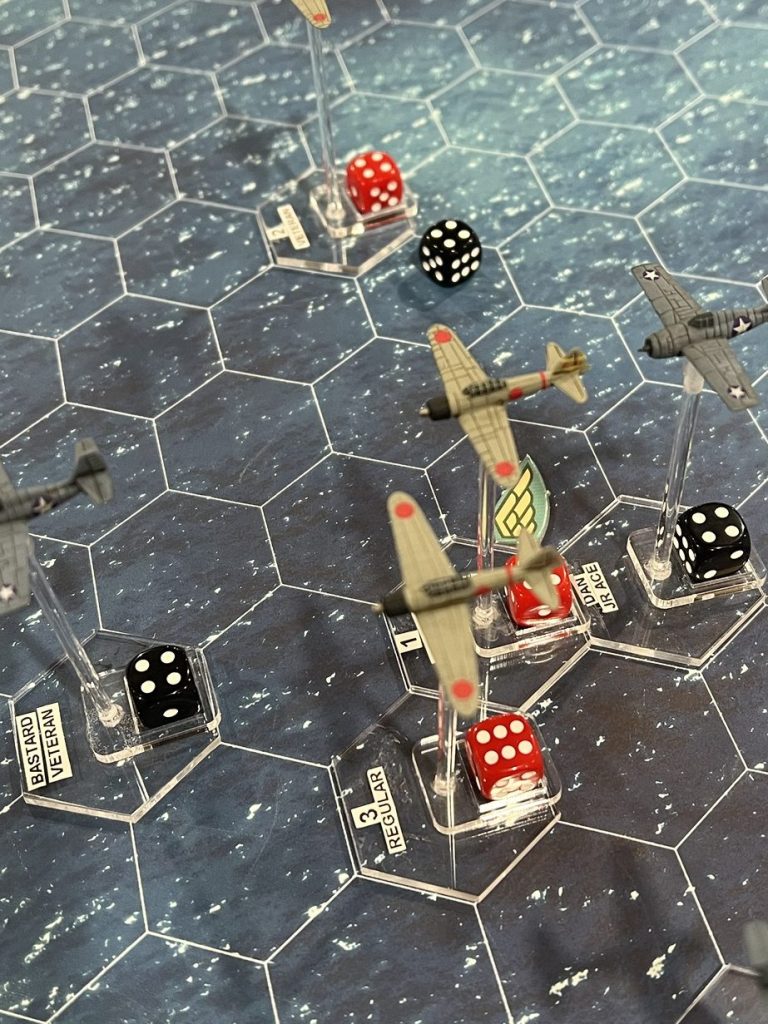
Evan and Jackson come around looking for more Vals and find themselves tangling with a pair of Zeros instead! The twisting flight slowly takes them lower and lower until a Zero slices by Jackson, leaving a shredded Wildcat without a wing behind it. Evan looks on in dismay as Jackson’s Wildcat wildly tumbles into the sea. Nearby, Hill watches the scene play out with horror and decides to act on it. Almost simultaneously Evan rolls into an overhead attack on Jackson’s killer. Hill and Evan fly by their targets. Evan’s quarry explodes violently, and Hill leaves his trailing flame. As they recover, seeing each other and forming up to be a functioning pair, the smoking Zero manages to pull alongside Hill…
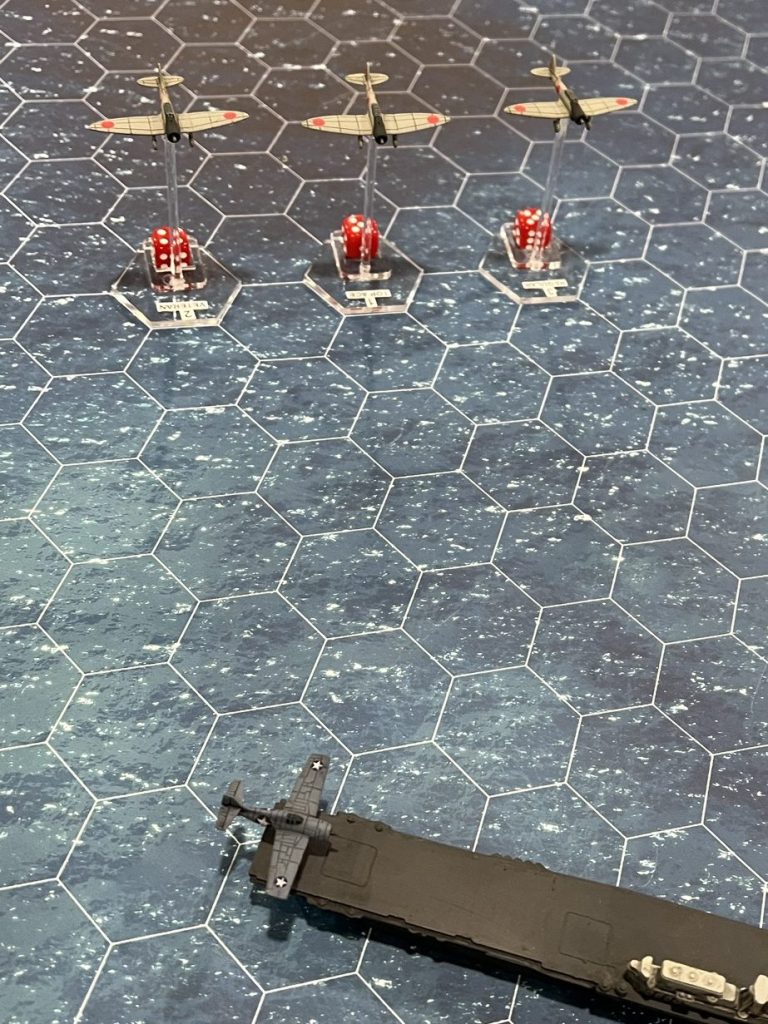
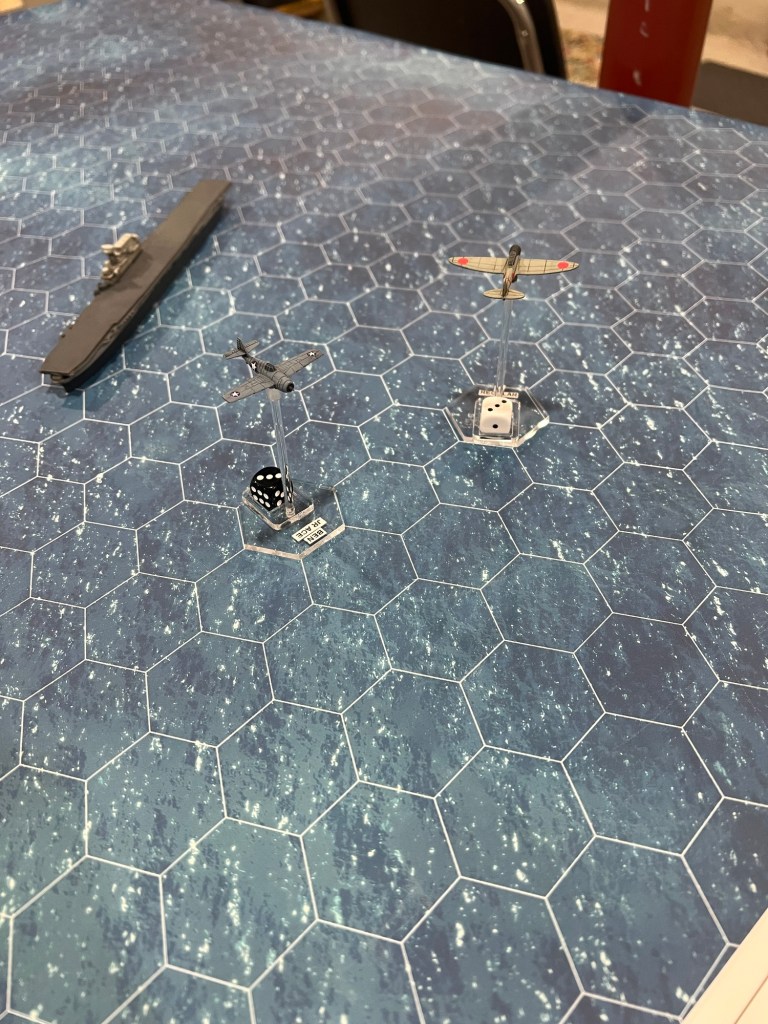
Ben firewalls the engine of a fresh Wildcat. It courses down the deck and takes to the air. Ben hangs the fighter on its propeller to gain altitude as fast as possible. He then spies a lone Val making for the Lake Erie. The bomber is undisturbed as it closes in on the big ship. Ben turns in pursuit of the interloper and managed to swing around on its tail. Mere moments before the bomber starts its attack dive Ben shreds the Val, leaving only detached pieces behind him.
Hill nervously asks Evan what he should do about the Zero off his wing. Evan responds by pulling up then diving down on the damaged Zero. He misjudges his hasty attack however and misses, pulling out of his attack at low level over the water. Hill watches Evan’s failed attack and begins to feel ill at ease about being alone with a Zero when suddenly the Zero explodes. Ben’s new Wildcat whizzes by and does a quick victory roll, having dispatched the last Japanese plane in the area. After a quick headcount and form-up the weary pilots of VF-2 land aboard the USS Lake Erie. Nearby Anthony Stewart splashes down into the Pacific, but spends only a few minutes at sea before a destroyer pulls alongside and recovers him. By the end of the day he too is back aboard the Lake Erie.


The penultimate turns brought a final melee where Dan made yet another kill while Jackson was shot down. Ben managed to barely catch up to the Val and shoot it down quite literally above the carrier. Ben would never have had the moves to do that if it weren’t for a few Junior Ace Bonus Cards which allowed him a few extra moves. Hill survived his first mission and even managed to damage an enemy in the process, no small feat for a pilot at the lowest end of the skill spectrum. Overall I enjoyed the action of this game, it actually went rather quick with some good moments playing out in the interim. The article is already getting long so I wont go through a step by step of the campaign book keeping as I’ve done in the past but I will give you a quick rundown of the results:
Losses:
-Two pilots, Mike Charge and James Jackson, KIA
-Four F4F Wildcats destroyed
-One F4F Wildcat moved to damaged status
Gains:
-One replacement F4F Wildcat
-Two new replacement pilots: Ens. Steve Turner and Ens. Teddy Anastou
Events and Other:
-New NPC: Wing Commander. It seems Cdr. Joseph May has been replaced by a new Wing Commander: Cdr. Ellis Cox. Cdr. Cox is an instant hit with VF-2. He’s a likable fellow pilot (an ace himself, having become an “ace in a day” at the Battle of the Coral Sea) and he’s not afraid to fly missions himself on occasion.
– Vincent Priest moves from a 6+ to return to base to a 5+ next time after rolling a 2. Where is that guy anyways?
-Archie Marsh continues to be buried in paperwork, and will remain on ‘Duties not involving flying’ for one more mission.
Squadron Status:
-Eight pilots available to fly
-Two pilots inactive with two replacement pilot spots open (currently a 4+ roll to replace)
-Six F4F Wildcats available to fly
-Two Wildcats on Damaged status (One 4+, one 3+)
-Four Wildcats spots open for replacements (One 4+, three 5+)
-Ben Wilson leads the VF2 ace race, with 13 kills to Dan’s 9, Evan’s 7, Priest’s 3 and Bastard’s 2
Thanks again for reading, lookout for more soon!
Evan

Great article!
LikeLiked by 3 people
Quite a bit of action again, Evan! 🙂 Sounds like the squadron’s holding its own though!
LikeLiked by 1 person
It’s trying to at least! I have a smaller mission set up on the table now just need to find some time to go play it through!
LikeLiked by 1 person