
This will be a quick article as there isn’t a whole lot to say about railroad tracks. But what good is a train without a track?
Since I was using the Sarissa Precision train I had to use the matching tracks. I got these directly from Sarissa Precision for $20.00/ 6 tracks. They look pretty good and are scale appropriate. I needed about 14 feet of track for the board. A word of warning though; they are very fragile. I think throughout the painting process Drew and I broke at least one rail end off four pieces. We wanted them to be able to be used for other tables so I didn’t base them. If you buy these and are able to base them I highly recommend it.
I also altered the connection points between the tracks. I didn’t like that there were circles cut out of the end ties for the connectors to slot into. I cut the connectors and used them to fill the openings. I also shortened the “pins” on the end of the tracks so they were easier to separate.

After construction I primed the tracks with black primer.
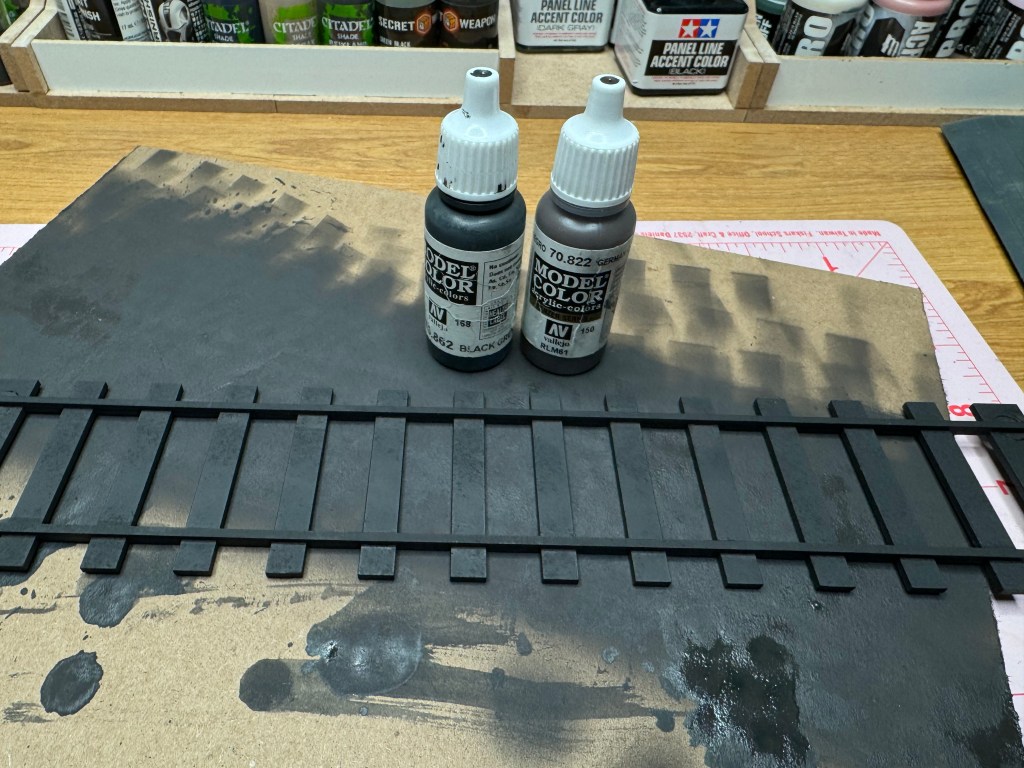
Next I did a quick and dirty dry brush with Vallejo Black Gray and Vallejo German Camo Black Brown.

Then I did a dry brush with Vallejo London Gray and Vallejo Iraqi Sand. I tried to simulate wood grain with my brush strokes.

The rails then got a wet brush of Vallejo Gunmetal.

Here is where I stopped painting. I was pretty satisfied with a very well worn look for the wood. If I had a bunch of time I would have maybe done some things different but I felt they looked the part and I had other things to finish up for the convention.

At this point I turned the tracks over to Drew so he could pin them down and attach the ballast. Of course the Terrain Master couldn’t resist and he gave my tracks the royal treatment. AKA, he basically repainted them from the ground up! He spent a couple hours dolling them up. And hey, Drew knows what he is doing so I enthusiastically supported his work up.
The quick and dirty explaination from Drew is as follows:
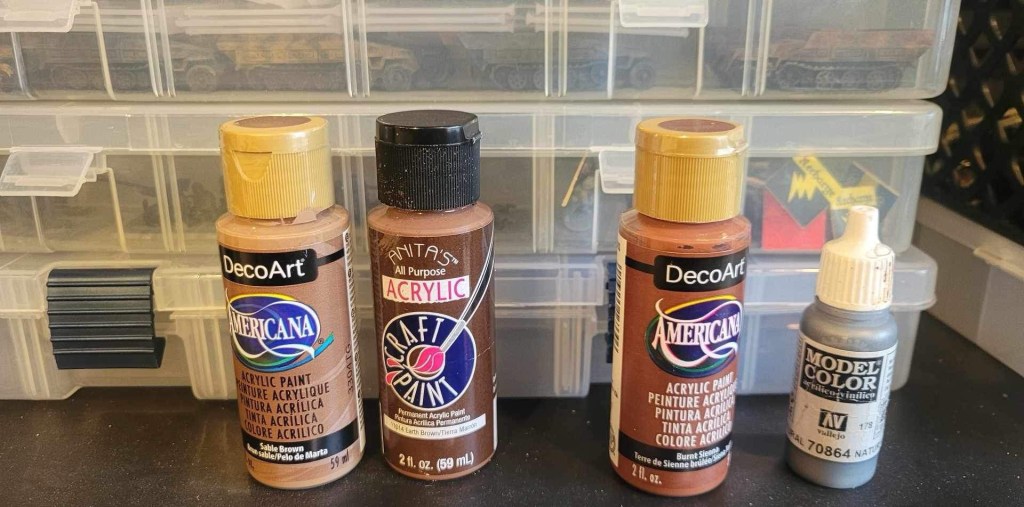
“The top of the rail is silver and a rusty brown underneath. Ties have 2 colors of brown and covered in homemade black wash.”
I attached the photo he sent of his supplies. Vallejo Natural Steel perked the rail tops up and Deco Art Burnt Sienna provided the rusty tone. The ties received Deco Art Sable Brown and Anita’s Acrylic Earth Brown touch ups. They then got a coating of his homemade black wash.


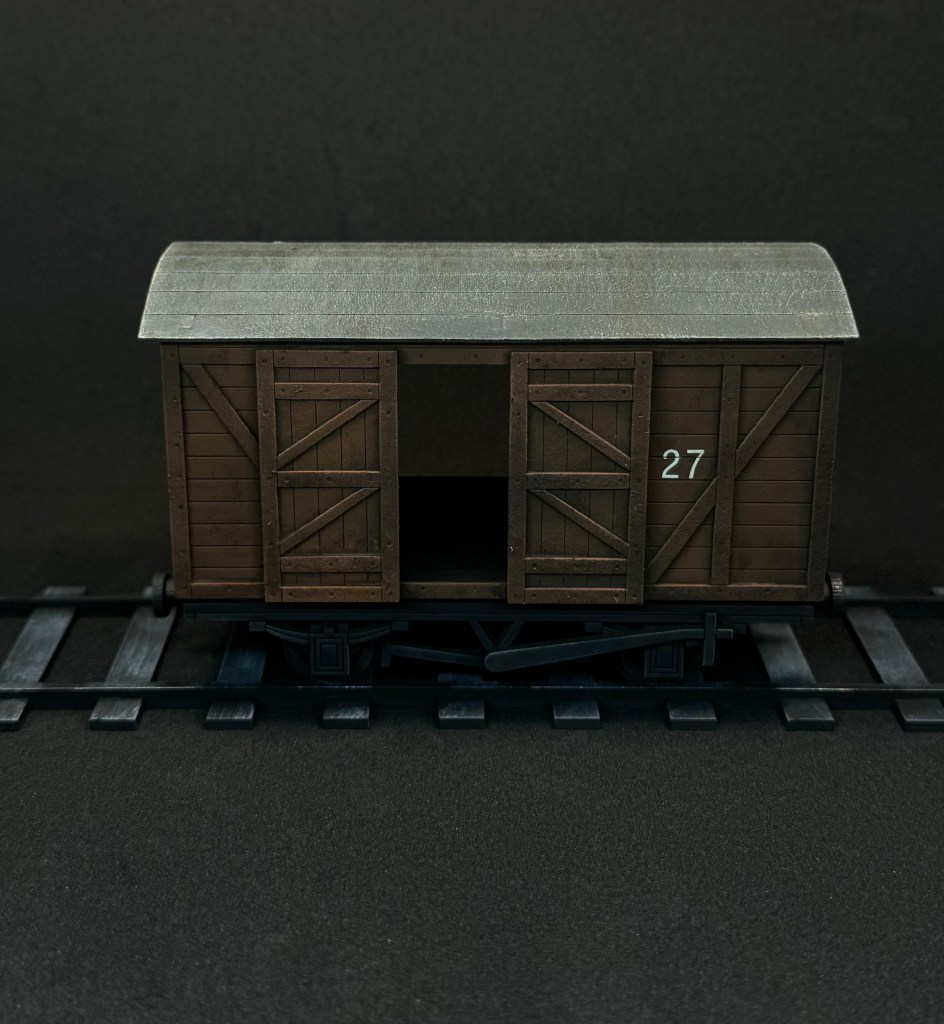
Anyway, they looked 10 times better than where I left them. Below is a shot of them at the convention. They definitely matched the warmer tone Drew was using for the board much better than the cool one I had chosen.

I am thankful I have Drew to guide our wargaming projects and make them into eye catching displays. We are super lucky to have his talents on our team.
And thus endith the saga of the Old Mule. For now…
Paints Used
| Vallejo Black Gray 70.862 German Camo Black Brown 70.882 London Gray 70.836 Iraqi Sand 70.819 Gunmetal 70.863 Natural Steel 70.864 |
| Craft Paint Deco Art Burnt Sienna Deco Art Sable Brown Anita’s Acrylic Earth Brown Homemade Black Wash |

Nice!
The whole thing, train, track, etc., it all looks the part.
LikeLiked by 1 person
They’ve come out really well, Ben! 🙂 That’s quite a bit of track!
LikeLiked by 1 person