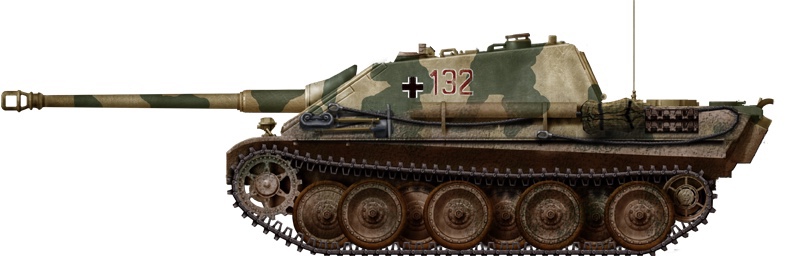
I have really started to enjoy painting large vehicles. A print the size of the Jagdpanther is a great blank canvas to work upon. You can find this Jagdpanther STL on Night Sky Miniatures’ store on Wargaming3d here. My first task was to see if I could find a camouflage scheme appropriate for a unit that was at the Battle of the Bulge. As usual, the Tank Encyclopedia came in clutch. Typically at the bottom of their articles are source photos and artist renderings of specific era and unit paint schemes. I was able to locate two artist renditions of Jagdpanthers for the Battle of the Bulge. After consulting Dan and Evan I settled on a hard edged camouflage which was attributed to an unknown unit participating in the Bulge.
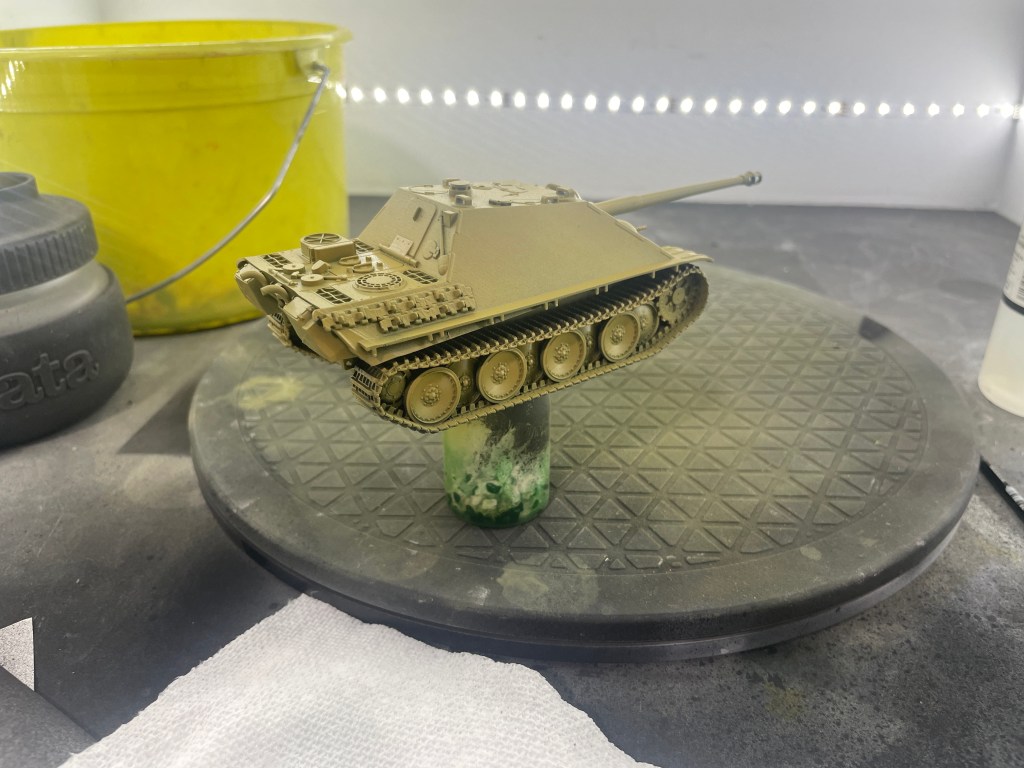
I started by priming with Rustoleum Painter’s Touch flat black from a rattle can. After that I Airbrushed a nice solid coat of Vallejo Model Air (VMA) Dunklegelb 70.025. Dunklegelb, or dark yellow in English, was the factory applied base color for late war German vehicles.
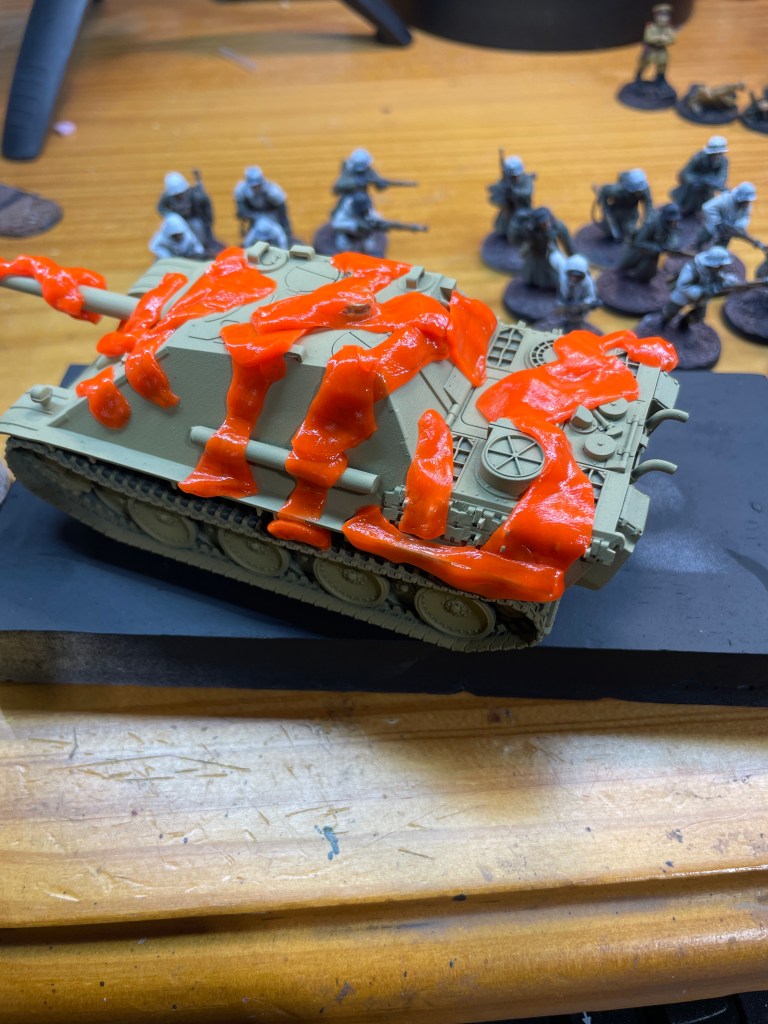
I used silly putty as masking for the camouflage. Care needs to be taken that the putty is pushed all the way down into details so a nice crisp line is produced when the camouflage color is added over the top. That said it’s a cheap addition to your painting arsenal. It can be used over and over, leaves very little (if any) residue, and costs about a dollar at your local box store.
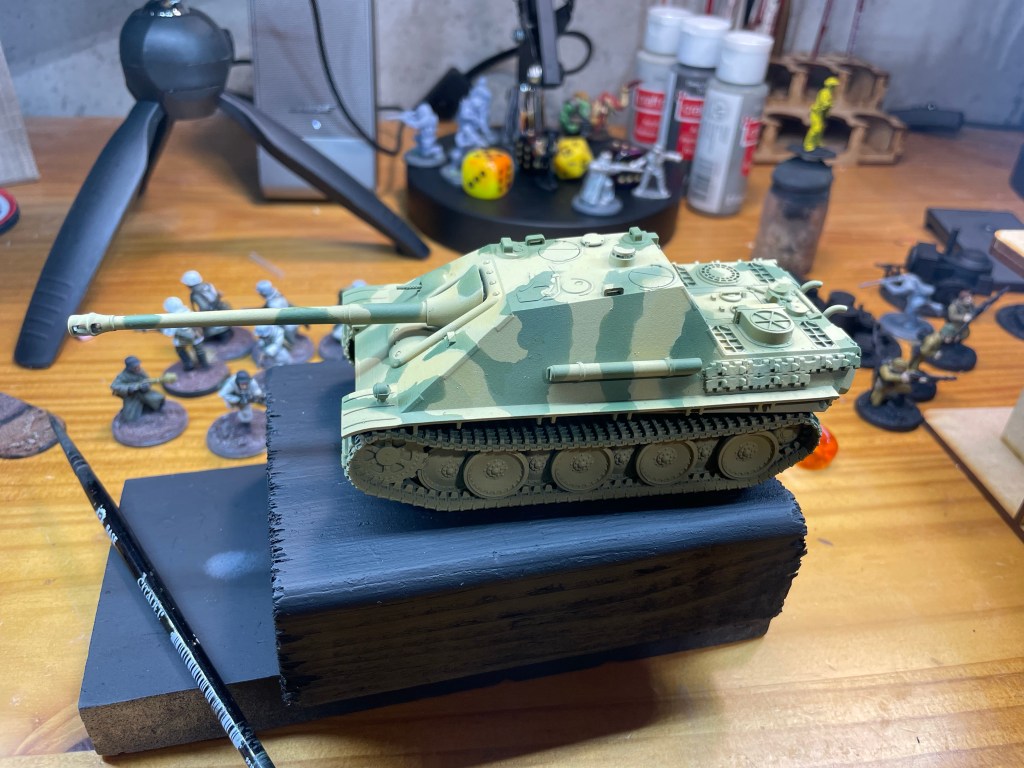
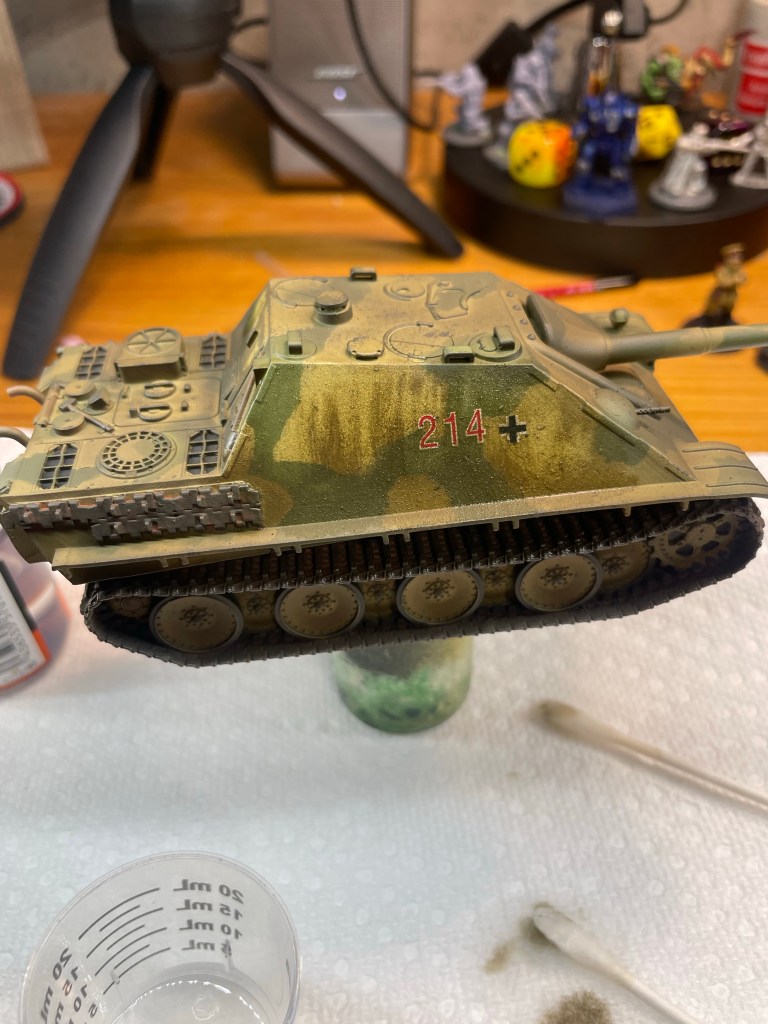
After VMA Grün (Camo Dark Green) 71.019 was airbrushed on the silly putty was removed. I had to touch up with Grün as the putty lifted ever so slightly in a few spots. Luckily camouflage was typically applied in the field with any means necessary so it wasn’t a precision thing. Call me a method painter I guess.
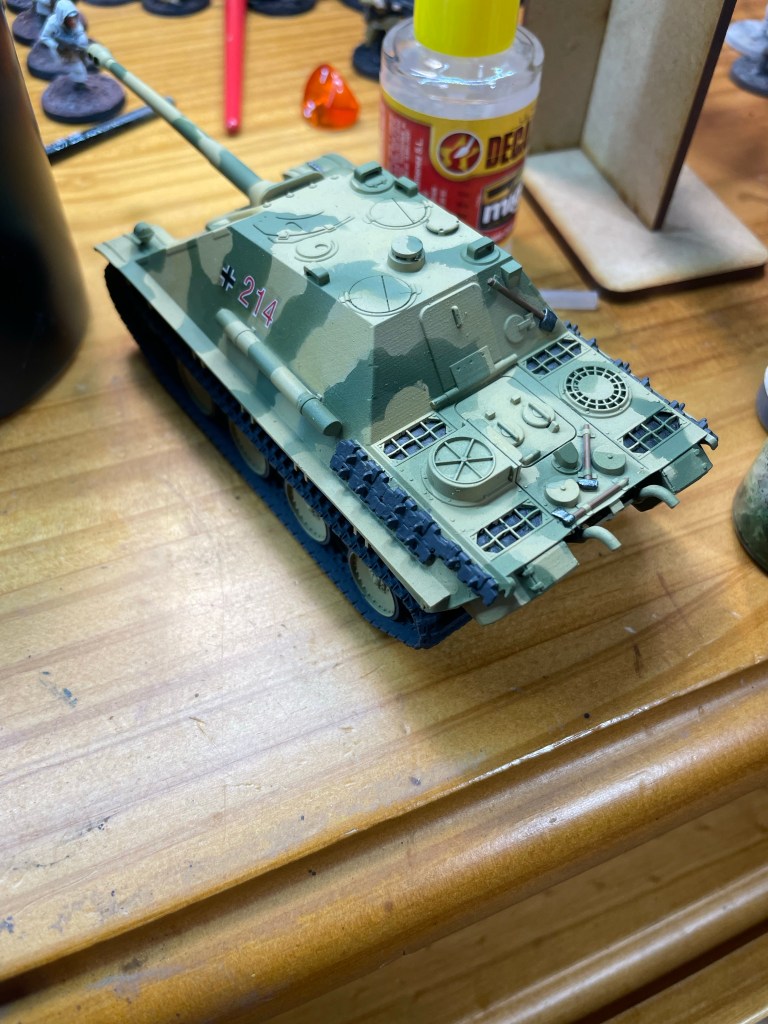
A gloss varnish was airbrushed where the decals were going to be added. The decals are from Rubicon. I used mig ammo decal set and decal fix to get a nice finish on the decals. I touched up the decals with some brown wash to knock the shine down and make them look painted on. I then did sponge chipping with 7:3 mix of VMC (Vallejo Model Color) Black Grey 70.862 to VMC Mahogany 70.846. I focused on areas the crew would mount and dismount from, areas that would scrape against debris in the vehicle’s path, and a few spots that may have attracted some enemy machine gun fire. Next I base coated the tracks and the rubber parts of the road wheels in VMC Black Grey.
Tank tracks are pretty much always rusty to some degree due to water and wear. I mixed up a heavy wash 1:10 of VMC Red Leather 70.818 and air brush thinner. The thinner makes a quick drying wash. Then I dry brushed gunmetal on the tracks focusing on the edges and ground contact points. I also touched up the details on the engine deck grills with a black paint wash.
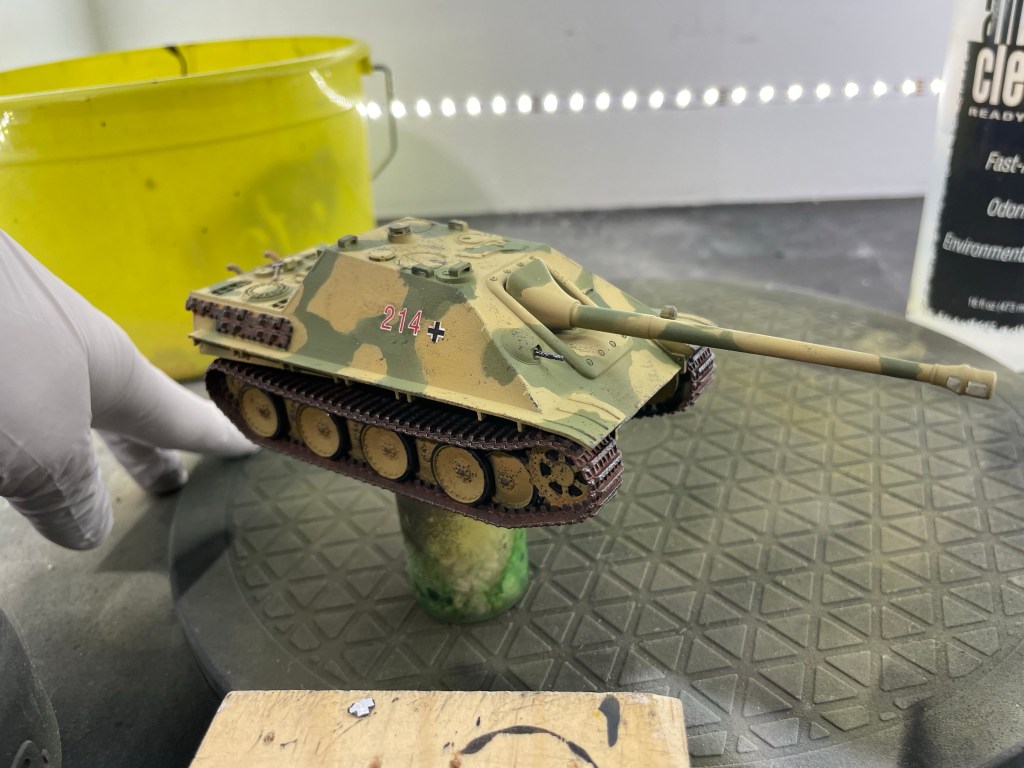
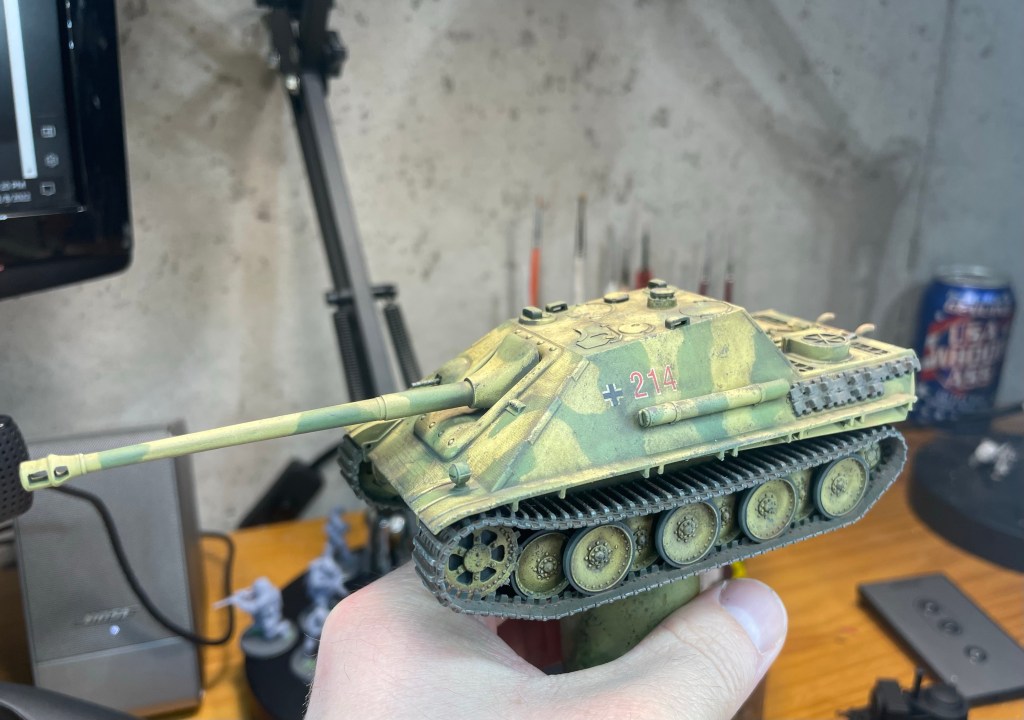
After an all over gloss varnish coat was applied and cured the real fun began. I won’t lie, I was nervous about this part. I appreciate that Evan gave me a push to do vehicles with the streaking grime method. As the base color of the vehicle was a yellow I used AK Interactive DAK enamel wash instead of the AK streaking grime. I applied the wash lighter as I moved up the vehicle. I then sprayed on AK Interactive Track Wash on the tracks and road wheels. Both washes were cut with AK Interactive white spirits. Dry time was almost zero with the airbrush method. Just be sure to use a respirator as aerosolized enamel isn’t very nice to lungs.
After about 20 minutes of me wondering if I just wrecked my model it was time for what turned out to be the most pleasurable part of the whole project, removing the wash and weathering. Evan did a terrific job giving me pointers and techniques on this job. Fortunately even if the wash is all removed it still acts as a filter to tie all the colors together. Using AK white spirits I started to gently rub and wash the wash off being sure to leave some in the cracks. Using downward strokes with q-tips and a make up sponge I was able to simulate dirt and dust accumulation. I have now used this technique on several more vehicles and it’s my go to vehicle weathering technique. It’s simple, fun, and most importantly reads well on the model.
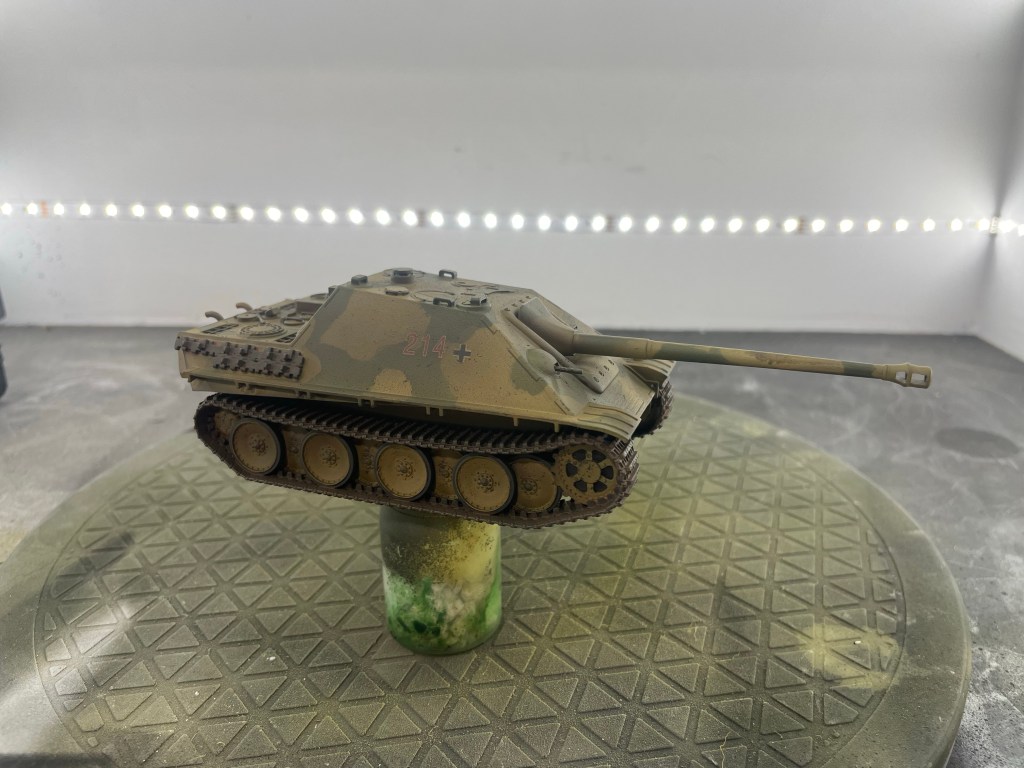
After I let the wash cure I fixed some minor details, namely adding definition to the fan cover on the rear deck. I also painted the hand tools with my usual wood color of choice VMC Beige Brown 70.875. I then gave the tools a quick wash with Army Painter Soft Tone. Once things were all set and dry I applied my standard Vallejo Mecha Matte varnish to seal and protect the paint and oils.
While the planned use for the Jagdpanther was to provide some heavy anti-armor capabilities to my winter Heer force I decided against putting snow and mud all over it. Jagdpanthers saw service on the Western Front in from 1944 on and on the Eastern Front from January 1945 till the end of the war. By not putting snow all over it I am hoping it won’t be out of place in a force for the fall of 1944 or spring of 1945.
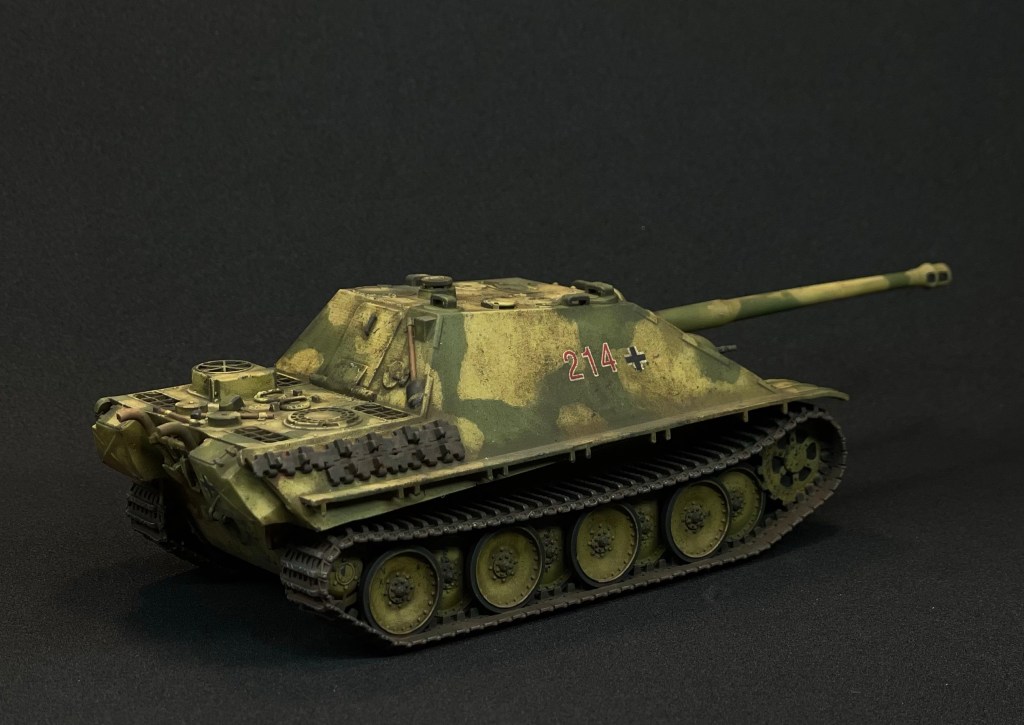
Final Result

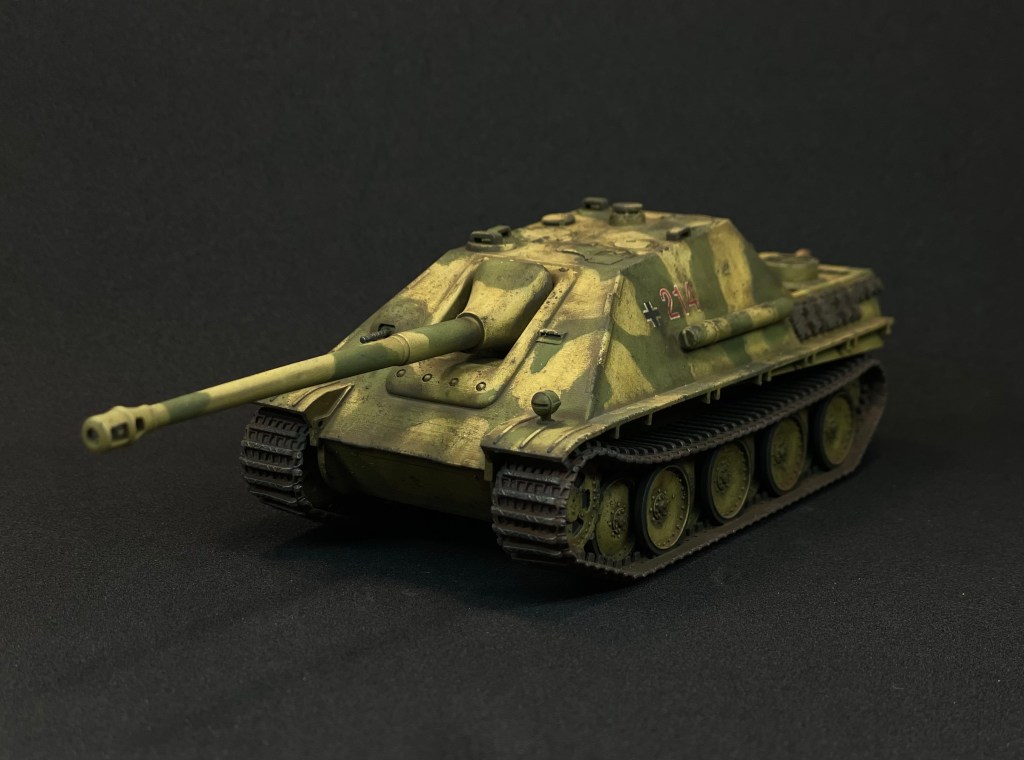
I learned a heck of a lot painting up the Jagdpanther. My hobby buddies kept true to our mantra of “There are no hobby secrets” and I appreciate all the back and forths we had for paint choices and technical questions. In the end I was able to achieve a model I was proud of. Now I hoped it wouldn’t die on the first turn in the Outskirts of Bastogne.


That looks nice Ben. I just know one of these days someone is going to bug the heck out of you when they try to recreate what you’ve done here.
I suppose that’s what happens when you produce nice results.
LikeLiked by 1 person
Hello, i am building a Armortek jagdpanther and i saw one picture on this side from a jagdpanther nr 132 i like this camo but do you have pictures from all sides and top of the jagd nr 132
Best regards Yves
LikeLiked by 1 person
Hey Yves,
I’ve searched around and I wasn’t able to find the source photo for the tank encyclopedia’s artist sketch for 132. It’s a really cool camo and unfortunately attributed to “Unknown unit, Ardennes 1944.”
Sorry I couldn’t be more help!
Ben
LikeLike