
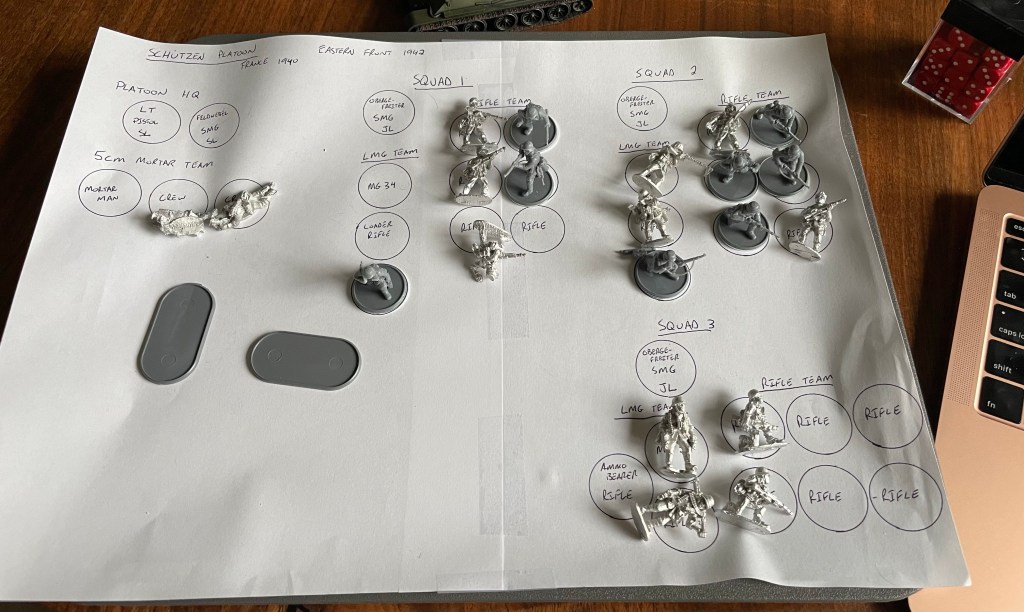
Recruiting the Platoon
Ben- Once we had decided on 4th Panzer Division as a parent unit we needed to source infantry. As luck would have it, and to no one’s surprise, I happened to have the Warlord Games German pioneers boxset in my pile of shame. The pioneers box contains the same sprues as the Blitzkrieg German box. The common convention is that if you are considering Warlord Games’ early war Germans you should always buy the pioneers box. For a small amount more ($8.50 for me) you get a lot of metal pioneer equipment and armament bits, an extra wire cutting miniature, and a Goliath tracked mine. The Germans used their pioneers as assault infantry and you can really tool them up as such. I bought mine from Kick Ass Mail Order with the intent of using them as support for my late war summer and winter German Heer platoons. But as they were laying around and I didn’t need all the bodies for engineering/ bad ass assault troops I pinched some for the 4th Panzer schutzen platoon. I also supplemented the Warlord sculpts with Crusader Miniatures early war Germans and Black Tree Designs Wehrmacht. I bought the Crusader Miniatures Germans from Badger Games and the BTD Germans from EOEorbis, the American side of Black Tree Designs. They meshed really well together and had similar proportions. I also really enjoyed how laden down the Black Tree MG teams were. It helped that the Black Tree Designs and Crusader Miniatures were also very reasonably priced.
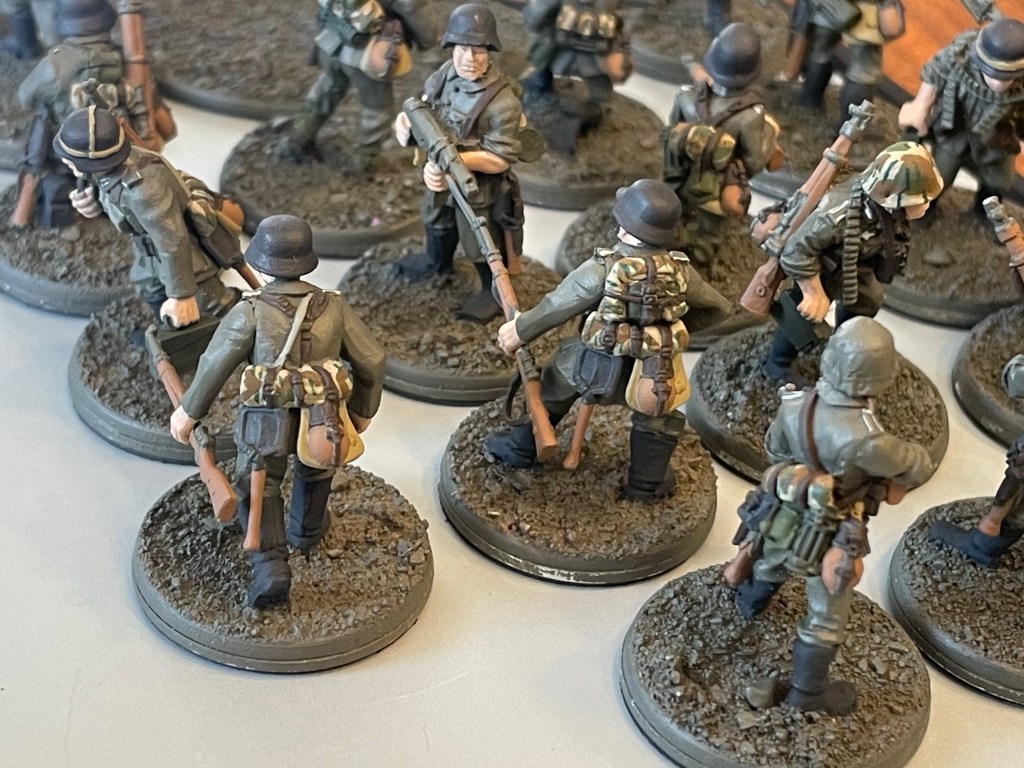
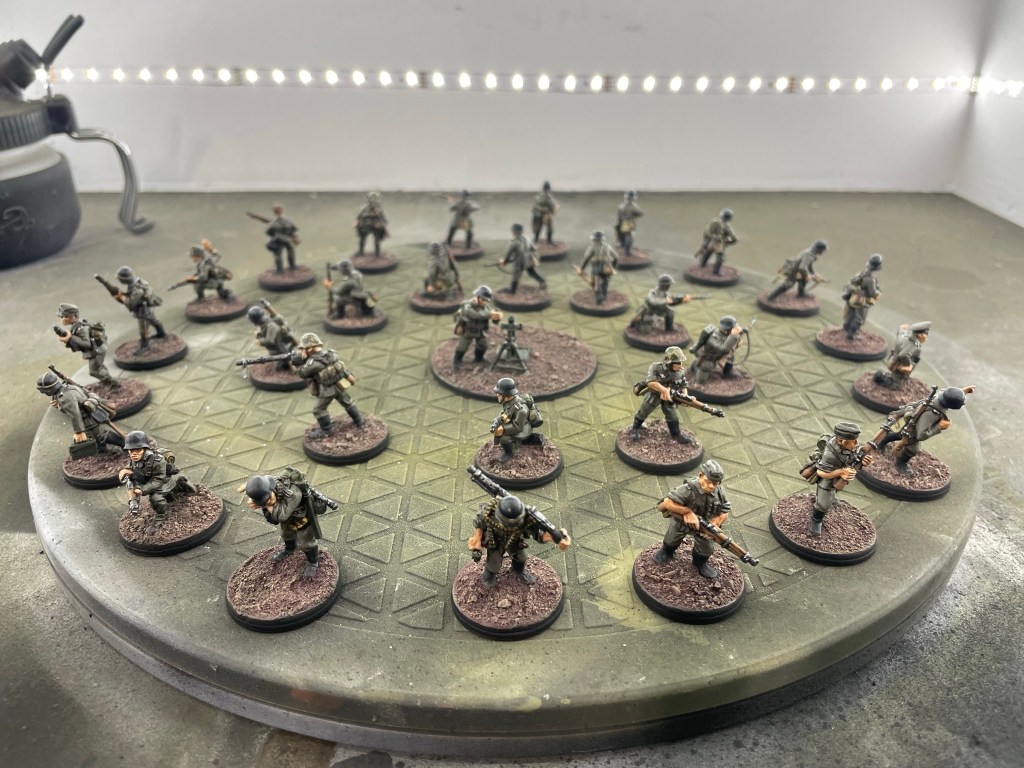
After all my goodies were delivered I began the mold line removal and assembly process. Quite honestly when I finished this batch of Germans it was a relief. I wanted to have a nice generic German force to run in CoC and Bolt Action. While the are visually striking, German infantry are always labor intensive to paint as they are kitted out with lots of equipment. Out of curiosity I wanted to know how long it would take to take these minis from primed to finished. I was able to track my time with the Brush Rage application. All said and done it took me about 37 hours and 41 minutes to paint up 37 miniatures. This is just over an hour per miniature, which I am very happy with. I did speed things up a little and primed with Vallejo’s German Field Gray rattle can which is a perfect match for their model color paint of the same name. Anything to get an edge helps. Reflecting back on it, spending a day and a half painting seems like a lot but when you break it down over around 90 days it seems more reasonable and spousally palatable.
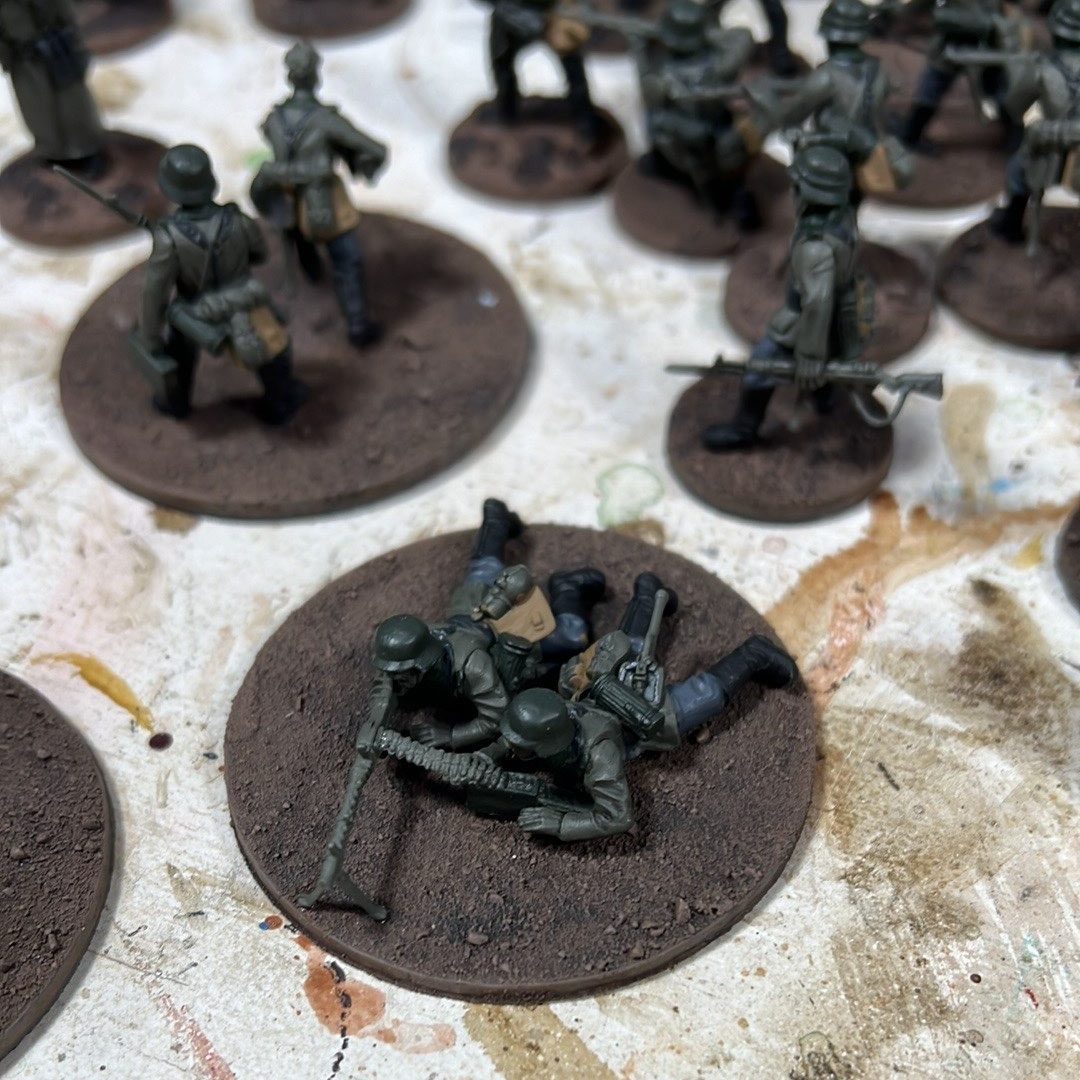
After the field gray was done I painted them in pretty standard German colors. I was inspired and referred to several resources but I think I used panzermodels Vallejo paint guide most heavily. I swapped a color here or there but that was due to personal preference not due to a fault in the guide. Below are a few in progress photos of the platoon. Several times I questioned myself as to why I committed to painting a platoon in three months time.
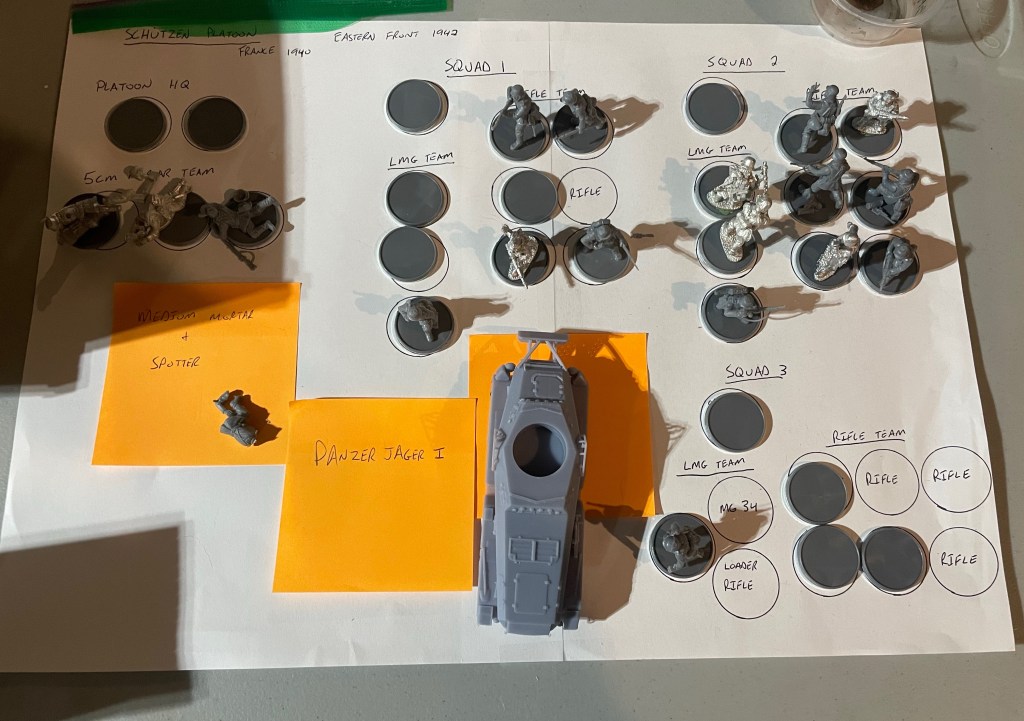


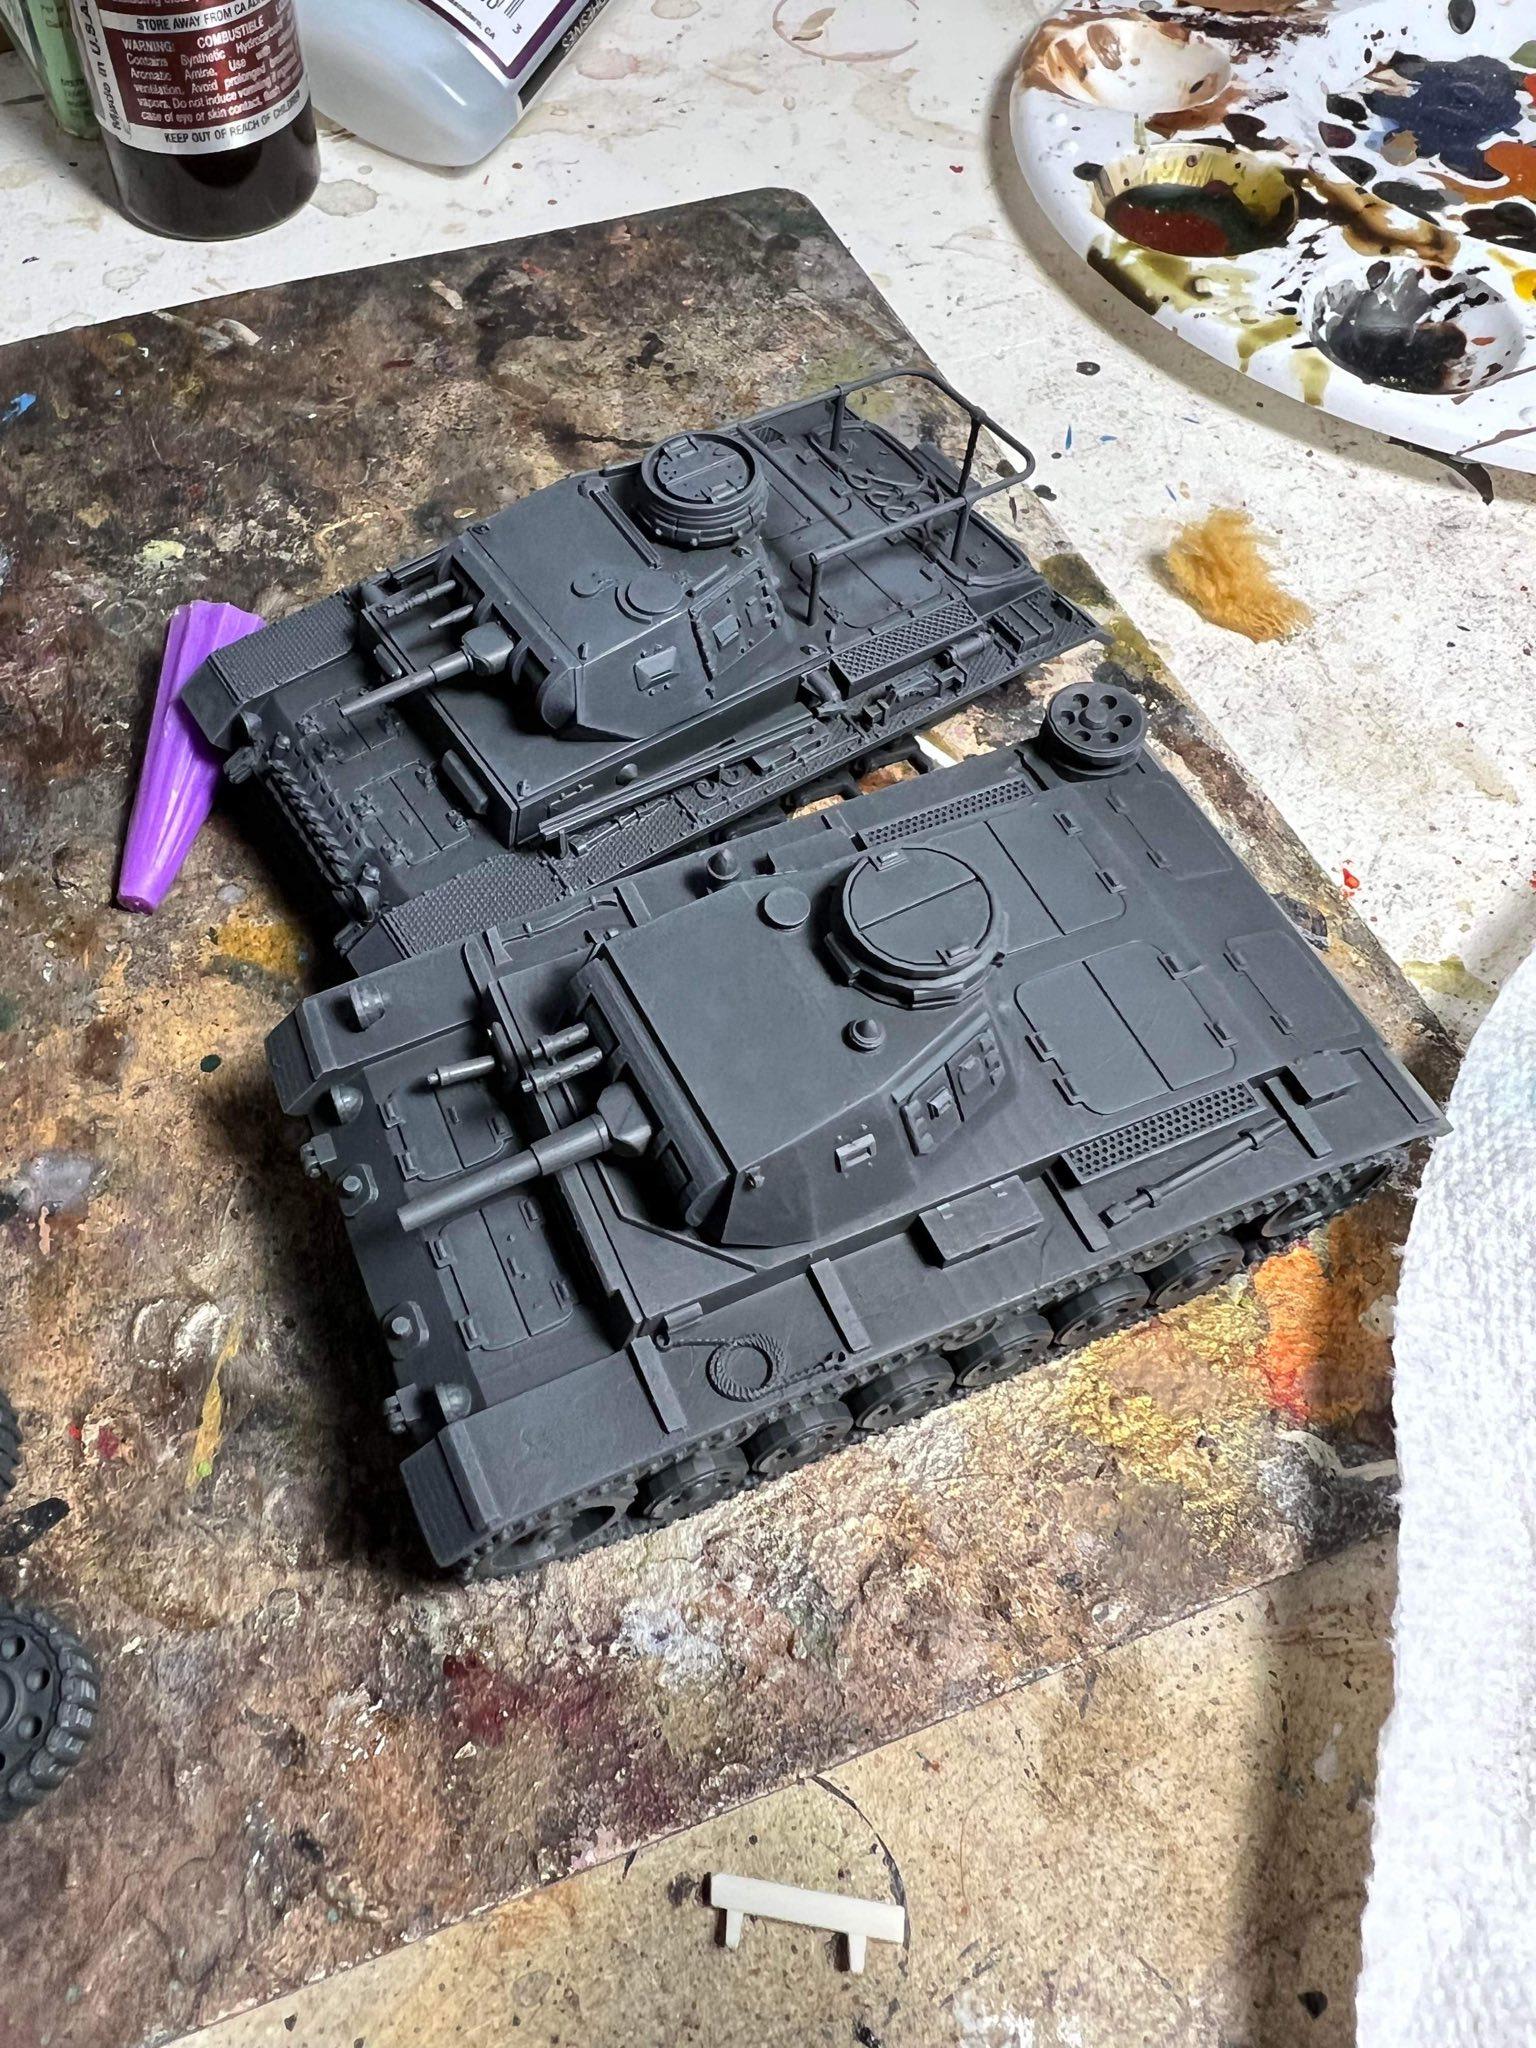
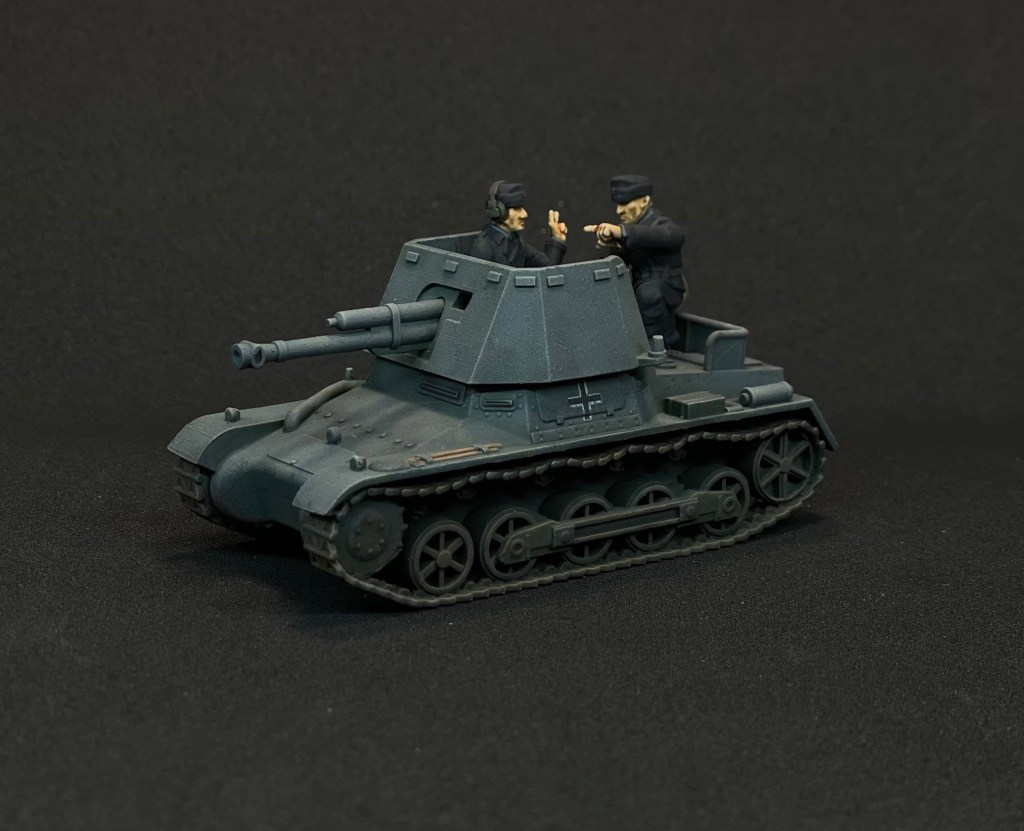
I ended up 3D printing the pair of vehicles I needed. The 8-Rad is from Richard Humble on wargaming3d.com and the Panzerjäger I is from M Bergmann on thingiverse. The tank hunter crew was made from Wargames Altlantic’s Panzer Lehr kit with some green stuff modifications. For painting I took inspiration from all over including this Panzer II tutorial from Warlord Games. I ended up buying a color modulation set and various enamel washes from AK interactive to do the panzer gray. I will say thank you to my buddies for talking me off the ledge on several occasions. Sometimes trusting the process can be hard when you can’t visualize the end product. In the end it took some experimenting and trust but I really like how they turned out.
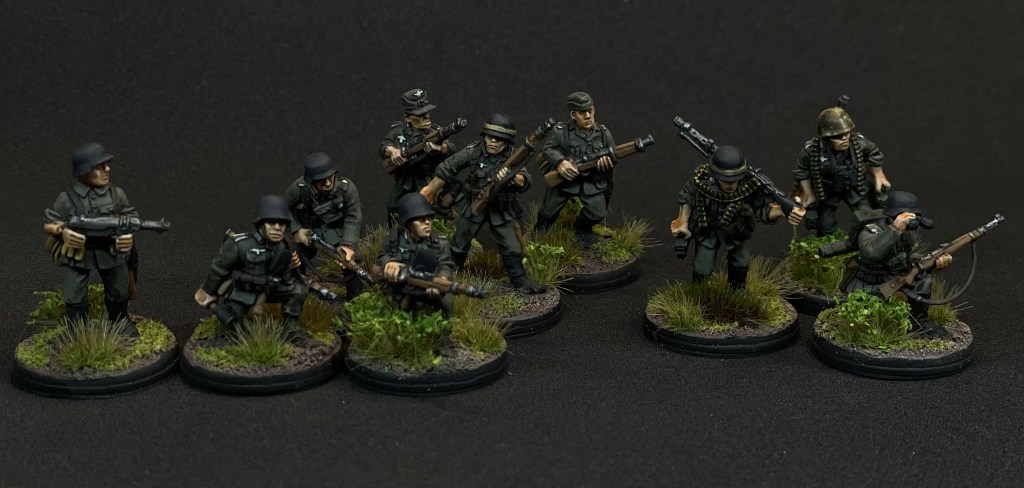
Evan– I think I already said this, but I’m new to historical miniatures. Despite Ben’s solid advice to nab the Pioneer box he mentioned above I found a solid deal on the lesser box containing only the blitz infantry. Not wanting as many prone bodies as it included meant I needed to search out some extra bodies as well as command models and a mortar team (for Chain of Command) . Once more, I turned to my wise mentor Ben for recommendations. I landed on Artizan Designs’ German Infantry Command for my command minis. I’ve set aside the radio operator and the man wielding officer for a later date. For my extra bodies and mortars I ordered some Crusader Miniatures riflemen and 5cm mortar teams.
I had two vehicles to acquire. First I ordered a Rubicon Panzer III Ausf E from Kick Ass Miniatures….. or well I thought I did. I was in a rush and not reading and I accidentally ordered the command variant kit. I didn’t realize this until I sent Ben a picture and he asked about the antenna array. So anyways I found a Panzer III Ausf. E from Wargaming 3d and printed that. My armored car was also printed, that STL coming from Fighting Vehicles.
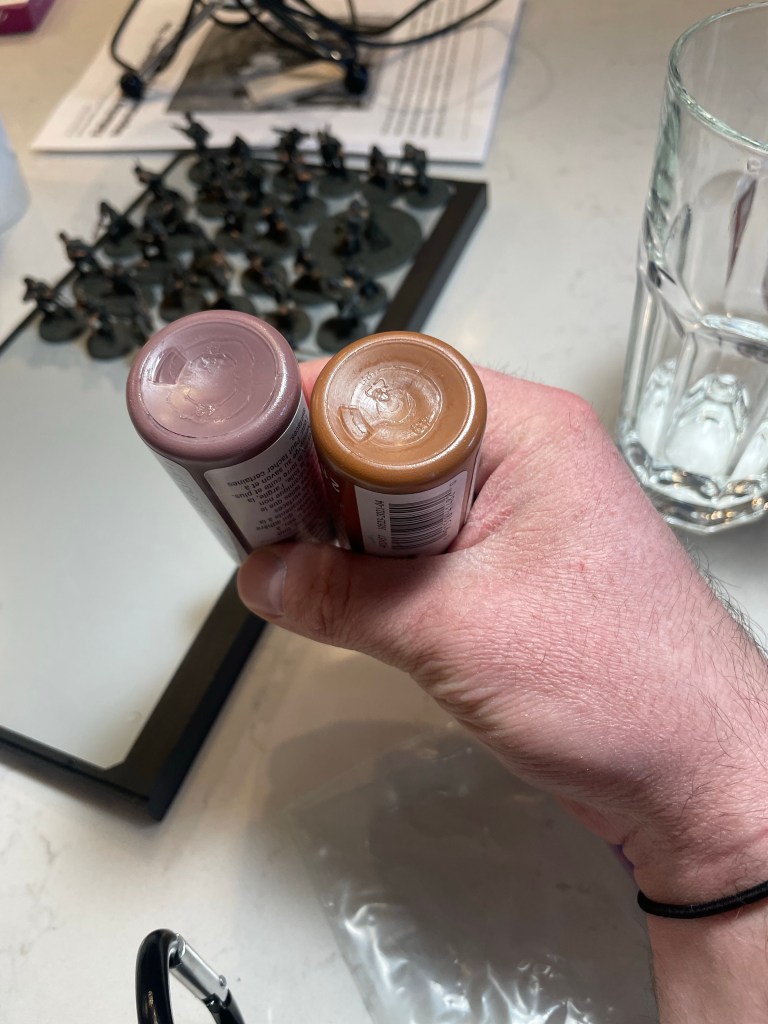
Painting. It had been a while since I had done any ‘army painting’. The last project of that size I tackled was the second half of my AoS Ogres in May/June of 2021. This said I fell back on my old habits and processes, sprinkled with some new techniques. The infantry I decided to start with Vallejo German Fieldgrey WWII (70.830). I prefer to lay down a single color as a basecoat and go from there, so I thinned some Fieldgrey down to an airbrush worthy consistency and base coated to start. From there I blocked in all my other colors.
Grey Pants (Pro Acryl Neutral Grey)
Boots (Pro Acryl Coal Black)
Leather strapping, gear and pouches (Pro Acryl Dark Neutral Grey)
Helmets, gas mask cannister (Vallejo German Camouflage Dark Green 70.979)
Misc Pouches (Vallejo US Field Drab 70.873)
Wood (Vallejo Flat Brown 70.984)
Metal (Pro Acryl Dark Silver)
Skin (Pro Acryl Tan Flesh +Flesh Wash)
Plus a smattering of other colors for smaller details.
Next was decals on the helmets then a gloss clearcoat. I finished them off with a light (LIGHT) coat of AK Interactive streaking grime, which I then reduced off especially on areas I wanted “highlighted”. After that they got the usual matte clear coat and a round of basing (thanks Gamer’s Grass).
A note on my personal style: I’m not a fan of strong highlights because my hands aren’t steady enough to do a good enough job for my personal standard, and that’s fine. I prefer to use drybrushing and washes to give more subtle highlights. I also really enjoy a muted toned down final product, so that’s what I do.
For the vehicles (and yes, I painted all three even though the command tank wont be used for Adepticon) I started with a base coat of Vallejo Model Air Panzer Grey which is…..dark. To bring them up (my choice of painting style does better with a brighter undercoat) I spent a good while drybrushing one pass at a time. I used panzer grey, dark neutral grey, and neutral grey to slowly build up blended coats, with the added benefit of doubling as highlights. A quick pass on the tracks (Forgive me Ben, I don’t remember what I used but it was a reddish brown apparently) followed by some highlights and a wash on the tracks sorted those. Some detailing on small things was followed by a gloss clear coat, after which I applied some of the wonderful Rubicon decals. The next step was more gloss to seal the decals in before I hit it with AK Brown Blue wash for Panzer Grey vehicles and streaking grime. Once I reduced that off I added some dust/dirt pigments to the tracks and sealed everything in with a matte clearcoat. I mistakenly deleted my earliest WIP photos during a phone cleanout in February, apologies for the truncated selection.


Finished Paint Jobs
Ben- While this was a large project for me and my hobby time allowance I really like the end result of my toil. After I wrapped up the Adepticon batch I had a little more than a week to spare. So in that time I also painted up the 5cm mortar team for the Chain of Command platoon which I will post later. With that done I was ready to rock the Germans for games of Bolt Action and Chain of Command. With the completion of this project I also happened to knock out a primary 2023 hobby goal so I was feeling pretty good. More on that later.


Evan-
Overall the building / painting process ate up the lion’s share of my hobby time from late December until the last week of February. I had set a goal of March first to be my personal deadline figuring I would overshoot, I was pleasantly surprised I didn’t. I don’t do a ton of hobby time compared to a lot of people, but it was a large project anyways. I didn’t record the hours like Ben so I can’t give you that, but suffice it to say I was happy to call them done. I do see things I want to improve for future historical projects. I’m unused to working in a constraint for color choice so that will be a continuing adjustment. In the end I’m happy with the results and excited to hit the tables at Adepticon with them. (Ben has flexed on me and I need to up my picture game…. point taken)


Join us in part 3 to see how we faired at Adepticon. We probably will be rewriting history with our Germans getting curb stomped in 1940. C’est la vie!

Great write up boys!
LikeLiked by 1 person