
Once I decided on my force composition it was time to do what I do best, buy miniatures. These days we hobbiests are spoiled for choice when it comes to miniatures. Every day we see an ever expanding market of lead to enjoy. Of course this leads to a person having 10 different WWII forces in 28mm, but I wouldn’t know anything about that…
Sourcing the Infantry
Lucky for me it is actually a challenge to find a WWII miniatures manufacturer who doesn’t make Germans. This fact isn’t surprising as they were arguably the main Axis power and were present in every theater besides the Far East and Pacific. The Eastern and Western Fronts were obviously where the Germans made up the majority of the Axis presence. While western media tends to think of the European Campaign as beginning June 6th 1944 with D-Day us history nerds know it started long before that. There were many summers and winters of fierce combat from September 1939 through May of 1945. As such we are fortunate to be able to model forces in an array of gear and seasonal equipment. So for some winter Germans, what did I end up finding for myself?
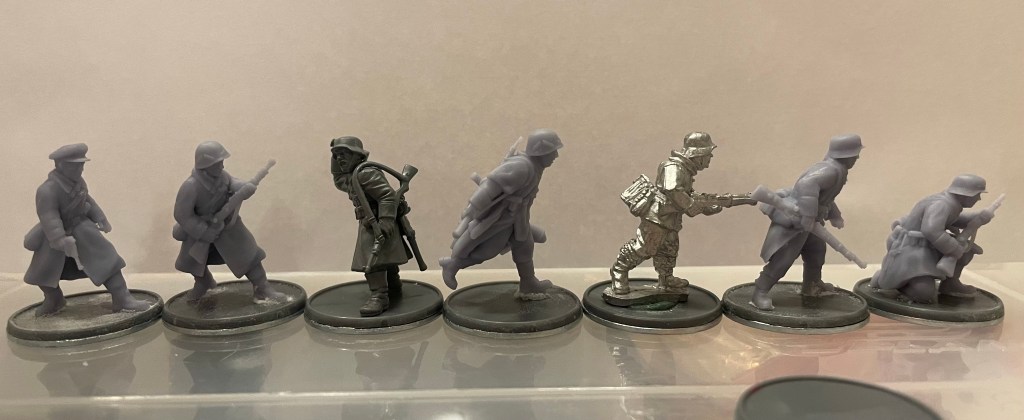
To start I went to arguably the largest producer of WWII minis, Warlord Games. They offer a very respectable multipart plastic kit for Winter German Grenadiers are clad in long overcoats. This alone was a big boon to me as they could be used for early and mid-war all the way to the early 1945. The multipart plastic kits are easy to modify and kitbash easily with other Warlord plastics. The Winter Grenadier kit is a newer one and features arms with weapons attached. I don’t recall where I got the Winter Grenadier kit from but they can be found just about anywhere that sells Warlord Games product.

In addition to the plastics I also picked up a set of metal Volksgrenadiers from Warlord. They are dressed in lighter fatigues which would be a bit out of place in the dead of winter. Some have STG44 assault rifles which I could use in a later phase of the project. The STG44 rifle armed minis would be useful to a 1944 onward force. They are a good representation of the short range firepower that was a keystone of the Volksgrenadier units. What they lacked in manpower they made up for with firepower. Unfortunately they were a bit too lightly clothed for the deep freeze of the Bulge.

I don’t like repetition in my miniatures and I enjoy having a unique army. While I will never yuck someone else’s yum, I strive to have armies that are not the same 6 poses repeated over and over. So I decided it was time to add some spice. I turned to one my main squeezes, Artizan Designs. Artizan Designs miniatures fit along with Warlord Games’s size and sculpting style. The body proportions seem to size well against Warlord kits. The weapons are slightly beefier, which when talking about metal miniatures is good as they tend to be more durable. I do have my clumsy family gene to consider (RIP resin mechs I knocked onto the concrete floor). I was able to pick up the Artizan Designs minis on sale from Noble Knight Games. Noble Knight is a Wisconsin based business and supporting local stores is something I am happy to do when I can. I bought several packs of riflemen in greatcoats and in large overwhites, some SMG toting NCOs, a set of anti-tank teams with panzerfausts and a panzershriek, and a PAK-40. The order ended up being more than I needed for the December game but hey… I can’t turn down a good deal. Plus they will all be good additions to the force for Chain of Command and Bolt Action down the road.

The final place I procured my infantry was from RKX Miniatures. RKX Miniatures had a Kickstarter for the Battle of Hürtgen Forest. Hürtgen Forest, one of the longest battles of the Western Front, took place from Mid-September to Mid-December 1944. The Germans actually defended the Hürtgen Forest area so fiercely because they were using it as a staging area for Operation Watch am Rhine. This means the miniatures were right on point for my Battle of the Bulge force. RKX produced a beautiful set of Volksgrenadiers clad in winter attire. They were decidedly late war based on their equipment but I was keen to print some out and see how they looked. I rescaled them to 93% which was the suggested match for Warlord Games size miniatures.
I was very happy with the blend of infantry I was able to find. With more infantry than I needed it was time to figure out where to get the army’s center piece, the Jagdpanther tank destroyer.
Sourcing the Jagdpanther
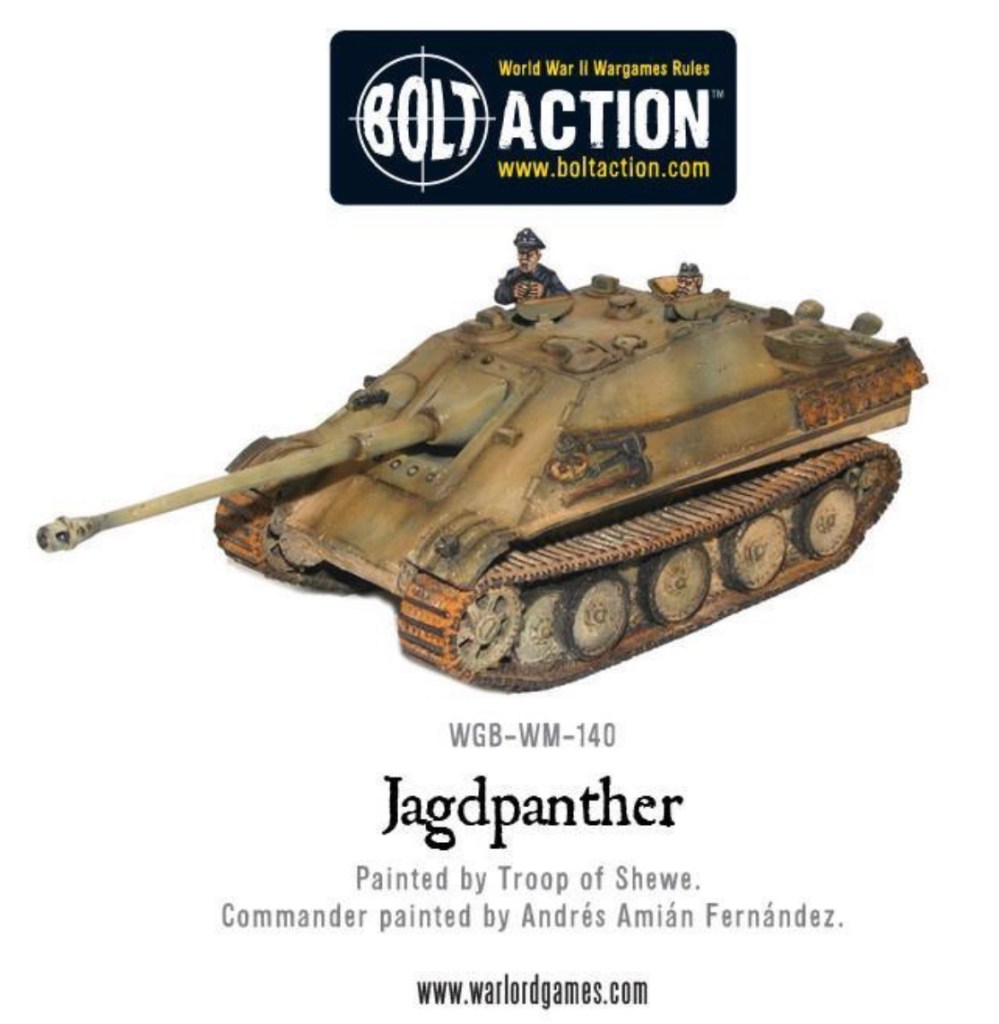
I was able to find three options for Jagdpanther. The first was a resin offering from Warlord Games. While resin models have a nice weight and good details I am always leery of them as warping of parts is a common problem. Warping can be fixed but it is an extra step. It retails for $54.00 USD. At the time the only option was to order it directly from Warlord in the UK. This meant I would be looking at a pretty long delivery time as our mailing system was experiencing some difficulties.
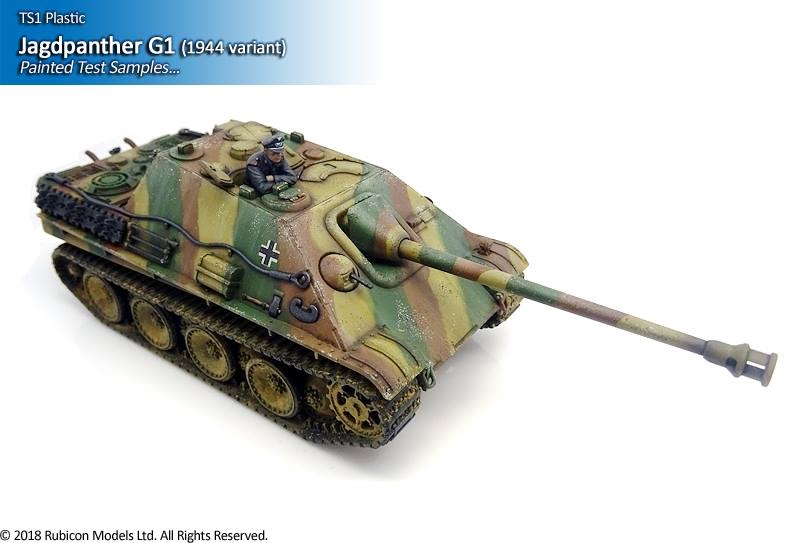
The second option was a plastic kit from Rubicon. I have been a fan of Rubicon vehicles since they first came out. They have excellent fit and finish and usually allow you to make one of several vehicle variants out of the same kit. My local FLGS, Adventure Games/ Kick Ass Mail Order was offering the Jagdpanther for 29.75 USD. That’s almost 1/2 the price of the Warlord Games Jagdpanther (or two for the price of one??). The Rubicon kit was more versatile as it was able to be built as a G1 or G2 variant allowing the kit be used from 1944 to 1945.
The third option was to print the tank destroyer on my Elegoo Saturn Resin Printer. One of my absolute favorite STL creators, Night Sky Miniatures (NSM), had created a file for the Jagdpanther G2. For 7.00 USD it was, and still is, a steal.
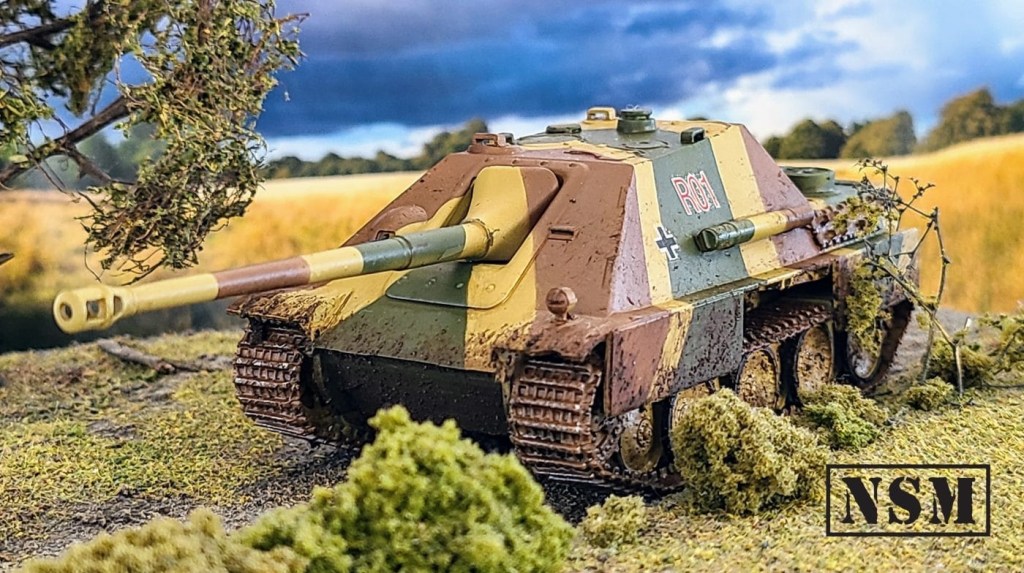
To be honest, the choice was a pretty easy one. At the time I had just backed Night Sky Miniatures Panzer IV Kickstarter and there was an option to add on the Panther tank family STLs for a very reasonable price. Printing meant I wouldn’t have to wait for a delivery or risk it getting lost in transit. I also thought it was the best looking option. So Matthew from Night Sky Miniatures took another stipend!
There was one small sticking point. The NSM model was a G2 variant which was introduced in early 1945 which was right after the Battle of the Bulge. To my untrained but slightly pedantic eye they were close enough visually for my chronologic sin to go unnoticed to all but the most studied rivet counter. Truth be told there were some hybrid G1’s that had the later G2 mantlet installed prior to the Ardennes offensive. Besides the differing gun mantlet the other main visual difference between the G1 and G2 was that the G1 had a Panther Aus A engine deck and the G2 had a Panther Aus G engine deck. To be honest the trip I took into the minutiae of late war German tank destroyer engine decks was interesting but in the end trivial for my project.
Printing and Preparing for Painting
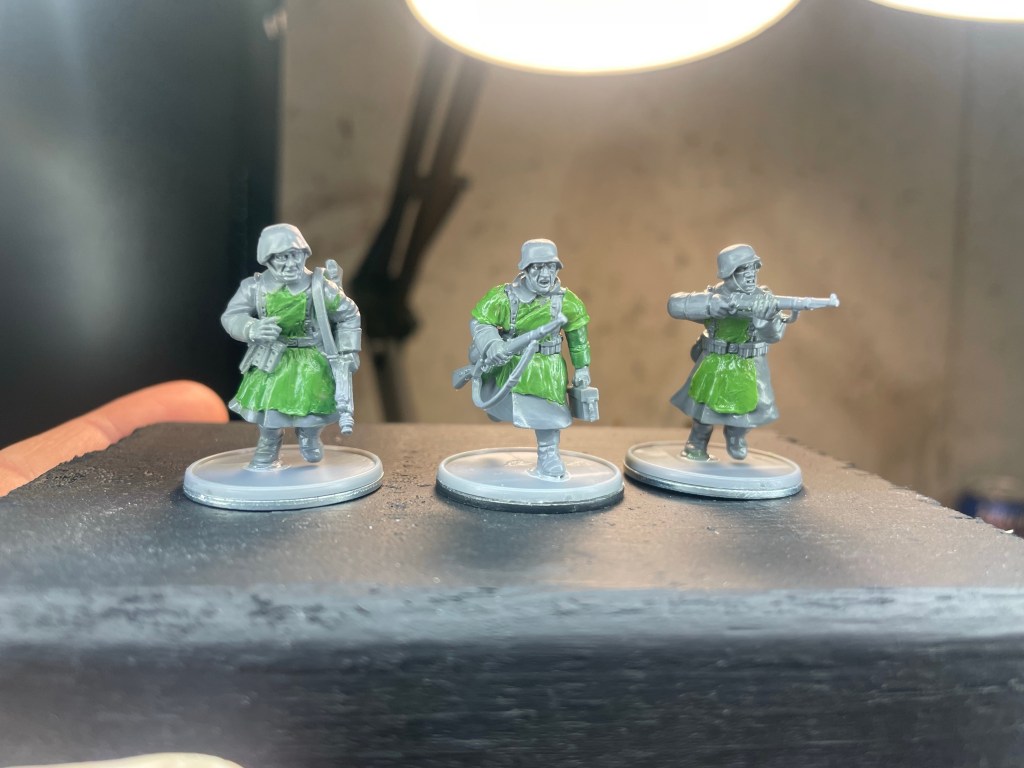
Armed with a bunch of metal bits, plastic sprues, and a few very nice digital files I excitedly began my work. The Warlord Games Winter Heer kit was a pretty good building experience. Having been around the block with Warlord plastics and having suffered through plastic Soviets with separate arms and weapons, the winter kits combined arms and weapons made assembly a breeze. I am never content to have a cookie cutter army. I also hate myself and like to make things difficult. As such I decided to do some minor green stuff sculpting. I was inspired by some photos of grenadiers in greatcoats who seem to have made their own “over white” winter camouflage. Getting the cloth to look natural was a good modeling exercise. In the end I was very pleased and will probably do similar “sculpting” in the future.
The rest of the infantry got the regular assembly treatment with a few kitbashes here and there. I included an MG34 in one of the machine-gun teams. I figured this would give me a start towards the six machine gun teams I would need for a Chain of Command mid-war Panzer Grenadier platoon. I also reasoned that a Volksgrenadier platoon may have problems sourcing top of the line kit such as the MG42 so having the older MG34 is a nice flavorful touch.
The Jagdpanther was a breeze to print as it came hollowed and pre-supported. I have not had issues with Matthew’s support choices so I printed with the pre-supported file. I printed it out with Elegoo ABS-like resin at 0.030mm layer height. In the end the Night Sky Miniatures Jagdpanther cost me 7.00 USD for the file and about 6.00 USD for the resin.


In reality building this forces wasn’t as linear as this article may suggests. While I was printing the vehicle I was also working on scraping mould lines, mounting, and priming the miniatures. I try to break things down into the planning, preparation, and execution stages but sometimes you find a piece that works better for you after you already started painting. That’s ok! For me the journey is half of the fun. In Part 3 I will look at my inspiration, schemes, and techniques and who I got them from. There are many great artist who are happy to show us new ways to do things and how to incorporate them into our own hobby process.

One thought on “Late War Winter Heer Part 2: Preparation”